How to Know When to Repot Spanish Moss?
Tillandsia usneoides
By the Greg Editorial Team
Jun 17, 2024•6 min read
This article was created with the help of AI so we can cover more plants for you. May contain errors. See one? Report it here.
Discover the secret to lush Spanish Moss 🌿—know when to repot for peak health and vibrancy!
- Roots circling or excess algae? Time to repot your Spanish Moss.
- 🌱 Repot in spring with a light, airy mix and indirect sunlight.
- Aftercare is crucial: Hydrate frequently, avoid direct sun, and delay fertilizing.
Recognizing the Need to Repot Spanish Moss
Spanish Moss, an epiphytic bromeliad, thrives in moist environments and doesn't require soil to grow. However, when grown indoors, it may need repotting to refresh its support structure or to remove accumulated debris.
🌿 Visual Cues for Repotting
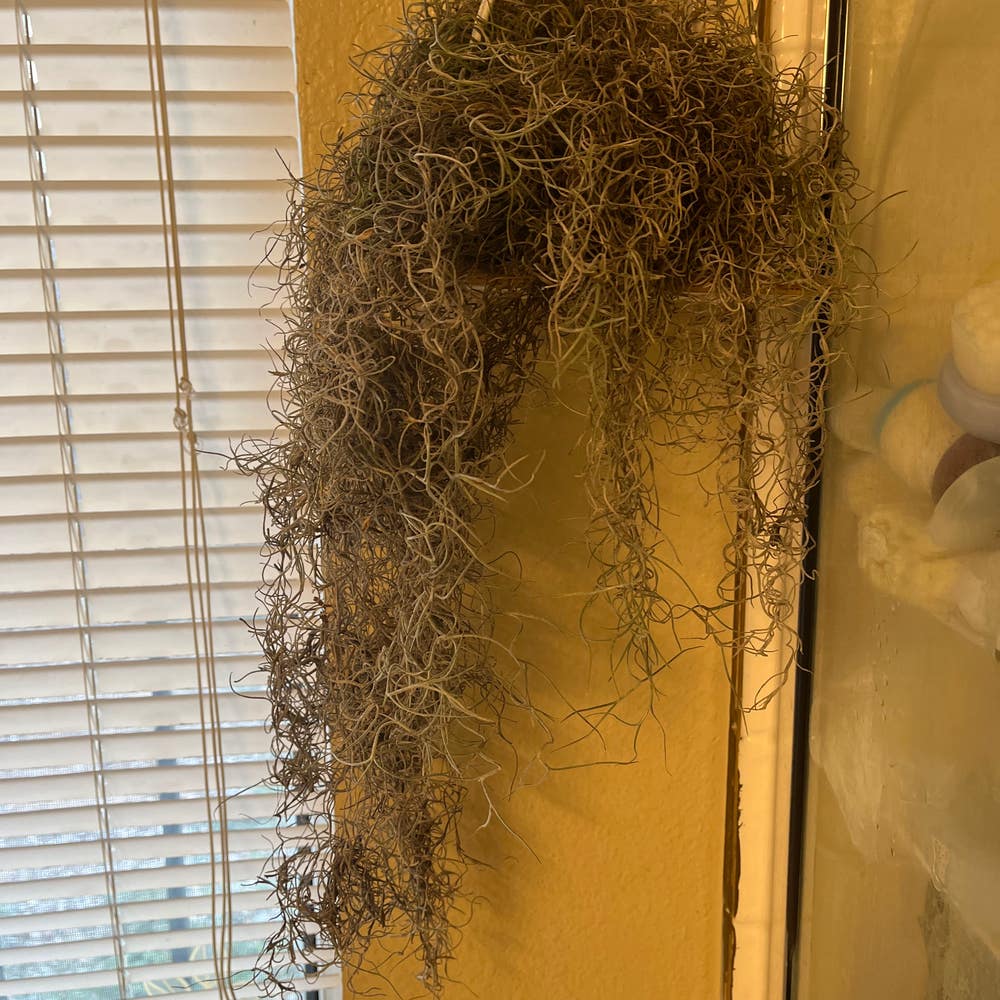
Discoloration of leaves, from vibrant green to brown or yellow, often signals dehydration or lack of nutrients. If your Spanish Moss starts to look more like a desert than a lush canopy, it's time to act.
🌱 Physical Signs of Distress
Roots circling the base or growing through the support indicate your plant is feeling claustrophobic. It's craving more space, much like a teenager wanting their own room.
🌧️ Environmental Indicators
A buildup of moss or algae on the plant's surface suggests excess moisture, which could lead to rot. Conversely, if the air is too dry, indicated by brittle strands, consider repotting in a more humid spot.
🌸 Timing is Everything
The best time to repot is spring—the season of growth and renewal. This gives your Spanish Moss a chance to settle in before hitting the summer growth spurt.
👃 When in Doubt, Sniff it Out
If you catch a whiff of something foul, trust your nose. A bad smell can be a telltale sign of rot or mold, and it's definitely not the new plant perfume line.
✋ The Touch Test
Gently squeeze the plant. If it feels mushy, it's not just being affectionate—it's likely suffering from overwatering and needs a repotting intervention.
Remember, while Spanish Moss is hardy, it's not invincible. Keep an eye out for these cues, and your plant will continue to hang around, quite literally, for years to come.

Preparing for Repotting Spanish Moss
⏰ Timing is Everything
Spring or early summer is the sweet spot for repotting Spanish Moss. This aligns with its growth spurt, ensuring a smooth transition and quick root establishment in the new pot.
🌬 The Right Environment
Choose a well-ventilated area with indirect sunlight. Spanish Moss loves humidity but despises soggy feet, so a breezy spot helps prevent overwatering mishaps.
🍯 Pot Size Matters
Go small when upsizing—just 1 to 2 inches larger than the current home. This prevents excess soil from retaining too much moisture, which could lead to root rot.
🏺 Pot Type
Breathability is key. A pot with drainage holes and maybe even a porous material, like terracotta, is ideal. It's like choosing breathable fabric for a workout—it lets the skin, or in this case, roots, breathe.
🌱 Potting Mix
Forget the standard soil; think light and airy. A mix that includes peat or coir with a dash of perlite offers the moisture retention and drainage Spanish Moss craves.
🛠 Tools of the Trade
Have your scissors for trimming, gloves for handling, and a watering can ready. It's like prepping a kitchen mise en place—you want everything at hand before the cooking, or repotting, begins.

Step-by-Step Guide to Repotting Spanish Moss
🕰️ Step 1: Choose Your Moment
Timing is everything. Repot during the plant's growth phase, ideally in the warmer months.
🛍️ Step 2: Gather Your Supplies
You'll need:
- A new container
- Fresh potting mix (moisture-retentive)
- Gloves (to avoid skin irritation)
- Water for soaking
🧤 Step 3: Remove the Moss
Carefully take your Spanish Moss from its current location. If it's clinging to a surface, gently detach it.
✂️ Step 4: Trim and Separate
Examine the moss. Trim any dead or brown parts. Separate dense clumps to encourage growth.
💦 Step 5: Soak and Squeeze
Submerge the moss in water, then squeeze out excess moisture. This mimics the natural rainfall it loves.
🌱 Step 6: Prepare the New Container
Add a layer of your potting mix to the container. Ensure it's moist, not soggy.
🌿 Step 7: Place the Moss
Lay the Spanish Moss atop the soil, allowing it to drape over the sides if desired.
💧 Step 8: Water and Mist
After repotting, give it a good soak. Follow up with regular misting to keep it hydrated.
🌞 Step 9: Position with Care
Hang or place your repotted moss in a spot with bright, indirect light. Avoid direct sunlight to prevent scorching.
Remember, Spanish Moss thrives on neglect. Don't overthink it—just ensure it has enough light and moisture to keep on swinging.

Selecting the Right Pot Material for Spanish Moss
When it comes to housing your Spanish Moss, pot material is more than a mere aesthetic choice—it's a crucial decision for the well-being of your air-loving plant. Let's get down to the nitty-gritty.
🏺 Terracotta and Ceramic Pots
Terracotta is the go-to for breathability, allowing air and moisture to circulate like a gentle forest breeze. Ceramic pots share similar perks but often come glazed, adding a touch of water retention to the mix. Just remember, they can be hefty, so think twice if you're into the whole hanging garden vibe.
🥤 Plastic Pots
Lightweight champions of the pot world, plastic containers are easy to hang and won't break your back—or themselves—when dropped. They're not the best at wicking away moisture, though, so ensure they have drainage holes to avoid soggy moss syndrome.
🔩 Metal Pots
Sleek metal pots may look sharp, but they're like solar panels for heat and can cook your moss on a sunny day. Plus, rust is a real buzzkill. Use these if you're aiming for a steampunk greenhouse aesthetic and don't mind the extra care.
🍶 Glass Containers
Glass containers can turn your Spanish Moss into a living art piece, but they're like greenhouses—moisture and heat build up fast. If you're not diligent with your watering routine, you might as well turn it into a terrarium.
🧺 Coir-Lined Baskets
For those who fancy a more natural look, coir-lined baskets are your friend. They're like a cozy nest for your moss, providing ample drainage and aeration. Plus, they add a touch of rustic charm to any space.
In the end, choosing the right pot material is about understanding the unique needs of your Spanish Moss and balancing those with your personal style and practicality. Go forth and pot wisely!
Aftercare for Repotted Spanish Moss
After repotting your Spanish Moss, immediate care is crucial for its recovery and growth. Here's how to pamper your plant post-repotting:
💧 Initial Watering
Hydrate your Spanish Moss more frequently in the weeks following repotting. This helps it adjust to its new home.
🌞 Light Requirements
Keep the plant out of direct sunlight as it's more sensitive post-repotting. Indirect light will coddle it just right.
🌱 Fertilization Pause
Hold off on fertilizing for about a month. Let your Spanish Moss settle without the extra stress of processing nutrients.
🌱 Monitoring Growth
Watch for new growth as a sign of a happy plant. No growth? Check for other stress signs and adjust care accordingly.
💨 Humidity and Air Flow
Maintain good air circulation and consider a humidity boost, especially if your indoor air is Sahara-like.
🌿 Long-Term Care
Spanish Moss is a survivor, so minimal intervention is often best. Resist the urge to over-care, and let it do its thing.
⚠️ Safety First
This content is for general information and may contain errors, omissions, or outdated details. It is not medical, veterinary advice, or an endorsement of therapeutic claims.
Always consult a qualified healthcare professional before using any plant as food, medicine, or supplement.
Never eat any plant (or feed one to pets) without confirming its identity with at least two trusted sources.
If you suspect poisoning, call Poison Control (800) 222-1222, the Pet Poison Helpline (800) 213-6680, or your local emergency service immediately.
Spotted an error? Please report it here.
Revitalize your Spanish Moss with precision care 🌿 from Greg, guiding you with tailored reminders to water, mist, and monitor growth for a lush, healthy plant.