Best Practices for Repotting Desert Orchid 🌵
Eulophia petersii
By the Greg Editorial Team
Jan 07, 2025•7 min read
This article was created with the help of AI so we can cover more plants for you. May contain errors. See one? Report it here.
Master repotting your desert orchid 🌱 to ensure vibrant blooms and robust health! 🌼
- 🌱 Signs of a root-bound orchid include roots out of drainage holes and circling the pot.
- 🌸 Repot after blooming in spring for optimal health and growth.
- 🛠️ Gather materials like potting mix and shears before starting the repotting process.
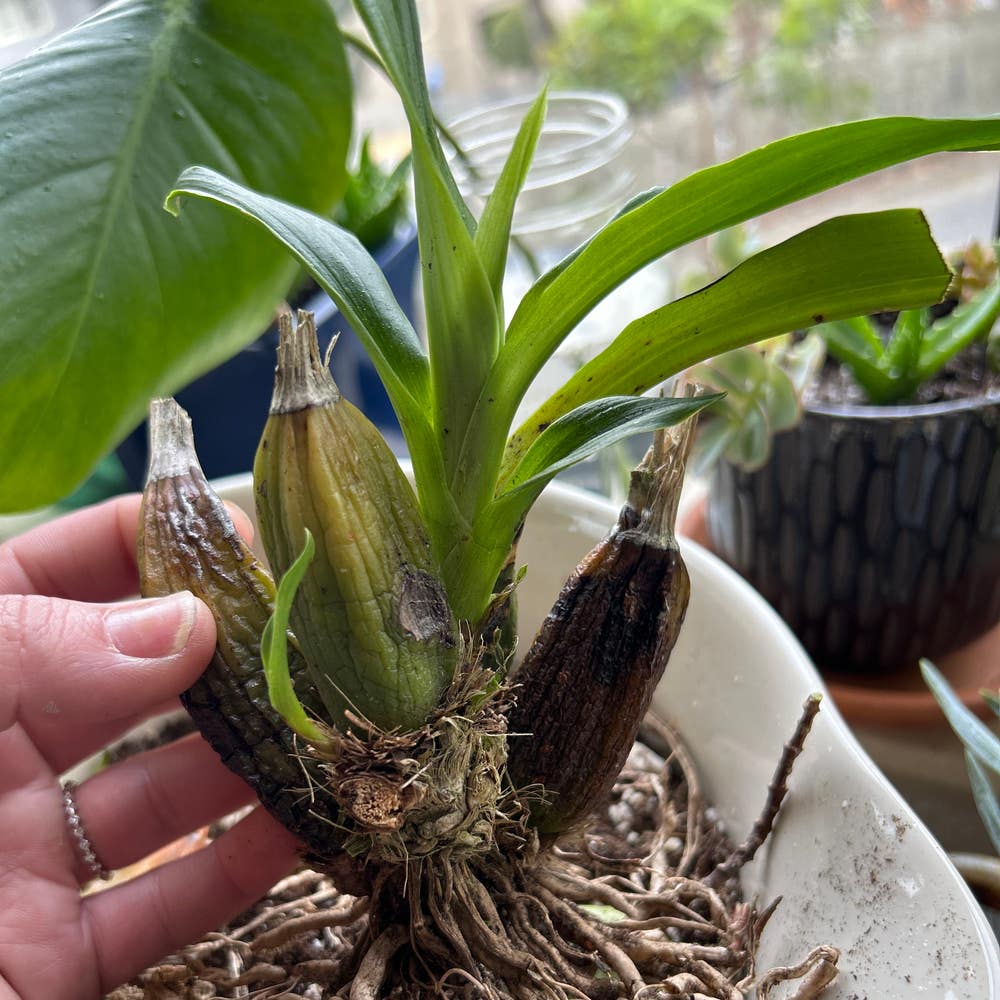
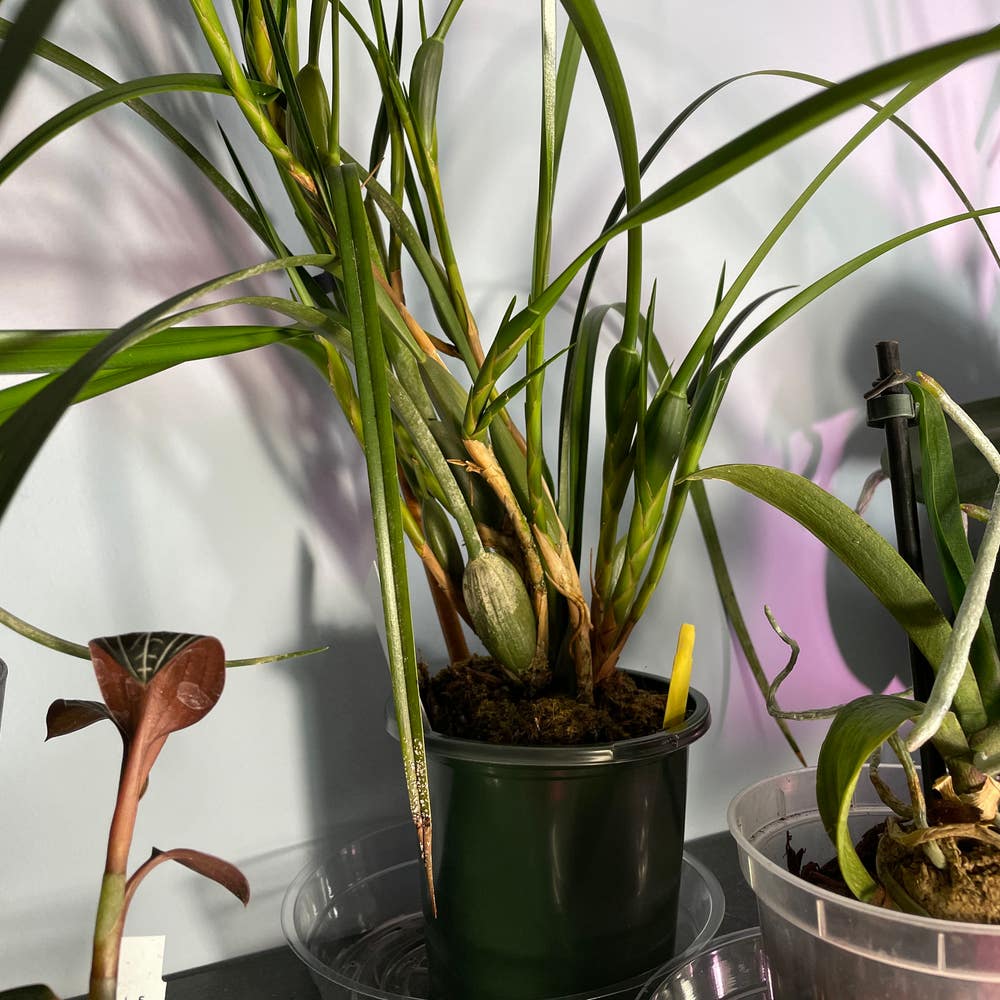
Signs That Your Desert Orchid Needs Repotting
🌱 Indicators of Root Bound
Recognizing when your desert orchid is root bound is crucial for its health. Look for roots growing out of the drainage holes, which is a clear sign that your plant needs more space.
Another indicator is when roots start circling the pot. This behavior suggests that the plant is cramped and struggling for room to grow.
If you notice stunted growth or a lack of blooms, it may be time to repot. These symptoms often indicate that the plant is not thriving in its current environment.
Additionally, check the soil. If it’s breaking down and losing its drainage capabilities, your orchid is likely in need of a new potting mix.
⏰ Timing for Repotting
Timing is everything when it comes to repotting your desert orchid. The best time to make the switch is after blooming, typically in spring, when the plant is ready for a fresh start.
Avoid repotting during active growth or blooming periods. This can minimize stress on the plant and help it adjust more easily to its new home.
By paying attention to these signs and timing, you can ensure your desert orchid remains healthy and vibrant. Next, let’s dive into the step-by-step guide for repotting your orchid effectively.
Step-by-Step Guide to Repotting
Repotting your desert orchid can seem daunting, but with the right approach, it’s a straightforward process. Follow these steps to ensure your orchid thrives in its new home.
1. Gather Necessary Materials 🛠️
Start by collecting your supplies: a new pot, potting mix, pruning shears, and a clean workspace. Having everything ready will make the process smoother.
2. Remove the Plant from Its Current Pot 🌱
Gently squeeze the sides of the pot to loosen the roots. Carefully pull the plant out, taking care not to damage the roots during this process.
3. Inspect the Roots 🔍
Once out of the pot, inspect the roots closely. Trim any dead or rotting roots with sterilized shears, ensuring that healthy roots remain intact and disease-free.
4. Prepare the New Pot 🥣
Select a new pot that is 1-2 inches larger in diameter than the current one. Make sure it has adequate drainage holes to prevent water accumulation.
5. Add Potting Mix 🌿
Fill the bottom of the new pot with a suitable potting mix designed for orchids. This will provide the right environment for your plant to thrive.
6. Position the Orchid 🌼
Place the orchid in the center of the pot, ensuring that the roots are spread out evenly. This positioning helps promote healthy growth.
7. Fill in with Potting Mix 🧤
Gently pack the potting mix around the roots, ensuring there are no air pockets. This step is crucial for providing stability and moisture retention.
8. Water Thoroughly 💧
Finally, water the plant lightly to settle the mix around the roots. This helps eliminate any remaining air pockets and ensures the roots make good contact with the new soil.
Following these steps will set your desert orchid up for success in its new pot. Next, let’s explore the best pot material options to enhance your orchid's growth.
Pot Material Options
Choosing the right pot material is crucial for the health of your desert orchid. Different materials offer various benefits and drawbacks that can significantly impact your plant's growth.
Best Pot Materials 🌱
- Terracotta pots: These are fantastic for drainage and air circulation, making them a popular choice among orchid enthusiasts.
- Plastic pots: Lightweight and moisture-retaining, plastic pots can be convenient but may not provide the drainage your orchid needs.
Pros and Cons of Plastic Pots ⚖️
Pros:
- Lightweight and easy to handle.
- Inexpensive and available in a variety of sizes.
Cons:
- Can retain too much moisture, increasing the risk of root rot.
Pros and Cons of Clay Pots 🏺
Pros:
- Excellent drainage and breathable material.
- Aesthetically pleasing, adding a natural touch to your decor.
Cons:
- Heavier than plastic, making them less portable.
- Can dry out quickly, requiring more frequent watering.
Alternatives to Traditional Pots 🔄
If you're looking for something different, consider these alternatives:
- Baskets: They provide excellent drainage and air circulation, ideal for orchids.
- Net pots: Specifically designed for orchids, net pots maximize airflow to the roots, promoting healthy growth.
Choosing the right pot material can make a significant difference in your orchid's health. Now that you know your options, let's explore the best potting soil and mixes to complement your choice.
Potting Soil and Mixes
Recommended Potting Mixes 🌱
Choosing the right potting mix is crucial for your desert orchid's health. An orchid bark mix is a top choice, as it provides excellent drainage and aeration, allowing roots to breathe.
Another great option is coconut coir, which retains moisture while still promoting airflow. This balance is essential for keeping your orchid hydrated without risking root rot.
Importance of Drainage 🚰
Drainage is vital for preventing root rot and ensuring healthy growth. A well-draining mix allows excess water to escape quickly, which is key to maintaining the right moisture levels.
Without proper drainage, your orchid could suffer from waterlogged roots, leading to a host of problems. Always prioritize a mix that supports good drainage to keep your plant thriving.
How to Create Your Own Mix 🛠️
Creating your own potting mix is simple and rewarding. Start by combining equal parts of orchid bark, perlite, and coconut coir.
This blend provides the perfect balance of drainage and moisture retention. Feel free to adjust the ratios based on your specific moisture retention needs, ensuring your orchid gets the best care possible.
With the right potting soil and mix, your desert orchid will flourish, setting the stage for vibrant blooms and healthy growth. Next, let’s explore the various pot material options that can further enhance your repotting experience.
Common Mistakes and Troubleshooting
Common Mistakes 🌱
Repotting can be tricky, and a few common mistakes can hinder your desert orchid's health.
Overpotting vs. Underpotting: Choosing a pot that's too large can lead to excess moisture retention, while a pot that's too small restricts root growth.
Not Using the Right Potting Mix: It's crucial to use a specialized orchid mix to ensure proper drainage and aeration. Regular potting soil simply won't cut it.
Ignoring Root Health: Failing to inspect and trim unhealthy roots can lead to further issues down the line. Always check your roots before repotting.
Dealing with Root Rot 🦠
Root rot is a serious concern for any orchid owner.
Signs: Look for mushy roots, a foul smell, and yellowing leaves. These are clear indicators that your plant is in trouble.
Solutions: If you notice these signs, remove the plant from its pot, trim away the affected roots, and repot it in fresh mix. Quick action can save your orchid.
Fixing a Poorly Repotted Orchid 🔄
Sometimes, despite your best efforts, things go awry.
Assess the Situation: Check for proper drainage and root health. If the plant isn’t thriving, it might be time to intervene.
Re-potting: If necessary, carefully remove the orchid and re-repot using the correct techniques. Don’t hesitate to start over if things aren’t right.
Recognizing and Addressing Transplant Shock 😱
Transplant shock can affect your orchid after repotting.
Symptoms: Watch for wilting, yellowing leaves, and stunted growth. These signs indicate your plant is struggling to adjust.
Mitigation: Provide optimal care by avoiding fertilizing and ensuring proper watering. With a little patience, your orchid can bounce back beautifully.
By being aware of these common pitfalls and knowing how to address them, you can ensure your desert orchid thrives in its new home. Next, let’s explore the best pot materials to use for your orchid.
⚠️ Safety First
This content is for general information and may contain errors, omissions, or outdated details. It is not medical, veterinary advice, or an endorsement of therapeutic claims.
Always consult a qualified healthcare professional before using any plant as food, medicine, or supplement.
Never eat any plant (or feed one to pets) without confirming its identity with at least two trusted sources.
If you suspect poisoning, call Poison Control (800) 222-1222, the Pet Poison Helpline (800) 213-6680, or your local emergency service immediately.
Spotted an error? Please report it here.
Repot your desert orchid like a pro 🌵 with Greg's tailored reminders and expert tips, ensuring your plant enjoys a thriving new home!