🌵 Top 4 Tips for Choosing Desert Orchid Soil
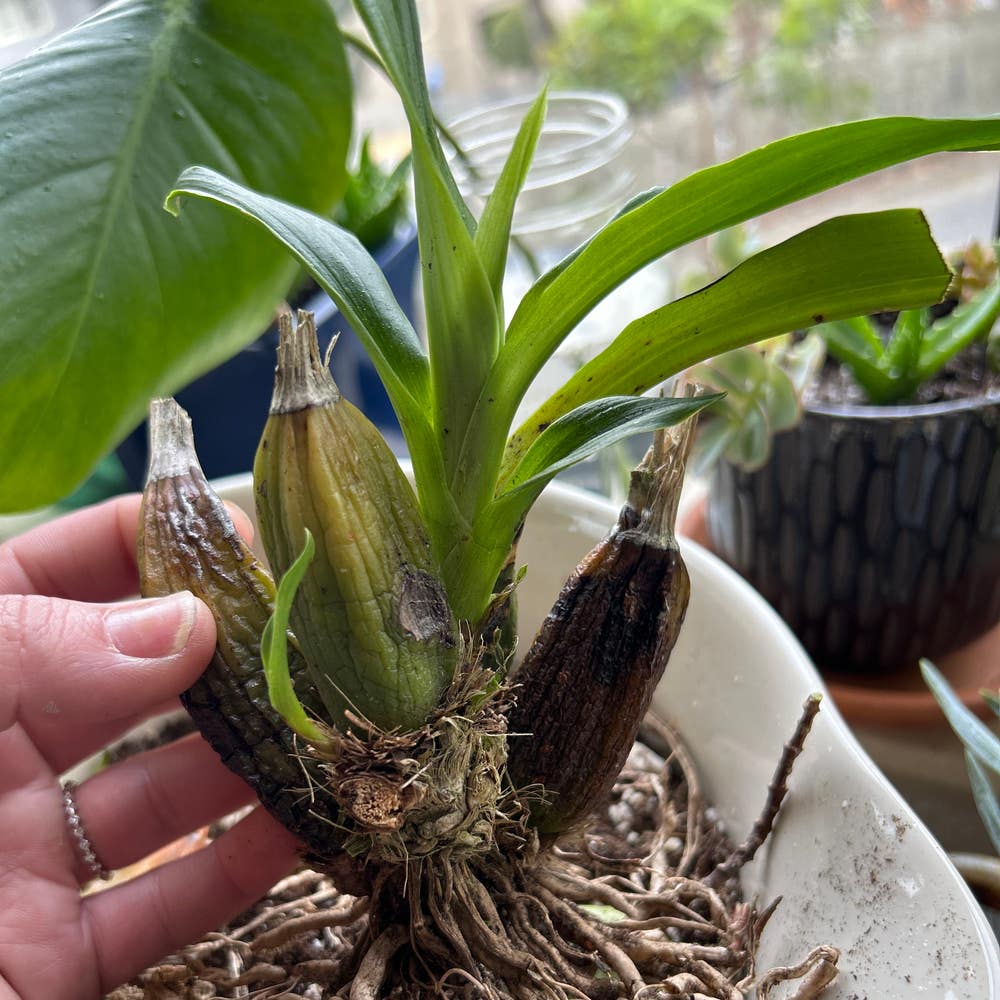
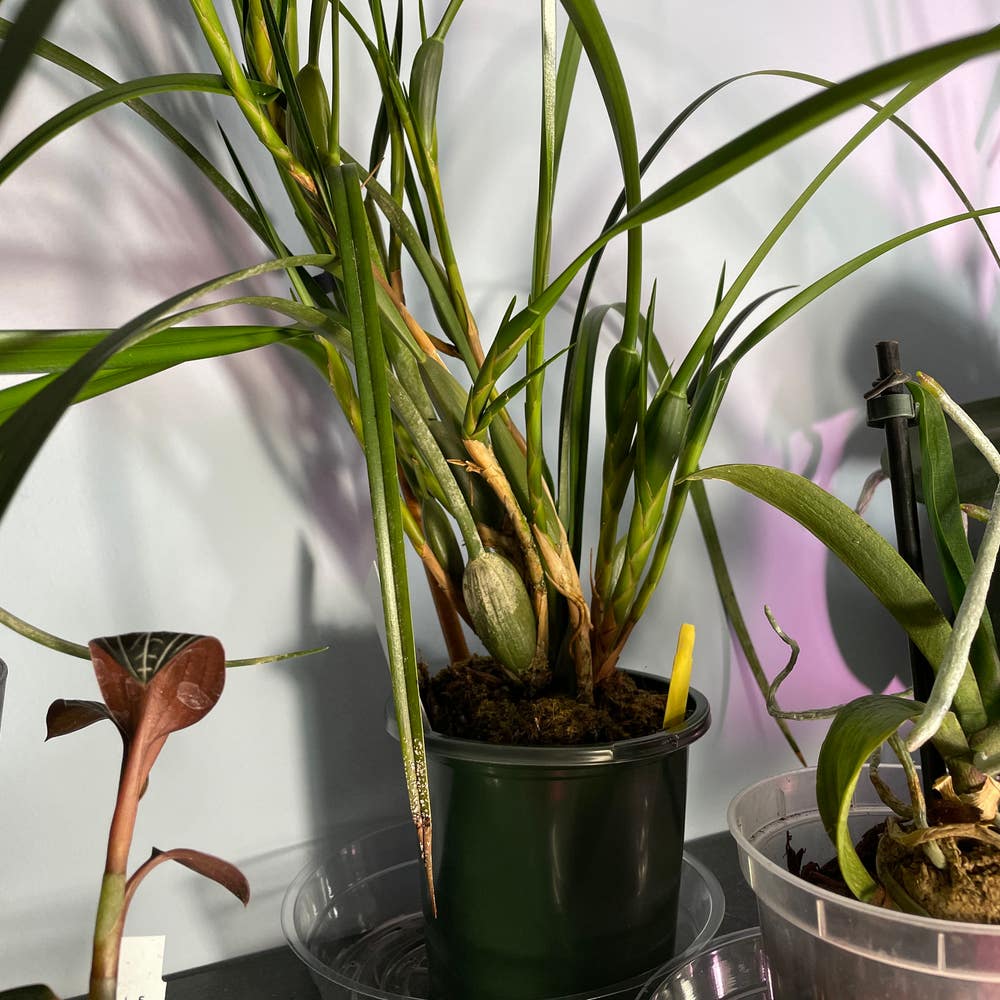
Eulophia petersii
By the Greg Editorial Team
Jan 07, 2025•6 min read
This article was created with the help of AI so we can cover more plants for you. May contain errors. See one? Report it here.
Transform your orchids 🌸 with the ideal soil mix and care tips for stunning blooms and vibrant health!
- 🌱 Ideal orchid soil mix: 50% bark, 30% perlite, 20% coconut coir for growth.
- 💧 Good drainage prevents root rot; soil should dry out within days after watering.
- 🔍 Signs of unhealthy soil: mold and compaction; check regularly for orchid health.
Ideal Soil Composition
Components of Orchid Potting Mix 🌱
Choosing the right materials for your orchid potting mix is crucial for healthy growth. The recommended components include bark chips for aeration, perlite for drainage, and coconut coir for moisture retention.
For an ideal mix, aim for a ratio of 50% bark chips, 30% perlite, and 20% coconut coir. This combination ensures that your orchids have the right environment to thrive.
Importance of Drainage 🚰
Good drainage is essential for preventing root rot, which can be detrimental to your orchids. It allows excess water to escape and mimics the natural habitat conditions where orchids flourish.
You can identify good drainage by observing how quickly the soil dries out after watering. Ideally, the soil should dry within a few days, and water should flow freely through the pot.
Recommended Soil pH Levels ⚗️
Maintaining the right soil pH is vital for nutrient availability. The ideal pH range for orchids is between 5.5 and 6.5.
Regular testing of soil pH is recommended to ensure optimal growth. A balanced pH level affects the absorption of essential nutrients, helping your orchids reach their full potential.
With the right soil composition, drainage, and pH levels, your orchids will be set up for success. Next, let’s explore how to identify and resolve unhealthy soil conditions.
Identifying and Resolving Unhealthy Soil
Signs of Unhealthy Soil 🌱
Recognizing unhealthy soil is crucial for maintaining your orchid's health.
Moldy Soil
You might notice a white or green fuzzy growth on the surface. This often results from overwatering or poor air circulation.
Compacted Soil
If you see water pooling on the surface or experience slow drainage, your soil may be compacted. This condition typically arises from a lack of aeration or the use of heavy materials.
How to Test Soil Health 🔍
Testing your soil health can be straightforward and effective.
Visual Inspection
Start with a visual check for any mold or signs of compactness.
Soil Moisture Test
Insert your finger about an inch deep into the soil. If it feels wet, it's best to hold off on watering.
Recommended Tools
Consider using a soil pH meter for accurate readings and a moisture meter to assess soil moisture levels effectively.
Solutions for Unhealthy Soil 🛠️
Once you've identified unhealthy soil, taking action is essential.
Moldy Soil Solutions
Remove the affected soil and replace it with fresh mix. Additionally, improving air circulation around the plant can help prevent future mold growth.
Compacted Soil Solutions
For compacted soil, repot your orchid with a more suitable mix. Incorporating perlite or orchid bark can significantly improve the soil's texture and drainage.
By addressing these issues promptly, you can ensure your orchids thrive in a healthy environment. Next, let's explore how to create a homemade soil mix that meets your orchid's needs.
Creating a Homemade Soil Mix
🍂 Ingredients for a Homemade Mix
Creating the perfect homemade soil mix for your orchids is essential for their health and growth. The key ingredients include:
- Pine bark fines: These provide structure and aeration.
- Charcoal: This helps control odors and keeps the mix fresh.
- Sphagnum moss: It retains moisture, ensuring your orchids stay hydrated.
🛠️ Step-by-Step Guide to Mixing Soil
Making your own orchid soil mix is easy and rewarding. Follow these simple steps:
- Gather materials: You’ll need pine bark, perlite, charcoal, and sphagnum moss.
- Measure and mix: Use the following ratios:
- 50% pine bark
- 30% perlite
- 10% charcoal
- 10% sphagnum moss
- Blend thoroughly: Ensure all components are evenly distributed for optimal performance.
🌱 Tips for Adjusting Soil Texture and Drainage
Fine-tuning your soil mix can significantly impact your orchids' health. Here are some quick tips:
- To increase drainage: Add more perlite or coarse sand to the mix.
- To retain moisture: Incorporate additional sphagnum moss or coconut coir.
By customizing your homemade soil mix, you can create the ideal environment for your orchids to thrive. Now that you have the perfect mix, let’s explore soil amendments and enhancements to further boost your orchids' growth.
Soil Amendments and Enhancements
🌱 Common Amendments for Improving Soil
To boost your orchid's health, consider adding specific soil amendments. Worm castings provide essential nutrients, while bone meal is rich in phosphorus, promoting strong root development and flowering.
Orchid fertilizer is another great option, offering balanced nutrition tailored for these unique plants. Incorporating these amendments can significantly enhance soil quality and plant vitality.
🥦 Nutrient Requirements
Understanding your orchid's nutrient needs is crucial for its growth. Nitrogen is vital for leaf and stem development, phosphorus supports flowering, and potassium contributes to overall plant health.
A balanced fertilization schedule ensures your orchids receive the nutrients they need at the right times. Regularly assessing nutrient levels can help you maintain optimal growth conditions.
🌿 Incorporating Organic Matter
Adding organic matter to your soil mix can greatly improve its structure and nutrient content. Mixing in worm castings or compost enriches the soil, providing a slow release of nutrients.
Using slow-release fertilizers can also help maintain nutrient levels over time. This approach not only supports healthy growth but also enhances the overall resilience of your orchids.
As you explore these soil amendments and enhancements, remember that a little effort goes a long way in nurturing your orchids. With the right care, your plants will thrive and reward you with stunning blooms.
Next, let's delve into the best practices for repotting your orchids to ensure they continue to flourish.
Repotting and Maintenance
When to Repot 🌱
Repotting is crucial for maintaining the health of your orchid. Look for signs like roots growing out of the pot or soil that has broken down and lost its structure.
Aim to repot your orchid every 1-2 years to ensure it thrives in fresh soil.
Best Practices for Repotting 🛠️
Repotting can be straightforward if you follow these steps:
- Gently remove the orchid from its pot.
- Trim away any dead or rotting roots.
- Place the orchid in a new pot filled with fresh soil mix.
- Water lightly after repotting to help settle the soil.
These steps will help your orchid adjust to its new environment with minimal stress.
Ongoing Soil Care Tips 🌿
Regular maintenance is key to a healthy orchid. Check the soil moisture frequently and adjust your watering schedule accordingly.
Keep an eye out for signs of nutrient deficiency or excess, as these can affect your plant's growth. Additionally, refreshing the top layer of soil annually can help maintain its health and vitality.
By staying proactive with repotting and maintenance, you’ll set your orchid up for success. Next, let’s explore soil amendments and enhancements to further boost your plant's health.
⚠️ Safety First
This content is for general information and may contain errors, omissions, or outdated details. It is not medical, veterinary advice, or an endorsement of therapeutic claims.
Always consult a qualified healthcare professional before using any plant as food, medicine, or supplement.
Never eat any plant (or feed one to pets) without confirming its identity with at least two trusted sources.
If you suspect poisoning, call Poison Control (800) 222-1222, the Pet Poison Helpline (800) 213-6680, or your local emergency service immediately.
Spotted an error? Please report it here.
Create the ideal soil mix 🌿 for your desert orchids with Greg's tailored tips and reminders, ensuring they thrive and bloom beautifully!