🌵 Should I Repot My Teddy Bear Cholla And If So, How?
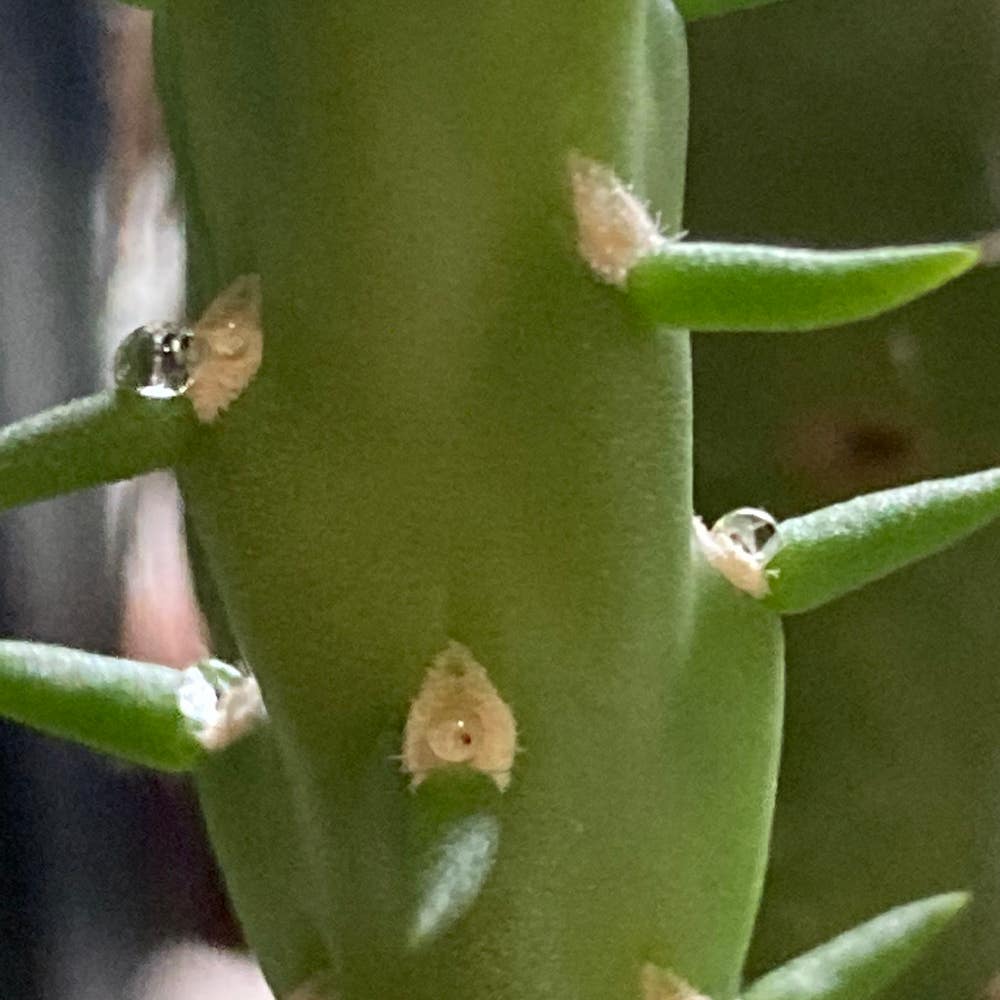
Cylindropuntia bigelovii
By the Greg Editorial Team
Mar 31, 2024•4 min read
This article was created with the help of AI so we can cover more plants for you. May contain errors. See one? Report it here.
Discover the secret to a thriving Cholla 🌵—knowing when a pot switch-up spells peak health and happiness!
- Root-bound or slow growth? Time to repot your Cholla.
- Terracotta for moisture, plastic for weight, ceramic for style.
- Post-repotting: Wait a week to water, then bright, indirect light.
When Your Cholla Cries for Change
🌵 Root Tango in a Tiny Pot
Spotting a root-bound Teddy Bear Cholla is like realizing your favorite jeans can't button up anymore. Roots should be firm and comfortably housed, not squished and spilling out of drainage holes like an overstuffed suitcase.
📉 Sluggish Growth Blues
When your Cholla's growth hits a standstill, it's not just being lazy. It's a silent scream for more space, a plea to stretch its roots. If your spiky pal's upward ambitions have stalled, it's time to consider a new pot.
💧 The Water Drainage Dilemma
Water should flow through the soil like a good conversation, not pool on top like awkward silence. If your Cholla's pot is holding water hostage, it's a clear sign the drainage isn't cutting it. Root rot could be lurking beneath the surface, ready to crash the party.
Picking the Perfect Pot
🚰 Drainage is Key
Proper drainage is the lifeline for your Teddy Bear Cholla. Drainage holes are the unsung heroes in the battle against root rot, providing an escape route for excess water. Without them, you're setting the stage for a soggy disaster.
Material Matters
Terracotta: The Breathable Choice
Terracotta is like the breathable cotton tee for your Cholla's roots. It allows air in and moisture out, making it the MVP for moisture management. Just remember, it's a bit on the heavy side and can be fragile.
Plastic: The Lightweight Contender
Plastic pots are the budget-friendly lightweight option. They're easy to move but can be a trap for moisture. If you're a bit heavy-handed with the watering can, be cautious with these.
Ceramic: The Stylish Middle Ground
Ceramic pots offer a balance of style and functionality. They're heavier and less porous than terracotta, so they hold moisture longer. Make sure they have drainage holes to prevent your Cholla from swimming instead of thriving.
The Verdict
No matter the material, never compromise on drainage. It's the cornerstone of a happy, healthy Cholla. Choose wisely, and your spiky friend will thank you.
The Great Move: Repotting Your Cholla
🛠️ Prep Work
Before you get down to the nitty-gritty, suit up. Don those thick gloves; Teddy Bear Cholla isn't cuddly. Clear your workspace and lay down some newspaper—unless you fancy turning your floor into a desert. Cactus mix is your go-to soil, and don't forget to pre-wash the new pot. It's like prepping for surgery, but for a plant.
🕺 The Delicate Dance
Now, the dance begins. Gently coax your Cholla out of its old pot—no sudden moves. If it's clinging on for dear life, slide a knife around the inside edge. Liberate the roots from the old soil, but be gentle. It's a fine line between thorough and destructive.
🏡 Home Sweet New Home
Time for the Cholla's new digs. Ensure the pot's only an inch or two larger than the old one—oversized homes can drown roots in soil. Position your plant, backfill with soil, and use a chopstick to poke around for air pockets. It's like tucking your Cholla into bed, just with more soil and less storytelling.
Handling with Care: Post-Repotting Tips
💧 The First Watering
After repotting your Teddy Bear Cholla, resist the urge to water immediately. This cactus prefers tough love. Wait for about a week, allowing the roots to recover and avoid potential root rot. When it's time, give it a good soak, ensuring the water drains freely. Then, back off and let the soil dry completely. Remember, overwatering is the fast track to a soggy disaster.
🌞 Settling In
Your Cholla's new pad should have bright, indirect sunlight. Think of it as a cozy spot away from the harsh glare of reality. Keep the temperature steady; no sudden chills or heat waves. Consistency is key here. Drafts are the enemy, so position your spiky pal in a spot that's as stable as your favorite dive bar. Watch for signs of stress, like discoloration or wilting, and adjust the environment as needed. New growth? That's your high-five from the Cholla.
⚠️ Safety First
This content is for general information and may contain errors, omissions, or outdated details. It is not medical, veterinary advice, or an endorsement of therapeutic claims.
Always consult a qualified healthcare professional before using any plant as food, medicine, or supplement.
Never eat any plant (or feed one to pets) without confirming its identity with at least two trusted sources.
If you suspect poisoning, call Poison Control (800) 222-1222, the Pet Poison Helpline (800) 213-6680, or your local emergency service immediately.
Spotted an error? Please report it here.
Ensure your Teddy Bear Cholla thrives in its new home by using Greg to measure the perfect pot size 📏 and set up a post-repotting care schedule.