🌵 Ultimate Guide to Potting Teddy Bear Cholla
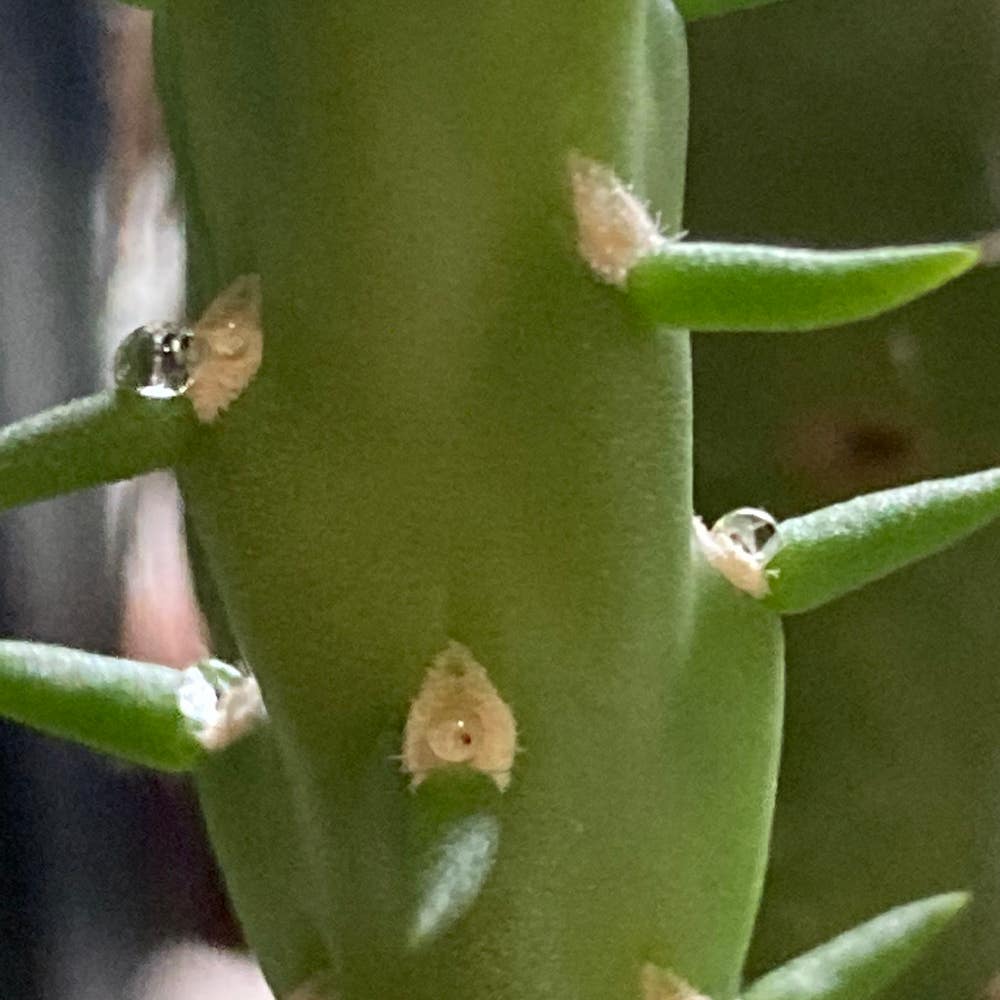
Cylindropuntia bigelovii
By the Greg Editorial Team
Jul 28, 2024•3 min read
This article was created with the help of AI so we can cover more plants for you. May contain errors. See one? Report it here.
Discover the secret to a flourishing Teddy Bear Cholla 🌵 with our expert pot selection and repotting guide!
- 🌵 Choose a pot 1-2 inches larger for Teddy Bear Cholla's growth.
- 🌦️ Clay for moisture control, plastic for retention - pick based on needs.
- 💧 Ensure pot has drainage to prevent root rot and promote health.
Pot Selection Essentials
🌱 Understanding Container Size
Selecting the right container size is crucial for the Teddy Bear Cholla's root development and overall well-being. Here's what you need to know:
- A pot too small can restrict root growth, leading to a stressed and stunted plant.
- Conversely, a pot too large holds excess moisture, increasing the risk of root rot.
- For optimal growth, choose a pot that is 1-2 inches larger in diameter than the current one.
🏺 Evaluating Pot Materials
The material of your pot can significantly affect your Teddy Bear Cholla's moisture balance and temperature regulation:
- Clay pots: Porous and breathable, they allow air and moisture to pass through, reducing the risk of waterlogging.
- Plastic pots: Lightweight and moisture-retentive, suitable for drier environments but may require more careful watering.
- Ceramic pots: Often glazed and attractive, they retain moisture well but can be heavy and may require extra drainage considerations.
🚰 Ensuring Adequate Drainage
Drainage is a non-negotiable aspect of Teddy Bear Cholla care:
- Ensure your chosen pot has sufficient drainage holes to prevent water accumulation at the bottom.
- If drainage is inadequate, consider drilling additional holes or using a pot with a built-in drainage system.
- For extra precaution, use a matching saucer to collect excess water and protect surfaces.
Repotting Strategies
Recognizing Repotting Time
Knowing when to repot your Teddy Bear Cholla is crucial for its health and growth. Look out for these tell-tale signs:
- Roots peeking out of drainage holes or circling the pot's bottom.
- Sluggish growth or a plant that looks too large for its current pot.
- Soil that dries out too quickly, indicating the root system may be too dense.
The best times for repotting are late winter or early spring, when the plant is emerging from dormancy and can recover from the stress of repotting during its active growth phase.
Selecting a New Pot
When it's time for a new home for your Teddy Bear Cholla, consider these factors:
- Size: Choose a pot that is one size larger than the current one to provide adequate space for growth.
- Material: Clay pots are porous and help with moisture control, while plastic pots are lightweight and retain moisture longer.
- Drainage: Ensure the new pot has ample drainage holes to prevent waterlogging.
🌵 Step-by-Step Guide to Repotting Teddy Bear Cholla Safely
- Gently remove the Cholla from its current pot, taking care not to damage its roots.
- Trim any dead or excessively long roots to encourage healthy growth.
- Place a layer of fresh cactus-specific soil in the new pot and position the Cholla in the center.
- Fill around the plant with more soil, firming it down lightly to secure the Cholla.
- Water sparingly and place the plant in a location with bright, indirect light to recover.
⚠️ Safety First
This content is for general information and may contain errors, omissions, or outdated details. It is not medical, veterinary advice, or an endorsement of therapeutic claims.
Always consult a qualified healthcare professional before using any plant as food, medicine, or supplement.
Never eat any plant (or feed one to pets) without confirming its identity with at least two trusted sources.
If you suspect poisoning, call Poison Control (800) 222-1222, the Pet Poison Helpline (800) 213-6680, or your local emergency service immediately.
Spotted an error? Please report it here.
Repot your Teddy Bear Cholla with confidence and let Greg schedule watering reminders 🌵 to ensure it flourishes in its new pot.