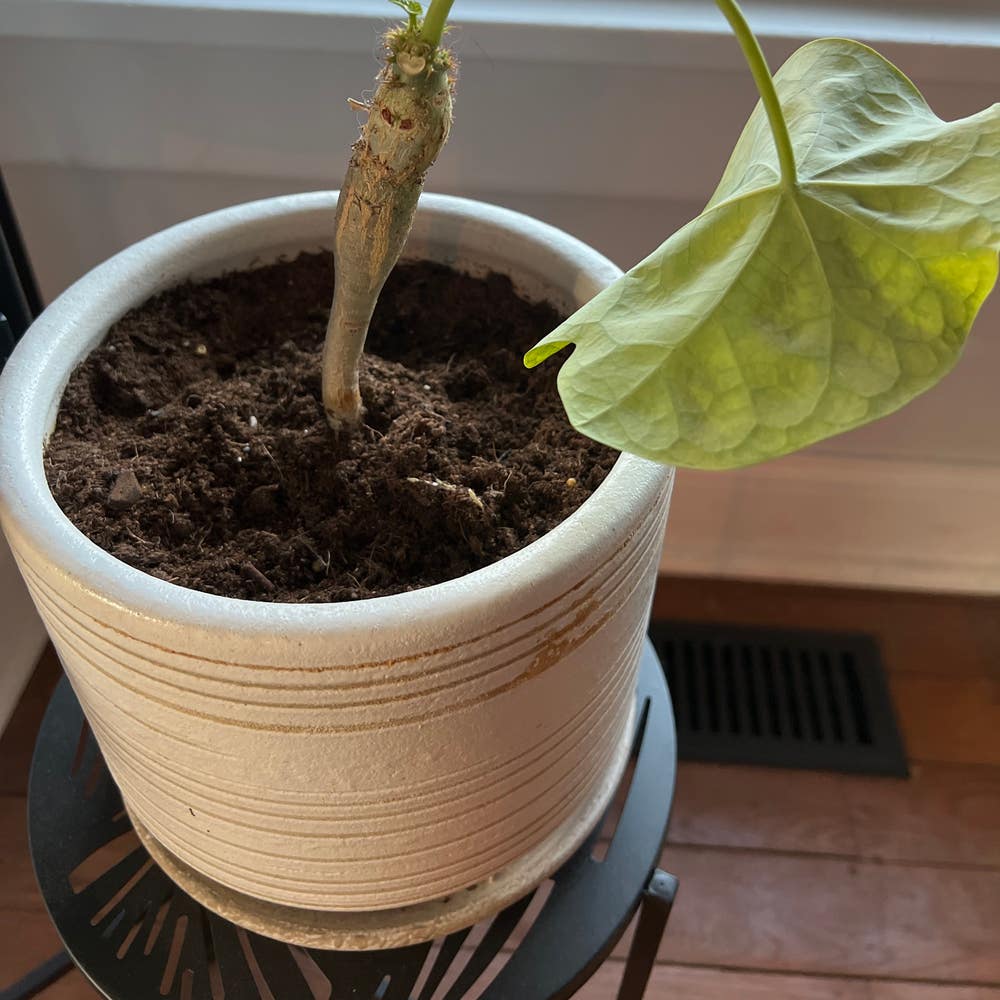
🌴 When to Repot Buddha's Palm Plant
Jatropha podagrica
By the Greg Editorial Team
Oct 19, 2024•6 min read
This article was created with the help of AI so we can cover more plants for you. May contain errors. See one? Report it here.
Elevate your Buddha's Palm's health 🌱 with essential potting tips and care techniques for thriving growth!
- 🌱 Choose the right pot size—2-4 inches larger promotes healthy root growth.
- 💧 Ensure proper drainage with holes and a well-draining mix to prevent root rot.
- 🌞 Post-repotting care is vital; monitor for stress and adjust light and watering.
Choosing the Right Pot
Best Materials for Pots 🌱
When selecting a pot for your Buddha's Palm plant, consider the material carefully.
Ceramic
Ceramic pots are visually appealing and provide good insulation for roots. However, they can be heavy and may crack in extreme temperatures.
Plastic
Plastic pots are lightweight and affordable, making them a popular choice. They offer good drainage but may not be as aesthetically pleasing and can degrade over time.
Terracotta
Terracotta pots excel in drainage and are breathable, promoting healthy root growth. On the downside, they can dry out quickly and are heavier than plastic options.
Ideal Pot Size and Shape 📏
Choosing the right size and shape is crucial for your plant's health.
Recommended Size
Aim for a pot that is 2-4 inches larger in diameter than the current one. This allows room for growth without overwhelming the roots.
Shape Considerations
Opt for wider pots to provide stability as the leaves grow large. Deep pots are also beneficial, accommodating the root system as it expands.
With the right pot selected, you're well on your way to ensuring your Buddha's Palm thrives. Next, let’s dive into soil and drainage considerations to keep your plant happy and healthy.
Soil and Drainage Considerations
Recommended Soil Types for Repotting 🌱
When repotting your Buddha's Palm plant, a well-draining potting mix is essential. The ideal blend includes peat moss, perlite, and orchid bark, creating a lightweight and airy environment for the roots.
Aim for a pH level between 6.0 and 7.0, which is slightly acidic to neutral. This range supports healthy growth and nutrient absorption.
Importance of Drainage Holes 🚰
Drainage holes are a must-have in any pot. They prevent waterlogging, which can lead to root rot, a common issue for indoor plants.
These holes also allow excess water to escape, ensuring your plant doesn't sit in soggy soil. A well-drained pot is crucial for the health of your Buddha's Palm.
How to Improve Drainage 🛠️
To enhance drainage, consider adding perlite or coarse sand to your potting mix. These materials create air pockets, allowing water to flow freely.
Another effective method is to use a layer of gravel at the bottom of the pot. This acts as a barrier, further preventing water from accumulating around the roots.
By focusing on soil quality and drainage, you set your Buddha's Palm up for success. Next, let’s dive into the step-by-step repotting process to ensure a smooth transition for your plant.
Step-by-Step Repotting Process
🛠️ Tools Needed for Repotting
Before diving into repotting your Buddha's Palm plant, gather your tools. You'll need clean, sharp pruning shears, a trowel or small shovel, a watering can or spray bottle, and gloves for protection.
🪴 How to Safely Remove the Plant from Its Old Pot
Removing your plant from its old pot can be straightforward if done carefully.
- Water the plant a day before to soften the soil, making it easier to remove.
- Gently tilt the pot and tap the sides to loosen the root ball.
- Carefully pull the plant out by the base, ensuring you avoid damaging the roots.
🌱 Proper Techniques for Placing the Plant in a New Pot
Once your plant is out, it's time to place it in its new home.
- Fill the new pot with a layer of soil at the bottom.
- Position the plant in the center, ensuring the roots are spread out comfortably.
- Fill around the sides with soil, pressing gently to eliminate any air pockets.
- Water thoroughly to settle the soil and help the plant adjust.
Following these steps will ensure a smooth transition for your Buddha's Palm plant. With the right care, it will thrive in its new environment, setting the stage for vibrant growth. Next, let’s explore how to care for your plant after repotting.
Post-Repotting Care
Watering Schedule After Repotting 🌊
Immediately after repotting, give your Buddha's Palm Plant a good drink. This initial watering helps settle the soil around the roots.
Follow up by watering only when the top inch of soil feels dry. This approach prevents overwatering, which can lead to root rot.
Light Requirements Post-Repotting 💡
After repotting, your plant will thrive in indirect bright light. This lighting helps it adjust without the stress of direct sunlight.
For the first few weeks, keep it out of direct sun to minimize shock. This gentle transition is crucial for its recovery.
Signs of Stress and How to Address Them 🚨
Watch for wilting or drooping leaves; these are signs your plant may need more water. Check the soil moisture and adjust your watering schedule accordingly.
If you notice leaf discoloration, it could indicate improper light exposure or humidity levels. Ensure your plant is getting the right light and consider misting it to boost humidity.
With proper post-repotting care, your Buddha's Palm Plant will flourish. Next, let’s explore common repotting mistakes to avoid for a healthier plant.
Common Repotting Mistakes
🌱 Overpotting vs. Underpotting
Choosing the right pot size is crucial for your Buddha's Palm plant. Overpotting, or selecting a pot that's too large, can lead to excess moisture retention, which may cause root rot.
On the flip side, underpotting restricts root growth and can stress your plant. Aim for a pot that’s 2-4 inches larger in diameter than the current one to strike the perfect balance.
🧐 Ignoring Root Health During Repotting
Before repotting, always inspect the roots for any signs of rot or damage. Healthy roots are essential for your plant's growth, so trim any unhealthy ones to encourage new development.
Taking a moment to check root health can save you from future headaches and ensure your plant thrives in its new home.
⏳ Not Allowing for Acclimatization After Repotting
After repotting, your plant needs time to adjust to its new environment. Gradually reintroduce it to its usual spot, allowing it to acclimate without shock.
Keep an eye out for signs of stress, like wilting or discoloration, and adjust your care routine accordingly. This gentle approach can make all the difference in helping your plant settle in comfortably.
By avoiding these common mistakes, you'll set your Buddha's Palm plant up for success in its new pot. Now, let’s explore how to care for your plant after repotting to ensure it continues to thrive.
⚠️ Safety First
This content is for general information and may contain errors, omissions, or outdated details. It is not medical, veterinary advice, or an endorsement of therapeutic claims.
Always consult a qualified healthcare professional before using any plant as food, medicine, or supplement.
Never eat any plant (or feed one to pets) without confirming its identity with at least two trusted sources.
If you suspect poisoning, call Poison Control (800) 222-1222, the Pet Poison Helpline (800) 213-6680, or your local emergency service immediately.
Spotted an error? Please report it here.
Repot your Buddha's Palm Plant like a pro 🌿 by using Greg's tailored reminders for pot size, soil quality, and post-repotting care to help your plant flourish in its new home!