🤚 How to Propagate Your Buddha's Palm Plant
Jatropha podagrica
By the Greg Editorial Team
Oct 19, 2024•6 min read
This article was created with the help of AI so we can cover more plants for you. May contain errors. See one? Report it here.
Master Buddha's Palm propagation 🌴 with these expert tips for cuttings, seeds, and division to ensure thriving plants!
- 🌱 Select healthy 6-8 inch cuttings with 2-3 leaf nodes for best results.
- 🌞 Propagate in spring to early summer for optimal growth conditions.
- 💧 Maintain consistent moisture without waterlogging to prevent root rot.
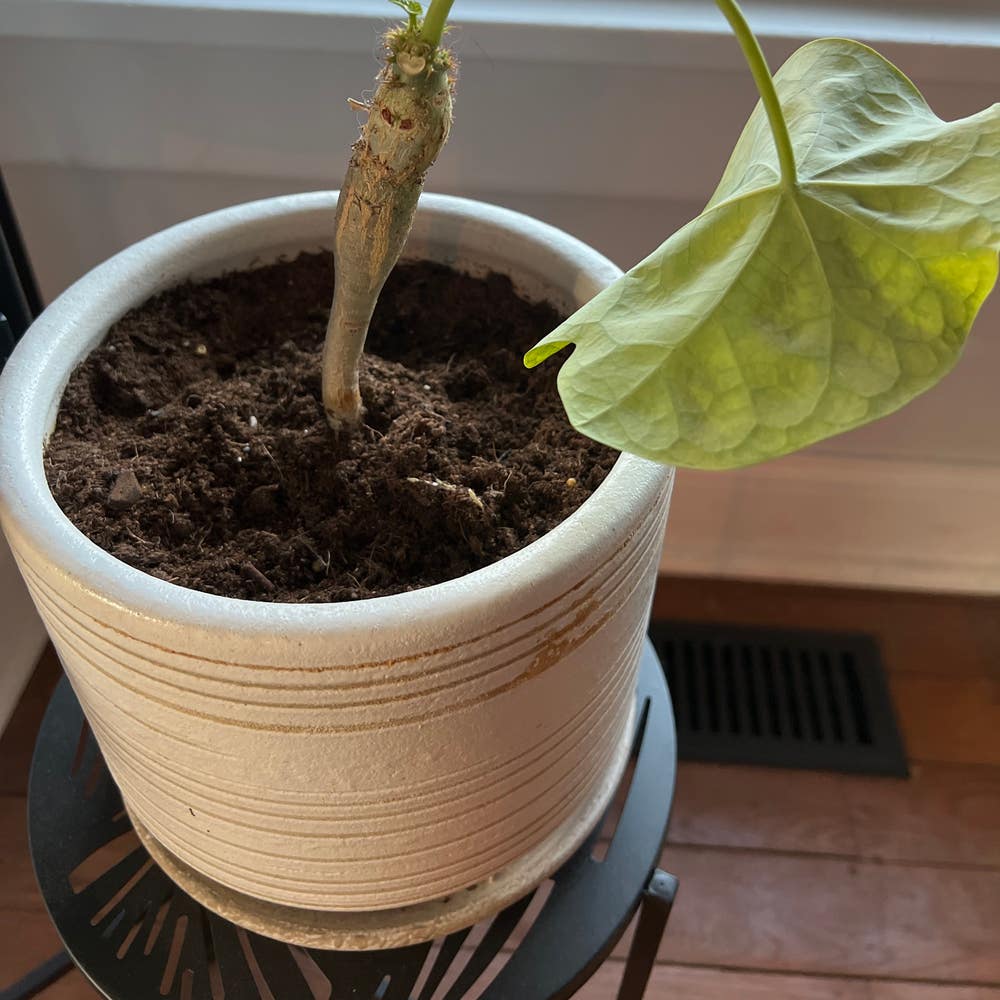
Propagation by Cuttings
🌱 Selecting the Right Cutting
To successfully propagate your Buddha's Palm plant, start by selecting the right cutting. Aim for a length of 6-8 inches and choose healthy stems that have at least 2-3 leaf nodes.
Timing is crucial; the best period to take cuttings is during the growing season, specifically from spring to early summer. This ensures your cuttings have the best chance of thriving.
✂️ Preparing the Cutting
Once you've selected your cutting, it's time to prepare it for rooting. Remove the lower leaves to prevent rot, which can hinder growth.
Make a clean cut at a 45-degree angle. This increases the surface area, allowing for better root development.
🌿 Rooting Hormone Application
Applying rooting hormone can significantly boost your cutting's chances of success. Simply dip the cut end into the hormone powder or gel before planting.
This step is essential as it promotes root development, giving your cutting a solid foundation to grow.
🌍 Planting the Cutting
Next, you'll want to plant your cutting in a well-draining potting mix, such as a blend of peat and perlite. Ensure you plant it at a depth of 2-3 inches.
After planting, water lightly to settle the soil around the cutting. This helps establish a good connection between the cutting and the soil.
💧 Care for Newly Planted Cuttings
Caring for your newly planted cuttings is vital for their success. Maintain consistent moisture without waterlogging the soil, as this can lead to root rot.
Place your cuttings in a warm, humid environment, ideally between 70-80°F. To retain moisture, consider covering them with a plastic bag or humidity dome. This simple step can make a world of difference in their growth.
With these steps, you're well on your way to successfully propagating your Buddha's Palm plant through cuttings. Next, let's explore how to propagate this unique plant using seeds.
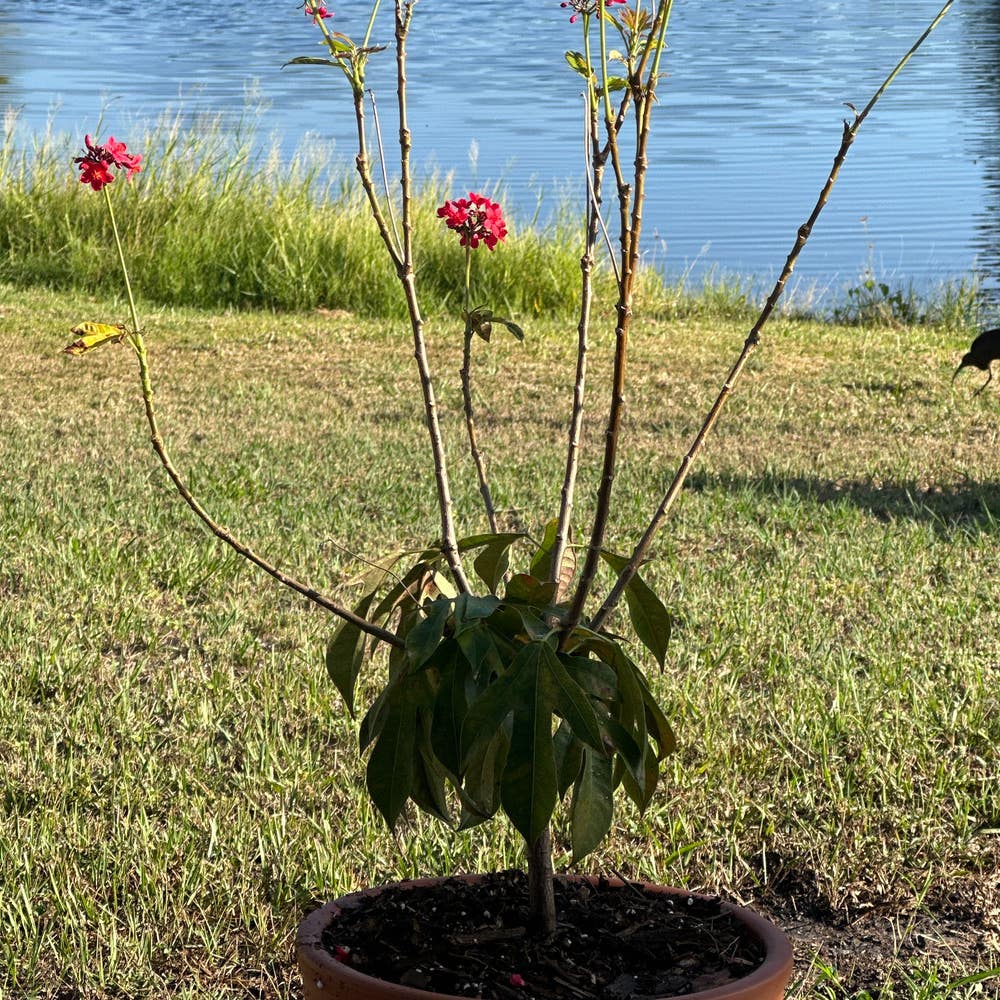
Propagation by Seeds
🌱 Seed Collection and Preparation
Harvesting seeds from your Buddha's Palm plant is a rewarding process. Wait until the fruit turns brown, then collect the seeds and clean them thoroughly to remove any pulp.
Let the seeds dry for about 24 hours. This step is crucial for preventing mold during germination.
🌱 Germination Process
Before planting, soak the seeds in water for 24 hours. This helps to soften the seed coat and kickstart the germination process.
Plant the seeds about 1/2 inch deep in a seed-starting mix. This depth provides the right balance of moisture and warmth for successful sprouting.
🌱 Ideal Conditions for Seed Growth
To ensure optimal germination, maintain a temperature between 75-85°F. This warm environment encourages the seeds to sprout.
Humidity is also key; keep the soil consistently moist but avoid sogginess. Additionally, provide indirect sunlight or fluorescent light for 12-16 hours daily to support healthy growth.
🌱 Transplanting Seedlings
Timing is everything when it comes to transplanting. Wait until your seedlings develop 2-3 true leaves before moving them to larger pots.
When transplanting, ensure there's at least 6 inches of space between seedlings. This spacing allows each plant to thrive without competing for resources.
With these steps, you're well on your way to successfully propagating your Buddha's Palm plant from seeds. Next, let’s explore how to propagate through division for even more growth opportunities.
Propagation by Division
When to Divide 🌱
Dividing your Buddha's Palm plant is best done in spring, coinciding with its active growth phase. Look for signs like crowded roots or reduced growth to determine when it's time to divide.
Tools Needed for Division 🛠️
You'll need a clean, sharp spade or garden knife for the task. Don't forget a sterilizing solution, like rubbing alcohol, to keep diseases at bay.
Step-by-Step Division Process 📝
- Remove the Plant: Carefully take the plant out of its pot, being gentle with the roots.
- Separate the Root Ball: Gently divide the root ball into sections, ensuring each has both roots and leaves.
- Trim Damaged Roots: Before replanting, trim any damaged roots to promote healthy growth.
Post-Division Care 💧
After replanting the divisions, water them thoroughly to settle the soil. Keep them in a shaded area for a few days to minimize transplant shock, then gradually introduce them to brighter light conditions.
With these steps, you'll set your Buddha's Palm up for a thriving future. Next, let’s explore common challenges in propagation to ensure your efforts are successful.
Common Challenges in Propagation
🌱 Root Rot Prevention
Root rot can be a significant setback in propagating your Buddha's Palm plant. To prevent this, ensure you use well-draining soil and pots with drainage holes.
Avoid overwatering; it's crucial to let the top inch of soil dry out between waterings. This simple practice can save your cuttings and seedlings from drowning.
🐛 Pests and Diseases
Pests like mealybugs and spider mites can wreak havoc on your plants. Regular inspection is key to catching these nuisances early.
Maintaining overall plant health through proper care can also help fend off these pests. A healthy plant is less likely to fall victim to infestations.
🌡️ Environmental Factors Affecting Propagation
Temperature fluctuations can hinder both rooting and germination processes. Keeping your plants in a stable environment is essential for successful propagation.
Humidity levels are another critical factor. Monitor them closely, especially in dry environments, to ensure your plants thrive.
By addressing these common challenges, you can enhance your propagation success and enjoy the beauty of your Buddha's Palm plant. Next, let’s explore some tips for successful propagation that will set you up for even greater success.
Tips for Successful Propagation
🌡️ Optimal Temperature and Humidity
For successful propagation, aim for a temperature range of 70-80°F. This warmth is crucial for both cuttings and seedlings to thrive.
Humidity plays a vital role as well. Keeping humidity levels between 60-80% will significantly enhance rooting success.
💡 Light Requirements
Light is essential for healthy growth. Provide bright, indirect light for your cuttings and seedlings to ensure they flourish.
Be cautious with direct sunlight, as it can lead to leaf scorch. Protect your plants to keep them healthy and vibrant.
🌱 Fertilization After Propagation
Patience is key when it comes to fertilization. Wait until you see new growth before introducing any fertilizers.
Once your plants are ready, use a diluted balanced fertilizer every 4-6 weeks during the growing season. This will support their growth and vitality.
By following these tips, you'll set your Buddha's Palm plant up for successful propagation. Next, let’s explore common challenges you might face during this process.
⚠️ Safety First
This content is for general information and may contain errors, omissions, or outdated details. It is not medical, veterinary advice, or an endorsement of therapeutic claims.
Always consult a qualified healthcare professional before using any plant as food, medicine, or supplement.
Never eat any plant (or feed one to pets) without confirming its identity with at least two trusted sources.
If you suspect poisoning, call Poison Control (800) 222-1222, the Pet Poison Helpline (800) 213-6680, or your local emergency service immediately.
Spotted an error? Please report it here.
Propagate your Buddha's Palm with confidence 🌿 by using Greg's tailored reminders and expert tips to ensure your cuttings thrive and flourish!