Wild Coco Roots 101 🥥
Eulophia alta
By the Greg Editorial Team
Jan 06, 2025•7 min read
This article was created with the help of AI so we can cover more plants for you. May contain errors. See one? Report it here.
- 🌱 Fibrous roots maximize nutrient absorption, ensuring plant health and growth.
- 🌍 Understanding root systems helps tailor care for thriving plants in various conditions.
- 🚫 Prevent root rot by ensuring proper watering and using well-draining soil.
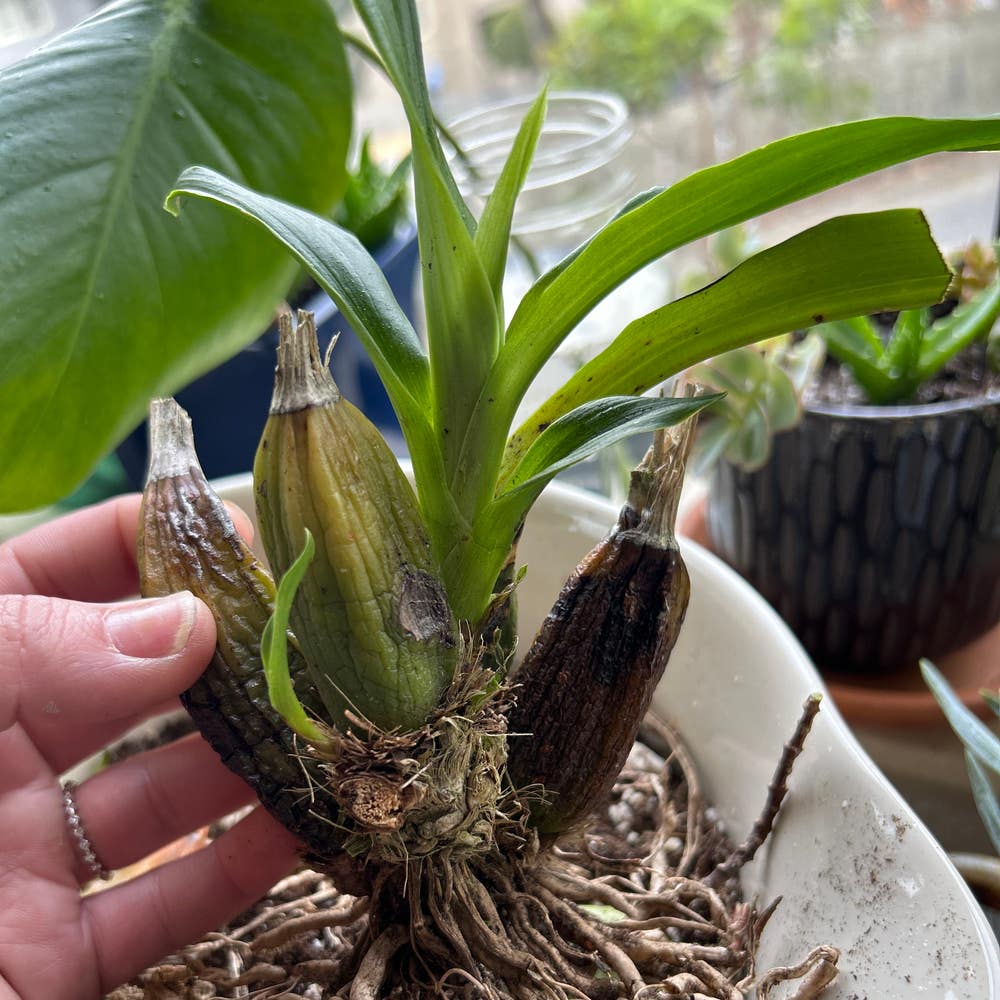
Root System Characteristics
Fibrous root systems are fascinating structures that play a crucial role in a plant's ability to absorb nutrients and water. These roots spread out horizontally, creating a dense network that maximizes nutrient uptake from the soil.
🌱 Fibrous Roots vs. Taproots
When comparing root types, fibrous roots differ significantly from taproots. Taproots grow deep into the soil, anchoring the plant and accessing moisture from greater depths, while fibrous roots focus on a broader lateral spread, which enhances stability and nutrient absorption.
🥦 Nutrient Absorption Capabilities
The extensive nature of fibrous roots allows them to efficiently absorb nutrients across a wide area. This adaptability is vital for plants in varying soil conditions, enabling them to thrive even in less-than-ideal environments.
Understanding these root characteristics can help you appreciate the complexity of plant life. By recognizing the differences between root types, you can make informed decisions about plant care and maintenance.
Next, we will explore the growth patterns of these roots and how they impact overall plant health.
Root Growth Patterns
Depth and Spread 🌱
The root system of wild coco plants can reach impressive depths, often extending significantly based on soil conditions. This depth is crucial for accessing moisture and nutrients that are otherwise out of reach.
In addition to depth, these roots exhibit a wide lateral spread. This expansive growth not only stabilizes the plant but also enhances its ability to absorb nutrients efficiently from the surrounding soil.
Implications for Care 🧑🌾
Understanding root growth patterns is essential for effective plant care. The depth and spread of roots directly influence how you should approach watering and fertilization.
For instance, deeper roots may require less frequent watering, as they can tap into moisture reserves. Conversely, a broader spread means that the plant can benefit from a wider area of nutrient availability, making it adaptable to various soil types and conditions.
This adaptability allows wild coco plants to thrive in diverse environments, but it also means you need to tailor your care practices accordingly. By recognizing these growth patterns, you can better meet the specific needs of your plants, ensuring they remain healthy and vibrant.
As we move forward, let’s explore how to effectively water and fertilize these resilient plants.
Watering and Fertilizing
Watering Needs 🌊
Maintaining consistent moisture is crucial for the health of fibrous root systems. However, it's essential to avoid waterlogging, which can lead to root rot.
To determine the right watering frequency, consider the characteristics of your plant's roots. Generally, watering once a week is a good starting point, but this may vary based on factors like soil type and climate.
Fertilization Techniques 🌱
When it comes to fertilizing plants with fibrous roots, opt for balanced fertilizers that provide essential nutrients. Organic options, such as compost or well-rotted manure, can also work wonders.
Timing is key for effective fertilization. Apply fertilizer during the growing season, typically in spring and summer, and repeat every 4-6 weeks to support robust root health.
Understanding these watering and fertilization techniques will set your plants up for success. Next, let’s explore common root issues that can arise and how to tackle them effectively.
Common Root Issues
Identifying Problems 🌱
Root health is crucial for plant vitality, but issues like root rot and overwatering can quickly derail growth. Keep an eye out for signs of distress, such as yellowing leaves and stunted growth, which often indicate that something is amiss below the surface.
Prevention and Solutions 🛠️
To prevent root rot, it's essential to adopt best practices for watering. Ensure that your plants receive consistent moisture without becoming waterlogged, as excess water can suffocate roots.
Soil selection plays a vital role in root health. Choose well-draining soil to promote healthy roots and prevent water accumulation. Incorporating drainage techniques, like adding perlite or sand, can significantly enhance soil aeration and support robust root systems.
By understanding these common root issues and implementing preventive measures, you can foster a thriving environment for your plants. Next, we'll explore how to recognize and address rootbound conditions, ensuring your plants continue to flourish.
Root Health Indicators
Visual Cues for Healthy Roots 🌱
Healthy roots are a gardener's pride. Look for roots that are white, firm, and robust, indicating they are thriving and capable of nutrient absorption.
Root health is crucial for overall plant vitality. Strong roots support healthy growth, enabling plants to withstand stress and flourish in their environment.
Signs of Unhealthy Roots and Corrective Measures 🚨
Unhealthy roots can spell trouble for your plants. Indicators include a brown, mushy texture and a foul odor, signaling potential root rot or other issues.
When you spot unhealthy roots, take immediate action. Prune away the damaged sections, repot the plant in fresh soil, and adjust your care routine to promote recovery.
Recognizing and Addressing Rootbound Conditions
📏 Definition and Recognition
Being rootbound means a plant's roots have outgrown their container, leading to a cramped environment. This often results in roots growing out of drainage holes and stunted growth, signaling that it's time for a change.
🔧 Addressing Rootbound Issues
Timing is crucial when it comes to repotting. Generally, you should consider repotting every 1-2 years, depending on the growth rate of your plant.
Step-by-Step Guide to Safely Repotting a Rootbound Plant
- Choose the Right Pot: Select a pot that is 1-2 inches larger in diameter than the current one.
- Prepare the New Pot: Add fresh potting mix to the bottom of the new pot.
- Remove the Plant: Gently slide the plant out of its old pot, taking care not to damage the roots.
- Loosen the Roots: If the roots are tightly bound, gently tease them apart to encourage growth in the new soil.
- Position the Plant: Place the plant in the new pot, ensuring it sits at the same depth as before.
- Fill with Soil: Add potting mix around the roots, firming it gently to eliminate air pockets.
- Water Thoroughly: After repotting, give the plant a good drink to help settle the soil.
By recognizing and addressing rootbound conditions promptly, you can ensure your plants continue to thrive. This proactive approach not only supports healthy growth but also enhances your gardening experience.
Next, let’s explore the importance of root health indicators to keep your plants in top shape.
Propagation and Division
🌱 Importance of Root Health
Healthy roots are the backbone of successful plant propagation. They not only support the plant's growth but also ensure that new divisions thrive after being separated.
Timing is crucial when it comes to propagation. The best practice is to divide and replant during the plant's active growing season, typically in spring or early summer. This allows the roots to establish themselves in their new environment before the stress of winter.
✂️ Techniques for Dividing and Propagating
Dividing root clumps can seem daunting, but with the right approach, it’s straightforward. Here’s a step-by-step guide to help you through the process:
- Choose the Right Time: Wait until the plant is actively growing.
- Prepare Your Tools: Use a clean, sharp spade or knife to minimize damage.
- Remove the Plant: Gently lift the plant from its pot or the ground, being careful not to disturb the roots too much.
- Inspect the Roots: Look for healthy, firm roots. If you notice any dead or mushy roots, trim them away.
- Divide the Clump: Use your hands or the knife to separate the root clumps. Aim for sections with at least a few healthy roots and some foliage.
- Replant Immediately: Place the divided sections in fresh soil, ensuring they are at the same depth as before.
- Water Thoroughly: Give them a good soak to help settle the soil around the roots.
After propagation, care is essential for recovery and growth. Keep the newly potted plants in a warm, shaded area for a few weeks. Water them regularly, but avoid overwatering to prevent root rot.
With proper care, your newly propagated plants will flourish, showcasing the beauty of healthy roots. Understanding these techniques not only enhances your gardening skills but also deepens your connection with your plants.
As we move forward, let’s explore how to recognize and address rootbound conditions, ensuring your plants continue to thrive.
⚠️ Safety First
This content is for general information and may contain errors, omissions, or outdated details. It is not medical, veterinary advice, or an endorsement of therapeutic claims.
Always consult a qualified healthcare professional before using any plant as food, medicine, or supplement.
Never eat any plant (or feed one to pets) without confirming its identity with at least two trusted sources.
If you suspect poisoning, call Poison Control (800) 222-1222, the Pet Poison Helpline (800) 213-6680, or your local emergency service immediately.
Spotted an error? Please report it here.
Unlock the secret to thriving roots 🌿 with Greg's tailored care plans and watering reminders, ensuring your plants flourish in any environment!