How to Fix Black Spots on Your Wild Coco 🥥
Eulophia alta
By the Greg Editorial Team
Jan 06, 2025•5 min read
This article was created with the help of AI so we can cover more plants for you. May contain errors. See one? Report it here.
- 🌱 Black spots on Wild Coco stem from fungal infections, bacteria, or environmental stress.
- 💧 Overwatering causes root rot, leading to black spots; ensure proper watering techniques.
- 🌞 Bright, indirect light and humidity are crucial for Wild Coco's health and spot prevention.
Causes of Black Spots on Leaves
🦠 Fungal Infections
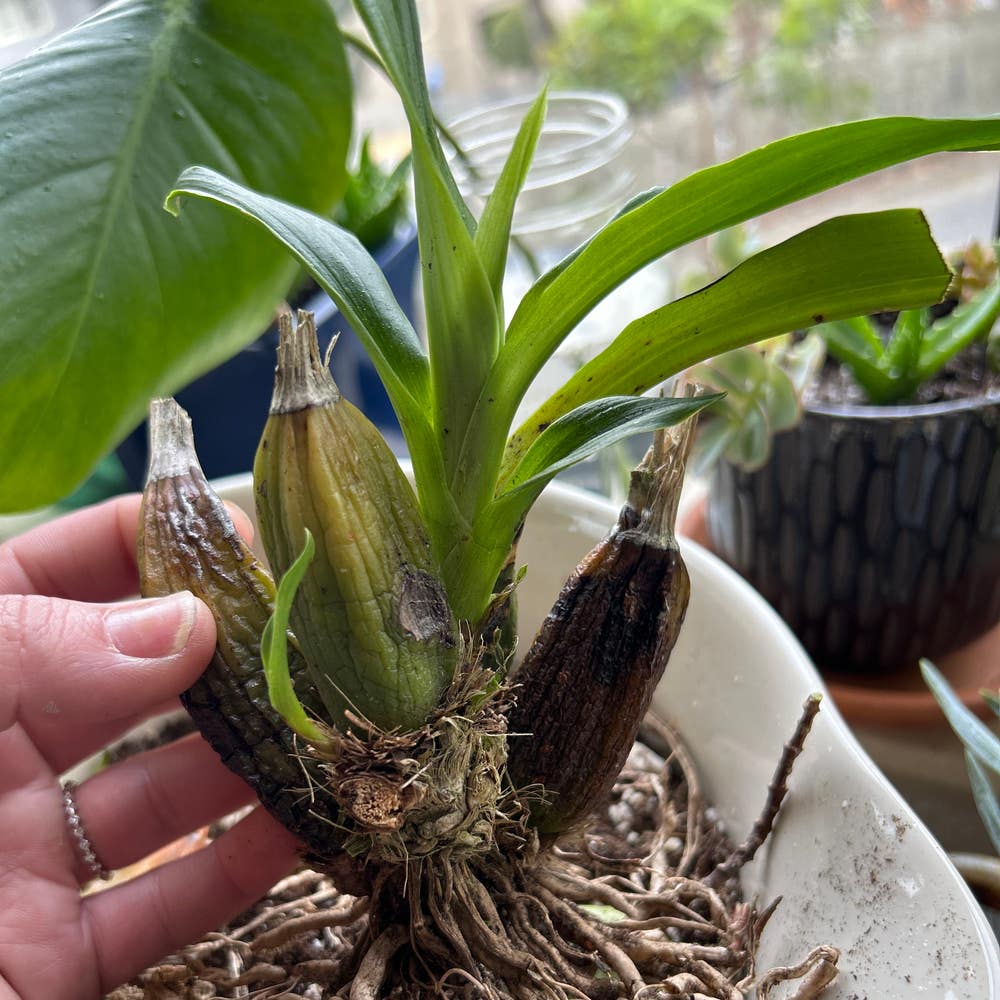
Fungal infections are a common culprit behind black spots on Wild Coco leaves. These infections can manifest in various forms, such as leaf spot diseases, which often appear as dark, irregular patches on the foliage.
To identify these fungal diseases, look for distinct patterns on the leaves. Conditions that favor fungal growth include high humidity and poor air circulation, making it essential to monitor your plant's environment closely.
🦠 Bacterial Infections
Bacterial infections can also lead to unsightly black spots on your Wild Coco. Signs of bacterial issues often include water-soaked lesions that may eventually turn black.
Differentiating between bacterial and fungal infections is crucial for effective treatment. Bacterial spots tend to be more irregular and can spread rapidly if not addressed promptly.
🌪️ Environmental Stress Factors
Environmental stressors can significantly impact the health of your Wild Coco. Overwatering is a primary concern, leading to symptoms like yellowing leaves and black spots due to root rot.
Nutrient deficiencies can also cause discoloration. Key nutrients, such as nitrogen and potassium, play vital roles in leaf health, and their absence can lead to visible issues.
Temperature fluctuations and inadequate light exposure further exacerbate these problems. Ensuring your Wild Coco is in a stable environment will help maintain its vibrant foliage.
Diagnosing the Problem
👀 Visual Inspection Techniques
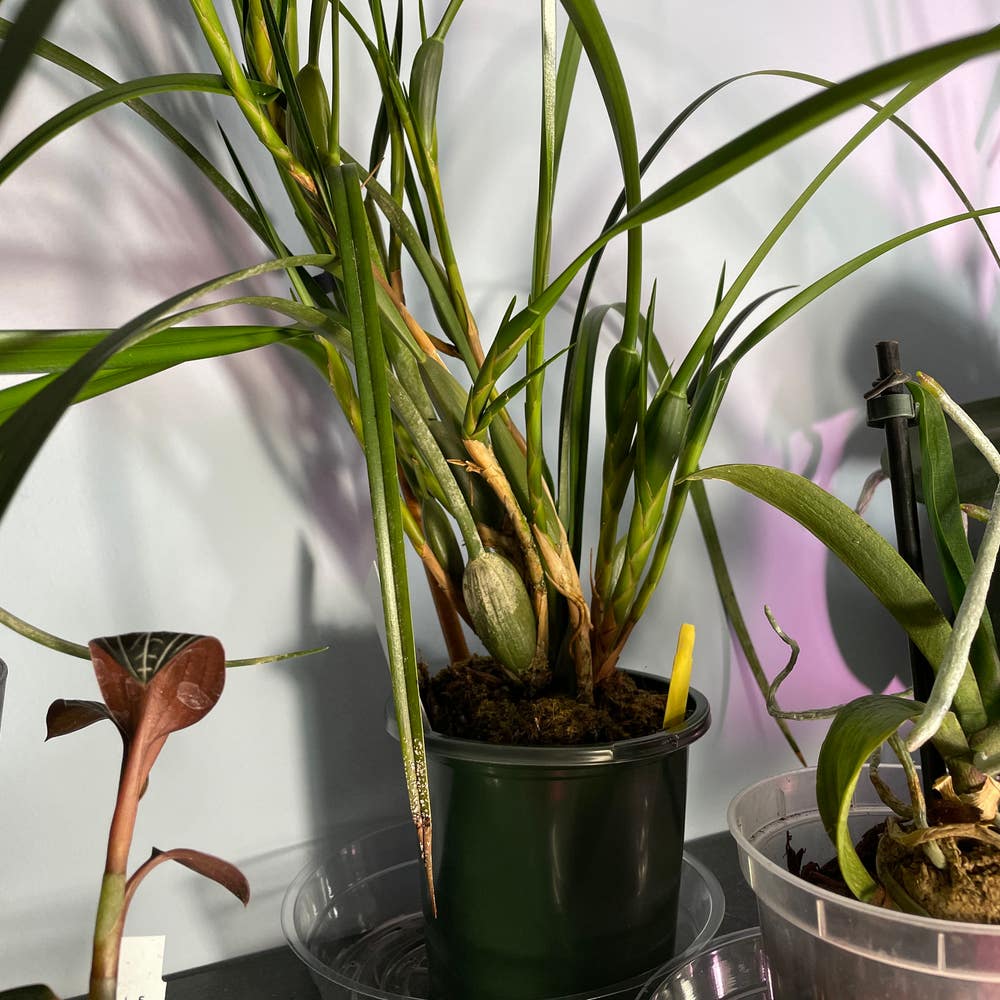
To effectively diagnose black spots on your Wild Coco, start with a thorough leaf examination. Check both the upper and lower surfaces of the leaves for any discoloration, spots, or unusual textures.
Next, look for signs of pests or other diseases. Identifying these issues early can prevent further damage and help you take appropriate action.
Documenting your findings is crucial. Keeping a care journal allows you to track changes over time and recognize patterns that may indicate underlying problems.
🌤️ Assessing Environmental Conditions
Evaluating light exposure is essential for maintaining healthy Wild Coco plants. Ideally, they thrive in bright, indirect light, so ensure they are positioned accordingly.
Watch for signs of light stress, such as leaf burn or stretching. These symptoms can indicate that your plant is not receiving the right amount of light.
Humidity and temperature checks are also vital. Wild Coco prefers a humid environment with temperatures between 65°F and 85°F, so monitor these conditions closely.
Extreme fluctuations can negatively impact leaf health. Keeping your plant in a stable environment will help prevent stress and promote growth.
🧪 Soil Analysis for Nutrient Deficiencies
Testing soil moisture levels is a key step in diagnosing issues. Wild Coco requires well-draining soil, so ensure that excess water can escape easily.
Look for signs of overwatering, such as yellowing leaves or root rot, and underwatering, which can cause wilting. Both conditions can lead to black spots on the leaves.
Nutrient testing is another important aspect. Assessing soil nutrient levels can reveal common deficiencies, particularly nitrogen and potassium, which are crucial for leaf health.
Identifying these deficiencies early allows you to amend the soil and restore balance, promoting a healthier plant overall.
Treatment Options
Organic Treatments for Fungal Infections 🌱
Organic fungicides are a great first line of defense against fungal infections on your Wild Coco. Look for products containing ingredients like copper or sulfur, and apply them according to the manufacturer's instructions, typically every 7 to 14 days.
Homemade remedies can also be effective. A simple baking soda solution—mixing one tablespoon of baking soda with a gallon of water—can help combat fungal growth. Neem oil is another powerful option; mix it with water and a few drops of dish soap for better adherence to the leaves.
Chemical Fungicides: When and How to Use ⚗️
Sometimes, organic treatments just don’t cut it. If you notice persistent black spots despite your efforts, it may be time to consider chemical fungicides.
When using these products, timing is crucial. Apply them during cooler parts of the day to minimize plant stress, and always follow dosage guidelines to avoid harming your plant. Protective measures, such as gloves and masks, are essential to safeguard your health.
Home Remedies for Black Spots 🏡
Household solutions can be surprisingly effective against black spots. Vinegar sprays, made from a mixture of vinegar and water, can deter fungal growth, while milk solutions have been known to boost plant health.
However, weigh the pros and cons before opting for home remedies. While they are often more accessible and cheaper, commercial products may offer more reliable results. Choose what fits your gardening style best!
With these treatment options at your disposal, you can tackle those pesky black spots and keep your Wild Coco thriving. Next, let’s explore preventive measures to ensure your plant stays healthy and vibrant.
Preventive Measures
Best Practices for Watering and Soil Management 🌊
Watering your Wild Coco correctly is crucial to prevent black spots. Aim to water deeply but infrequently, allowing the top inch of soil to dry out between waterings.
Using sandy, well-drained soil is essential for healthy root development. This type of soil helps prevent waterlogging, which can lead to root rot and other issues.
Importance of Proper Air Circulation 🌬️
Adequate airflow is vital for your Wild Coco's health. Ensure your plants are spaced out properly, whether indoors or in the garden, to promote good air circulation.
Poor air circulation can lead to increased humidity around the leaves, creating a breeding ground for fungal infections. Keeping your plants well-ventilated will help them thrive.
Regular Inspection and Maintenance Routines 🔍
Establishing a routine for checking your plant's health can make a significant difference. Inspect your Wild Coco at least once a week for any signs of distress, such as discoloration or wilting.
Timely intervention is key to addressing early signs of trouble. By staying proactive, you can catch potential issues before they escalate, ensuring your plant remains vibrant and healthy.
⚠️ Safety First
This content is for general information and may contain errors, omissions, or outdated details. It is not medical, veterinary advice, or an endorsement of therapeutic claims.
Always consult a qualified healthcare professional before using any plant as food, medicine, or supplement.
Never eat any plant (or feed one to pets) without confirming its identity with at least two trusted sources.
If you suspect poisoning, call Poison Control (800) 222-1222, the Pet Poison Helpline (800) 213-6680, or your local emergency service immediately.
Spotted an error? Please report it here.
Keep your Wild Coco spot-free 🌿 by using Greg's tailored care reminders and community insights to tackle issues before they escalate!