🥥 Propagating Wild Coco: The Ultimate Guide
Eulophia alta
By the Greg Editorial Team
Jan 06, 2025•6 min read
This article was created with the help of AI so we can cover more plants for you. May contain errors. See one? Report it here.
- 🌱 Collect ripe Wild Coco seeds and clean them for better germination success.
- 🌡️ Maintain 75°F to 85°F for optimal seed germination and cutting root growth.
- 💧 Consistent moisture and well-draining mix are key to preventing waterlogging.
Propagating Wild Coco from Seeds
Step-by-step Seed Preparation 🌱
Collecting seeds from mature Wild Coco fruits is your first step. Ensure the fruits are fully ripe for the best seed quality.
Next, clean the seeds by removing the pulp and rinsing them thoroughly under running water. This process helps prevent mold and promotes healthy germination.
Once cleaned, allow the seeds to dry in a shaded area for 1-2 days. This drying period is crucial to prepare them for planting.
Germination Conditions and Techniques 🌡️
For successful germination, maintain an optimal temperature between 75°F to 85°F (24°C to 29°C). This warm environment encourages seed growth and vitality.
Use a well-draining seed-starting mix to plant your seeds. This type of soil prevents waterlogging, which can hinder germination.
Expect seeds to germinate within 4-8 weeks. Patience is key, as each seed may take a different amount of time to sprout.
When it comes to watering, keep the soil consistently moist but not waterlogged. Overwatering can lead to rot, while underwatering can stall growth.
With these steps, you're well on your way to successfully propagating Wild Coco from seeds. Next, let's explore how to propagate Wild Coco from cuttings for a different approach.
Propagating Wild Coco from Cuttings
🌱 Selecting the Right Cuttings
To successfully propagate Wild Coco, start by selecting cuttings that are 6-8 inches long from healthy stems. The best time to take these cuttings is early morning or late afternoon, as this minimizes stress on the plant.
✂️ Preparing Cuttings for Propagation
Once you've selected your cuttings, remove the lower leaves from the bottom half. This helps focus the plant's energy on root development.
🔪 Cutting Angle
Make a clean cut at a 45-degree angle. This increases the surface area for rooting hormone absorption, enhancing your chances of success.
🌿 Rooting Hormone Application
Using a rooting hormone is crucial for effective propagation. Opt for either a powdered or gel form and dip the cut end of your cutting into the hormone before planting.
🌡️ Ideal Conditions for Rooting
Creating the right environment is key to successful rooting.
💧 Humidity Levels
Maintain high humidity levels between 70-80%. You can achieve this by using a humidity dome or covering the cuttings with a plastic bag.
🌡️ Temperature
Keep the cuttings in a warm location, ideally between 70°F to 80°F (21°C to 27°C). This warmth encourages root growth.
⏳ Rooting Time
Be patient as roots typically develop within 4-6 weeks. During this time, monitor the conditions to ensure they remain optimal.
By following these steps, you can effectively propagate Wild Coco from cuttings. Next, let’s explore the division method, another exciting way to expand your Wild Coco collection!
Division Method for Propagating Wild Coco
🌱 Identifying Suitable Plants for Division
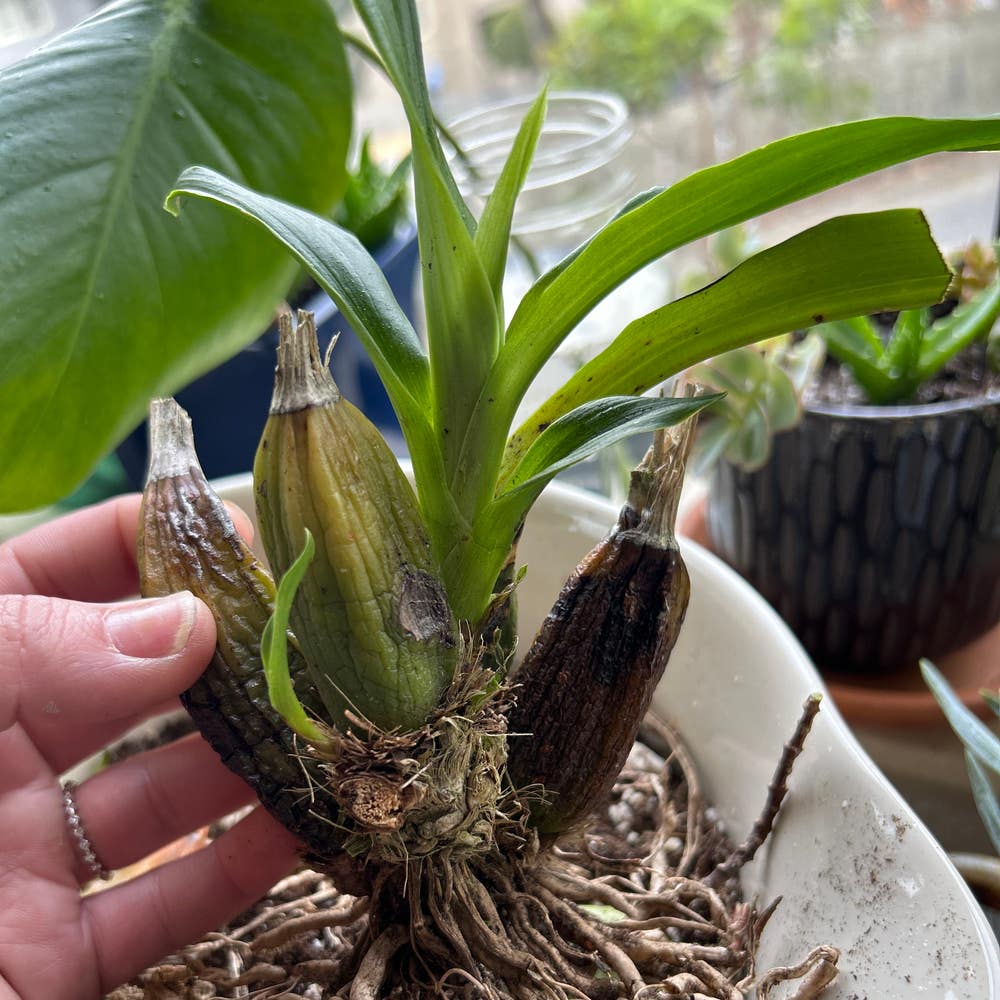
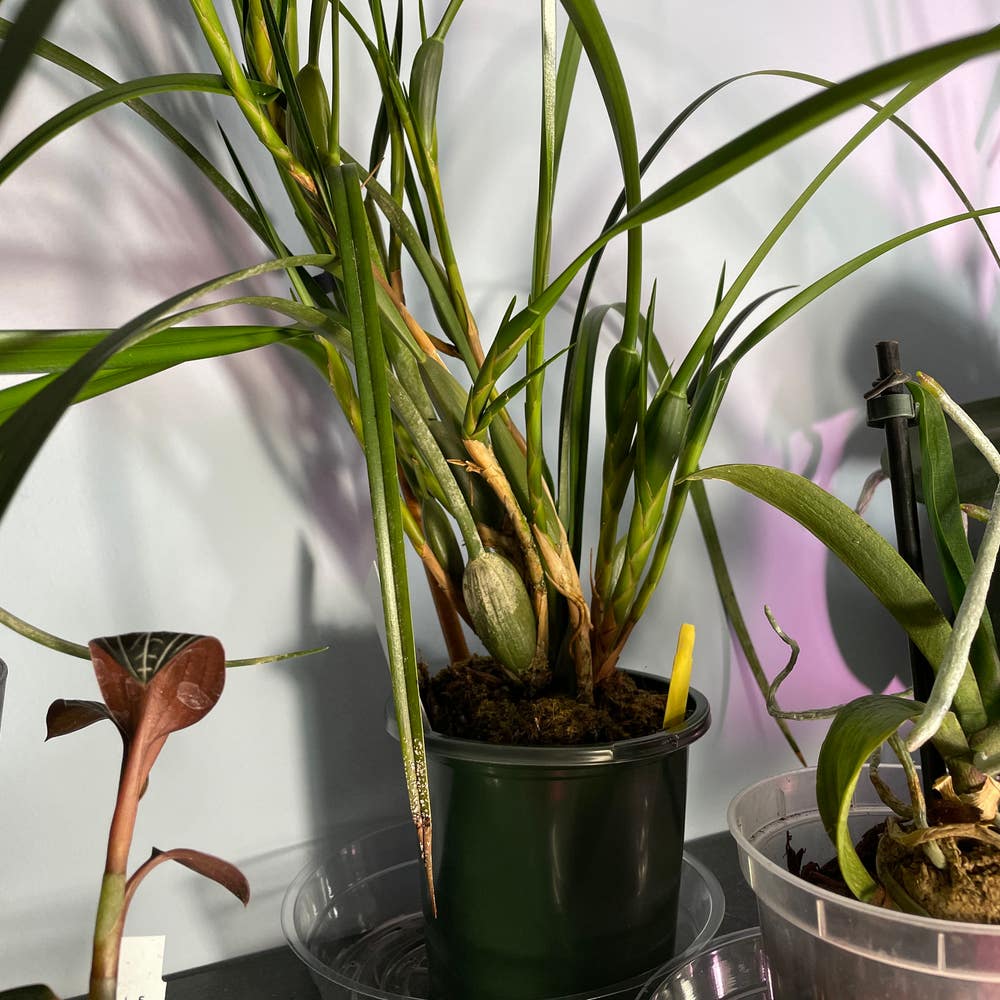
To successfully propagate Wild Coco through division, start by identifying mature plants. Look for those with multiple stems or clumps, as they are the best candidates for this method.
Timing is crucial; perform the division during the growing season, ideally in spring or early summer. This ensures the plant is actively growing and can recover quickly from the division process.
🔍 Step-by-step Division Process
Water the plant thoroughly a day before division. This helps to hydrate the roots and makes the plant easier to handle.
Carefully remove the plant from its pot or the ground. Take your time to avoid damaging the roots.
Gently separate the root ball into sections, ensuring each section has both roots and stems. This is key for successful re-establishment.
Trim any damaged roots with sterilized scissors. This promotes healthy growth and reduces the risk of disease.
🌿 Post-Division Care
After dividing, it's time to replant. Place the divisions in well-draining soil to encourage healthy root development.
Water lightly to settle the soil, but be cautious not to overwater. This balance is essential for the new divisions to thrive.
Finally, monitor the plants closely for a few weeks. Keeping them in a shaded area helps reduce stress as they adjust to their new environment.
With proper care, your Wild Coco divisions will flourish, setting the stage for vibrant growth and future propagation opportunities.
Air Layering Technique
Explanation of Air Layering 🌱
Air layering is a fascinating propagation method that encourages root growth on a stem while it remains attached to the parent plant. This technique is particularly effective for plants like Wild Coco, allowing you to create new plants without severing them from their source.
Step-by-step Air Layering Process 🛠️
- Select a healthy stem: Look for a stem that is at least one year old and free from disease.
- Make an incision: Carefully create a 1-inch long cut on the stem, going about one-third of the way through.
- Apply rooting hormone: Dust the cut area with rooting hormone to promote root development.
- Wrap with moist sphagnum moss: Securely wrap the moss around the cut area, ensuring it remains moist, and cover it with plastic wrap.
- Secure the wrap: Use tape or string to hold the moss in place, creating a humid environment for root growth.
Timing and Conditions for Success ⏳
Roots typically develop within 6-12 weeks, depending on the plant's health and environmental conditions. To ensure success, maintain high humidity and warmth around the layered area, creating an ideal microclimate for rooting.
This method not only allows for effective propagation but also gives you the satisfaction of nurturing new life from an existing plant. As you embark on this journey, remember that patience is key, and the rewards of your efforts will be well worth it.
Next, let’s explore some common challenges you might face when propagating Wild Coco and how to overcome them.
Challenges in Wild Coco Propagation
🌱 Common Issues with Seed Germination
Germinating Wild Coco seeds can be tricky, with low germination rates often leading to frustration. Factors such as seed age and storage conditions play a significant role in this process.
To improve your chances of success, always use fresh seeds and create optimal germination conditions. This means maintaining the right temperature and moisture levels to encourage those seeds to sprout.
✂️ Problems with Cutting Rooting
When propagating from cuttings, you might encounter issues like failure to root. This can stem from inadequate humidity or improper cutting techniques, which can be disheartening.
To combat these challenges, ensure that your cuttings are prepared correctly and that the environmental conditions are just right. High humidity and proper care can make all the difference in rooting success.
🌍 Environmental Factors Affecting Propagation Success
Environmental factors can significantly impact your propagation efforts. Temperature fluctuations can stress the plants, leading to poor growth or failure to thrive.
Additionally, overwatering is a common pitfall that can result in root rot. Keep a close eye on moisture levels to ensure your Wild Coco plants stay healthy and vibrant.
As you navigate these challenges, remember that patience and attention to detail are key. With the right approach, you can successfully propagate Wild Coco and enjoy the rewards of your efforts.
⚠️ Safety First
This content is for general information and may contain errors, omissions, or outdated details. It is not medical, veterinary advice, or an endorsement of therapeutic claims.
Always consult a qualified healthcare professional before using any plant as food, medicine, or supplement.
Never eat any plant (or feed one to pets) without confirming its identity with at least two trusted sources.
If you suspect poisoning, call Poison Control (800) 222-1222, the Pet Poison Helpline (800) 213-6680, or your local emergency service immediately.
Spotted an error? Please report it here.
Propagate Wild Coco like a pro 🌱 with Greg's tailored reminders and care tips that ensure your seeds and cuttings thrive in the perfect conditions!