How to Propagate Your String of Pickles
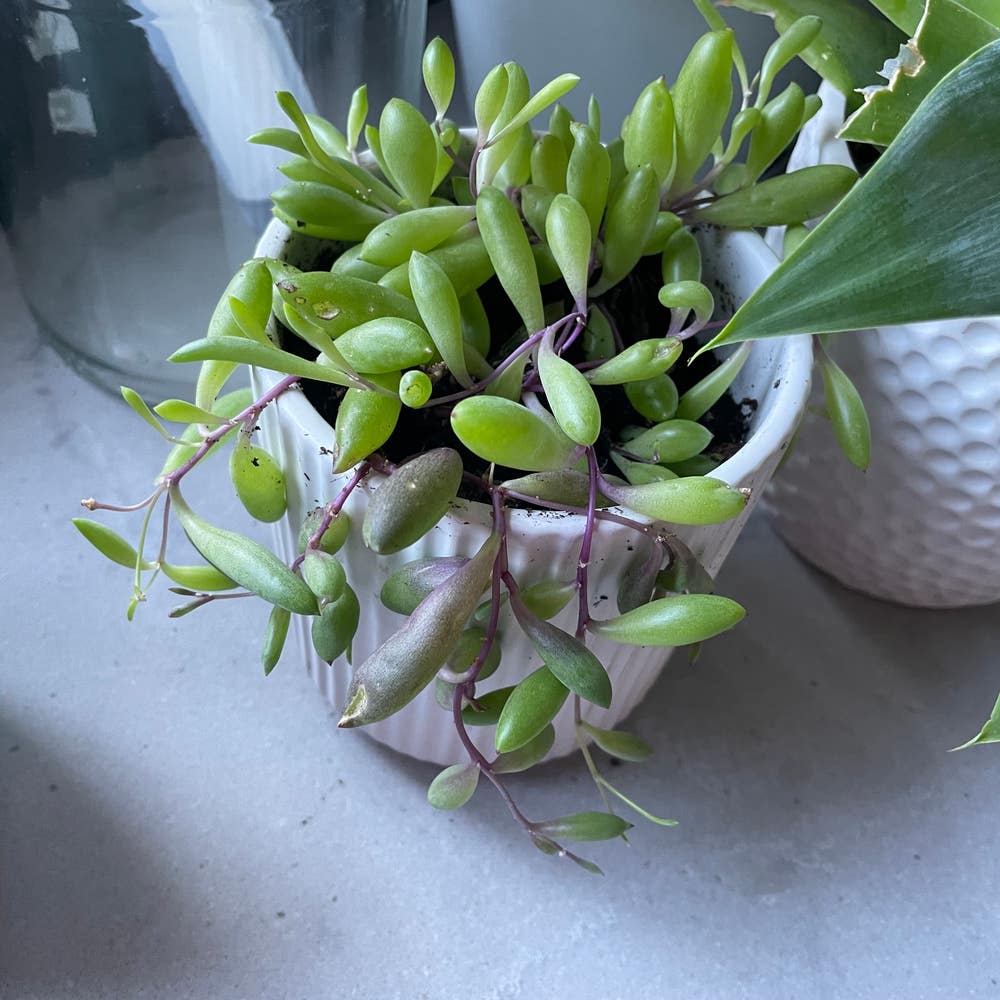
Crassothonna capensis
By the Greg Editorial Team
Jun 18, 2024•4 min read
This article was created with the help of AI so we can cover more plants for you. May contain errors. See one? Report it here.
Propagate your String of Pickles effortlessly 🌿 and watch your green haven thrive with our foolproof tips!
- Choose healthy 4-6 inch stems with several nodes for best propagation results.
- Callusing is crucial for protecting against rot and disease.
- Monitor moisture and light to prevent overwatering and encourage early growth.
Snip and Start: Taking Stem Cuttings
🌱 Choosing Your Champion Cuttings
When eyeing potential cuttings for your String of Pickles, vigor is key. Look for stems that are healthy and free from any signs of disease or distress. The ideal cutting should be 4-6 inches in length, with several leaf nodes—those little bumps where roots and leaves can emerge.
✂️ The Right Snip
Sterilization is not negotiable. Before making the cut, ensure your tools—preferably sharp scissors or pruners—are disinfected. Alcohol wipes or a bleach solution can be used for this. Make your cut at a 45-degree angle just below a leaf node to maximize the area from which roots can grow. Remove the lower leaves to prevent rot, leaving a few at the top for photosynthesis. If you're feeling fancy, a dip in rooting hormone can give your cuttings a head start, but it's not a must-have.

Callusing: Pre-Root Prep Work
⏳ The Waiting Game
After snipping your String of Pickles, patience is paramount. Callusing takes time—typically a few days. This process is the plant's natural band-aid, protecting against rot and disease.
🛠 Setting the Stage
Preparation is key. Ensure your workspace is clean; sterilize tools with alcohol or a bleach solution. Gather your pots, fresh potting soil, and rooting hormone—if you're into giving your cuttings that extra edge.

Planting Your Future Pickles
💧 Soil and Spacing
When it comes to soil mix, think well-draining and airy. A concoction of succulent & cacti mix works wonders for your String of Pickles cuttings. Consider blending 1-part coco coir, 1-part peat-free compost, and 2-parts perlite for DIY enthusiasts.
For planting depth, aim for just enough soil to cover the cutting's base without burying it alive—about half an inch should do the trick. Space them out like introverts at a party, giving each one its personal bubble, roughly an inch or two apart.
💦 First Water: A Delicate Balance
Watering is like walking a tightrope—too much, and you're in soggy trouble; too little, and your cuttings will be gasping for moisture. Mist your cuttings gently with a spray bottle to avoid waterlogging their world.
Keep an eye out for soil that looks like it's had a satisfying drink—moist, but not drenched. Drainage holes are your best friends here, preventing any tragic drowning incidents. Remember, overwatering is the number one killer of good vibes and cuttings alike.

Rooting and Growing: The Patience Test
🌱 Root Watch
Roots are shy creatures; they don't like to be disturbed. Check for rooting by observing through a clear container or giving the cutting a gentle tug for resistance—no tugging if you're using soil. Expect roots to show anywhere from a few weeks to a couple of months, depending on the season and conditions.
💡 Early Growth Care
Once roots make their debut, it's showtime for the right light and temperature. Keep your baby String of Pickles in bright, indirect sunlight and at a cozy temperature—think springtime warmth. Feeding should start only after a solid root system is in place, typically a few weeks post-rooting. Use a diluted liquid fertilizer to avoid overwhelming your delicate green babies.
Troubleshooting: Saving Your Cuttings
🦠 Damping Off and Rot
Rot is the silent assassin of propagation. Early signs include a soft, brown base or a stem that's mushier than a ripe avocado. Prevention is your first line of defense: ensure your soil is as well-draining as a sieve and avoid overwatering like it's a tax audit.
To rescue a cutting that's started to rot, it's time for some plant surgery. Snip off the rotten parts until you hit the healthy, green tissue. Think of it as giving your plant a haircut to get rid of split ends. After the operation, let the cutting callus over before replanting in fresh, sterile soil.
🍄 Fungal Foes
Fungal infections are the party poopers of the plant world. They turn up uninvited and wreak havoc. Look out for telltale signs like a white, powdery mildew or black spots that spread faster than gossip.
Combat these uninvited guests by keeping the air moving around your cuttings. A fan can work wonders. If you spot an infection, isolate the sickly cutting faster than a kid with chickenpox. Fungicides can be helpful, but they're more of a temporary fix than a cure. Always remember, cleanliness is next to godliness when it comes to your tools and workspace.
⚠️ Safety First
This content is for general information and may contain errors, omissions, or outdated details. It is not medical, veterinary advice, or an endorsement of therapeutic claims.
Always consult a qualified healthcare professional before using any plant as food, medicine, or supplement.
Never eat any plant (or feed one to pets) without confirming its identity with at least two trusted sources.
If you suspect poisoning, call Poison Control (800) 222-1222, the Pet Poison Helpline (800) 213-6680, or your local emergency service immediately.
Spotted an error? Please report it here.
Propagate your String of Pickles successfully 🌿 with Greg's custom care reminders, ensuring each cutting gets the right amount of water and care from these expert tips!