How to Know When to Repot a Dorstenia horwoodii?
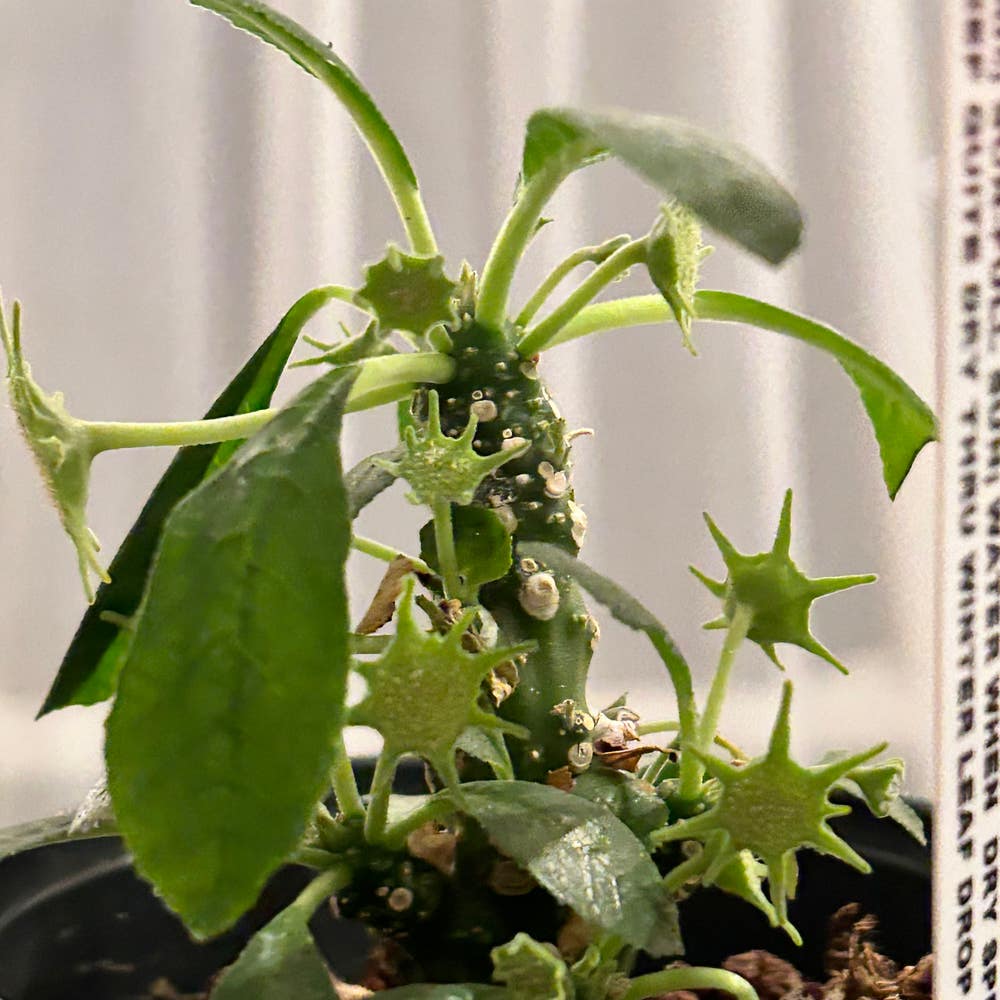
Dorstenia horwoodii
By the Greg Editorial Team
Apr 22, 2024•6 min read
This article was created with the help of AI so we can cover more plants for you. May contain errors. See one? Report it here.
- Roots peeking out? Time to repot your Dorstenia horwoodii.
- 🌱 Repot in spring for best results; avoid winter unless urgent.
- Post-repot care: Water sparingly, no direct sun, delay fertilizing.
Spotting the Tell-Tale Signs It's Time to Repot
🌱 Root Tango: When Roots Outgrow Their Home
Roots peeking out of drainage holes are the plant's way of waving a white flag. If you spot a root ballet at the soil's surface, it's time for a new stage. Root crowding inside the pot is another clear signal. When you see roots circling the pot's interior like a whirlpool, it's a sign they're gasping for more space.
💧 Thirsty Much? Water Drainage Woes
When water zips through the pot faster than a kid down a slide, it's a red flag. A quick drainage means the roots have taken over, leaving little room for soil to retain moisture. If your watering routine feels like pouring water into a sieve, consider it a thirsty cry for repotting.
🌿 The Stunt Double: When Growth Hits a Pause
A sudden growth halt is like your plant hitting an invisible ceiling. If your Dorstenia horwoodii starts looking more like a miniature model of itself, it's begging for a bigger home. Discolored leaves and a stunted stature are not just a phase; they're distress signals from your green buddy.
Choosing the Right Time and Post-Repot Care
🌱 Syncing with Seasons: Best Times to Repot
Spring ushers in new beginnings for both you and your Dorstenia horwoodii. This is the prime time to repot, as the plant is waking up from its winter slumber and gearing up for a season of vigorous growth. The longer days and warmer temperatures provide the perfect backdrop for your plant to recover and expand its roots in fresh soil.
Avoid repotting during the dormant winter months, as the plant's growth is on pause, and it won't be able to heal from the transition as effectively. If you find yourself in an urgent situation, such as root rot or a broken pot, then repot immediately, regardless of the season, to save your plant.
🏥 The Recovery Room: Post-Repot Care Essentials
After repotting, your Dorstenia horwoodii will need some TLC to bounce back. Water sparingly at first to avoid overwhelming the roots and adjust based on the plant's response. A light touch is key; overwatering can lead to root rot, especially when the plant is vulnerable post-repot.
Find a spot with indirect light for your plant to recuperate. Direct sunlight can be too harsh for a plant that's just been through the equivalent of plant surgery. Keep an eye on your green friend, looking out for signs of distress or recovery.
Hold off on fertilizing for at least a month to give the roots time to settle. Introducing fertilizer too soon is like throwing a housewarming party when the host isn't ready—just plain awkward for everyone involved.
Remember, repotting is a shock to the system. Your plant will need a moment to adjust to its new digs. With the right care, it'll be back to its perky self, ready to grow and thrive.
The Repotting Rundown: A Step-by-Step Guide
🌱 Gently Does It: Removing Your Plant
First things first, water your Dorstenia horwoodii the day before the big move. This makes the roots more flexible and cooperative. On the day of repotting, lay out your tools: a new pot, fresh potting mix, and something to cut with—sharp scissors or shears will do.
Gloves on, folks. It's time to get your hands dirty. Squeeze the sides of the current pot to loosen its grip on your plant. If it's stubborn, tap the bottom of the pot or roll it on a flat surface. Gently pull the plant out by the base, avoiding a tug-of-war with the leaves.
🏡 Home Sweet Home: Prepping the New Pot and Soil
Now, let's prep the new pot. It should be a snug couple of inches larger than the old one—we're upgrading, not relocating to a mansion. Ensure it has drainage holes; nobody likes wet feet, least of all your Dorstenia horwoodii. Cover these holes with gauze or a screen to keep the soil from escaping.
Clean the new pot with soapy water, rinse thoroughly, and let it dry. This is like the hand-washing of the plant world—it prevents unseen nasties from crashing the potting party.
Pour in a layer of fresh, pre-moistened potting mix. This is your plant's new mattress, so make it comfy. If you're feeling generous, mix in some slow-release fertilizer. Think of it as a housewarming gift for your green buddy.
Inspect the root ball. Trim away any dead or overly long roots with care. Place your plant in the center of the new pot and add soil around the roots, firming gently. Keep the soil level consistent with its previous home to avoid any stem rot drama.
Finally, give your plant a welcome drink. Water thoroughly but don't drown it—we're going for hydrated, not flooded. Now, step back and admire your handiwork. Your Dorstenia horwoodii is ready to thrive in its new abode.
Picking the Perfect Pot: Material Matters
💨 Breathability is Key: Terracotta and Beyond
Terracotta is the old faithful for plant parents. Its porous walls allow roots to breathe, reducing the risk of waterlogging. It's like a pair of good jeans – classic, sturdy, and gets the job done. But remember, it's thirsty; more watering is on your to-do list.
Ceramic pots are the stylish cousins of terracotta. They retain moisture longer, which can be a blessing or a curse. Ensure they have drainage holes to prevent your green buddy from drowning.
Fabric pots are the new kids on the block. They promise top-notch aeration and encourage healthy root growth. Just be ready to water more often, as they dry out quicker than a gossip in a desert.
❌ No-Gos: Materials That Might Harm
Metal pots might give off that industrial chic vibe, but they're a no for your plants. They can overheat and even rust, which is like sending your plant to a sauna and locking the door.
Glass pots are deceptive beauties. Sure, they look clean and modern, but they're about as breathable as a sealed jar. Your plant's roots need air, not a pretty prison.
Plastic pots are lightweight and won't break the bank, but they can turn into a swamp if you're not careful. If you're forgetful with watering, they might forgive you, but your plant won't.
In the end, it's about matching your plant's needs with your care habits. Choose wisely, and your Dorstenia horwoodii will thrive.
⚠️ Safety First
This content is for general information and may contain errors, omissions, or outdated details. It is not medical, veterinary advice, or an endorsement of therapeutic claims.
Always consult a qualified healthcare professional before using any plant as food, medicine, or supplement.
Never eat any plant (or feed one to pets) without confirming its identity with at least two trusted sources.
If you suspect poisoning, call Poison Control (800) 222-1222, the Pet Poison Helpline (800) 213-6680, or your local emergency service immediately.
Spotted an error? Please report it here.
Ease your Dorstenia horwoodii into its new pot with confidence, as Greg's timely reminders keep you on top of repotting signs 🌿.