🌼 Step-by-Step Guide to Potting Dorstenia
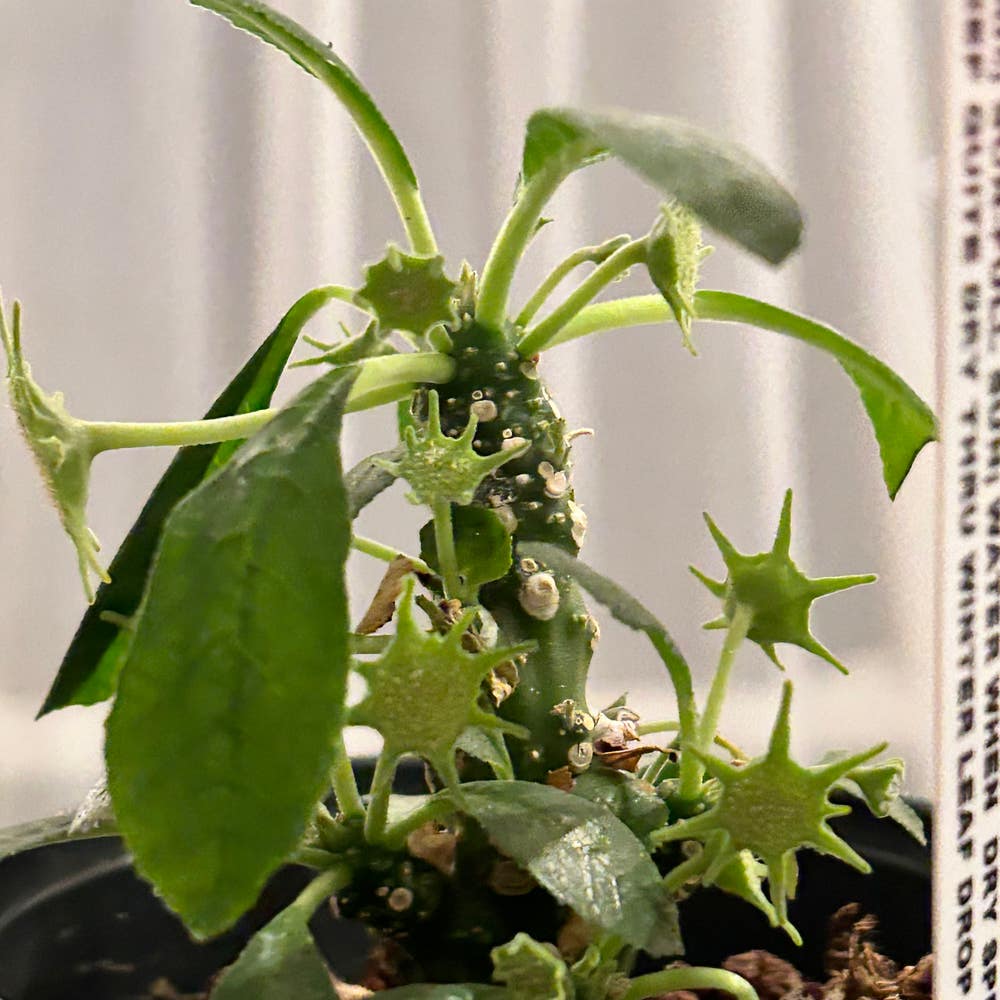
Dorstenia gigas
By the Greg Editorial Team
Sep 30, 2024•3 min read
This article was created with the help of AI so we can cover more plants for you. May contain errors. See one? Report it here.
Choose the perfect pot for your Dorstenia 🌱 to boost growth and avoid common potting mistakes! 🪴
- 🌱 Choose the right pot size to prevent root crowding and overwatering.
- 🧱 Clay pots regulate moisture better, while plastic pots retain it longer.
- 🔍 Ensure proper drainage to avoid root rot and keep your Dorstenia healthy.
Pot Selection for Dorstenia
Importance of Pot Size 🌱
Choosing the right pot size is crucial for the healthy growth of your Dorstenia. For seedlings, opt for pots that are 2-4 inches in diameter; young plants thrive in 4-6 inches, while mature plants need pots ranging from 6-12 inches.
Container size directly affects growth. A pot that's too small can lead to root crowding and stunted growth, whereas a pot that's too large increases the risk of overwatering and root rot. As a general rule, increase the pot size by 1-2 inches in diameter as your plant grows.
Ideal Pot Materials 🪴
When selecting pot materials, consider the pros and cons of clay and plastic pots. Clay pots are breathable and help regulate moisture, but they can be heavy and dry out quickly. On the other hand, plastic pots are lightweight and retain moisture well, though they may lack breathability, which can lead to root rot.
For Dorstenia, which often originates from tropical and subtropical regions, the material can impact temperature regulation. Choose wisely to ensure your plant thrives in its environment.
Drainage Considerations 🚰
Proper drainage is essential for Dorstenia's health. Drainage holes prevent water accumulation and ensure airflow, so aim for a minimum of 2-3 holes for small pots and 4-6 for larger ones.
Inadequate drainage can lead to root rot, which manifests as wilting or yellowing leaves. Look for signs of good drainage in your potting mix, such as a well-aerated texture that allows excess water to escape.
Repotting Process 🔄
Repotting Dorstenia can be straightforward if you follow these steps:
- Prepare the new pot with drainage holes.
- Choose the right potting mix.
- Gently remove the plant from its current pot.
- Inspect roots for damage or rot.
- Place the plant in the new pot and fill with potting mix.
- Water thoroughly and allow to drain.
When selecting a new pot, consider both size and material. Ensure the pot accommodates growth without being oversized, and choose materials based on moisture retention needs.
Common Potting Mistakes ❌
Avoiding common potting mistakes can save your Dorstenia from unnecessary stress. Overpotting can lead to excess soil that retains too much moisture, while underpotting results in root crowding and limited growth space.
Neglecting drainage needs can have dire consequences, such as root rot and overall plant decline. Additionally, using inappropriate materials, like plastic pots in humid environments or clay pots in overly dry conditions, can hinder your plant's health.
By keeping these considerations in mind, you can create a thriving environment for your Dorstenia. Next, let’s explore the best practices for maintaining your plant’s health and vitality.
⚠️ Safety First
This content is for general information and may contain errors, omissions, or outdated details. It is not medical, veterinary advice, or an endorsement of therapeutic claims.
Always consult a qualified healthcare professional before using any plant as food, medicine, or supplement.
Never eat any plant (or feed one to pets) without confirming its identity with at least two trusted sources.
If you suspect poisoning, call Poison Control (800) 222-1222, the Pet Poison Helpline (800) 213-6680, or your local emergency service immediately.
Spotted an error? Please report it here.
Potting your Dorstenia is a breeze 🌱 with Greg's tailored tips on pot size and drainage, ensuring your plant flourishes in its new home!