Propagating My Brenia Snowbush: Step-by-Step Guide
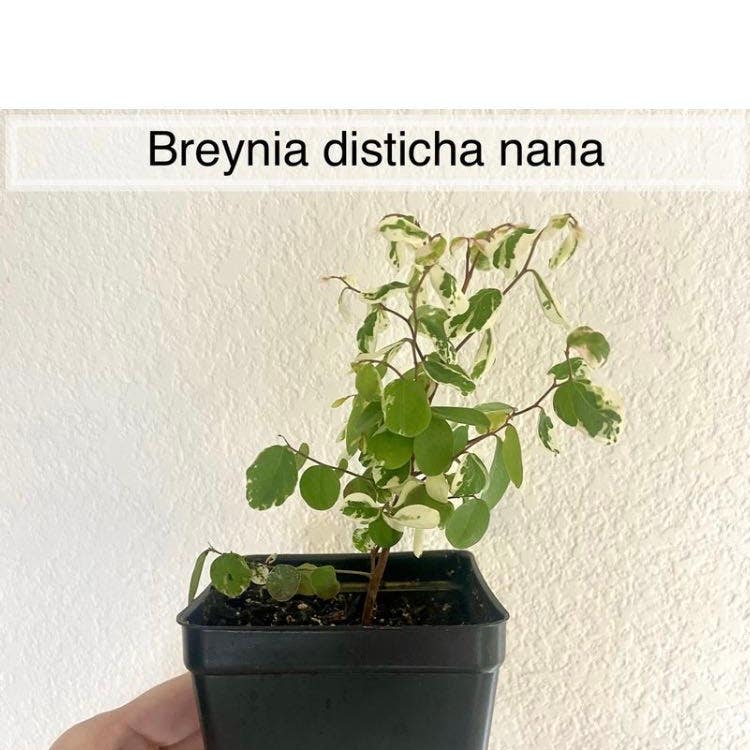
Breynia disticha
By the Greg Editorial Team
Jun 18, 2024•4 min read
This article was created with the help of AI so we can cover more plants for you. May contain errors. See one? Report it here.
Propagate your Brenia Snowbush 🌿 effortlessly with our step-by-step guide to a greener home!
- Choose healthy stems and snip at a 45-degree angle for best rooting.
- Air layering and division offer alternative propagation methods.
- Sterilize tools, monitor moisture, and provide indirect light for success.
Snip & Plant: Stem Cuttings Made Easy
🌱 Choosing Your Champion Stem
Selecting the healthiest stems is like picking the best athlete for your team; you want vigor and vitality. Look for stems that are vibrant, free of disease, and semi-hardwood. Aim for a length of 4-6 inches, ensuring they have several leaf nodes, the starting blocks for new roots.
🛠 Prepping Your Cuttings
Before you play plant surgeon, sterilize your tools with rubbing alcohol or a bleach solution. It's all about precision—snip your chosen stem at a 45-degree angle just below a node to maximize rooting potential. Strip the lower leaves to prevent rot, leaving a couple of leaves at the top to keep photosynthesis going.
🌱 Planting and Pampering Your Cuttings
Dip the cut end into rooting hormone; think of it as a pep talk for your cuttings. Plant them in a hole made with a pencil in a light potting mix, and firm the soil gently. Moisture is key—keep the soil damp like a wrung-out sponge, but not drenched. Cover with a plastic bag, but don't seal it tight—we're not making terrariums here. Place in indirect light and wait for nature's magic to happen. Patience is your co-conspirator in this heist of horticulture.

The Art of Air Layering
🌿 Selecting the Perfect Branch
To kick off air layering, choose a branch that's robust and healthy, with a diameter that suggests it could stand alone after cutting. Strip the leaves from a 2-4 inch section to set the stage for rooting.
🌱 The Layering Lowdown
Next, wrap the branch with a moist sphagnum moss pad, liberally treated with rooting hormone. Cover it with clear plastic wrap to create a mini greenhouse, securing it with wire or ties, but not too tight to avoid stem damage.
🌳 Aftercare for Air Layers
Patience is your new best friend as roots can take weeks to months to appear. Maintain the moss moisture and keep an eye out for condensation under the plastic—it's a good sign. Once white, firm roots emerge, it's time to celebrate and plan for the next step.

Multiplying by Division
🌱 Digging into Division
When your Brenia Snowbush starts resembling a mini jungle, it's time to consider division. This method not only maximizes yield but rejuvenates your plant. Early spring or late summer is the ideal time for this procedure, aligning with the plant's natural growth cycle.
First, gently remove your Snowbush from its pot and brush away the excess soil to reveal the root system. Look for natural separations where the plant can be divided with minimal stress. If it's not obvious, use a sterilized knife to slice through the root ball, ensuring each new section has a fair share of roots and foliage.
🌿 Caring for Your New Clones
Once you've got your Snowbush divisions, it's time to nurture them into independent plants. Plant each division in a pot with well-draining soil, similar to their original environment. Water them gently but consistently to keep the soil moist, not soggy, which encourages root establishment.
Light is crucial, but avoid direct sunlight that can scorch their delicate leaves. Instead, opt for bright, indirect light. Keep an eye on your new Snowbush clones for signs of stress and adjust care as needed. With patience and attention, they'll soon thrive and grow into full-fledged Snowbushes, ready to conquer their own corners of your home.

Propagation Pitfalls: Troubleshooting Tips
🌱 Common Cuttings Conundrums
Yellowing leaves or stunted growth? These are distress flares from your cuttings. Act fast to prevent a full-scale emergency. Ensure your cutting tools are sterilized; think of it as a surgical procedure for your plant. If you spot fungal foes like gray mold, it's time for a fungicide intervention. Remember, good airflow is the unsung hero here, keeping those spores at bay.
🌿 Air Layering Laments
Encountered mold on your air layering medium? It's a telltale sign you've overdone the moisture. Dial it back. If roots are playing hide and seek, maybe you've wrapped your branch too tight. Loosen up; roots need breathing space. And if you're dealing with rotting cuttings, it's a red flag for excessive water or poor drainage. Aim for a potting mix that drains quicker than your phone battery.
🌱 Division Dilemmas
Post-division, your Snowbush might look as shocked as a cat in a bathtub. It's normal. They need time to adjust. Watch out for insect or disease transmission; it's like giving your plant a cold. Limit the number of divisions to avoid depleting the parent plant. And remember, cleanliness is as crucial here as it is in a five-star restaurant kitchen. Keep those tools pristine, and your Snowbush will thank you.
⚠️ Safety First
This content is for general information and may contain errors, omissions, or outdated details. It is not medical, veterinary advice, or an endorsement of therapeutic claims.
Always consult a qualified healthcare professional before using any plant as food, medicine, or supplement.
Never eat any plant (or feed one to pets) without confirming its identity with at least two trusted sources.
If you suspect poisoning, call Poison Control (800) 222-1222, the Pet Poison Helpline (800) 213-6680, or your local emergency service immediately.
Spotted an error? Please report it here.
Ensure your Brenia Snowbush cuttings flourish 🌱 with Greg's tailored reminders for watering and root checks, making propagation a breeze!