Propagating Arisaema: Step-by-Step Guide
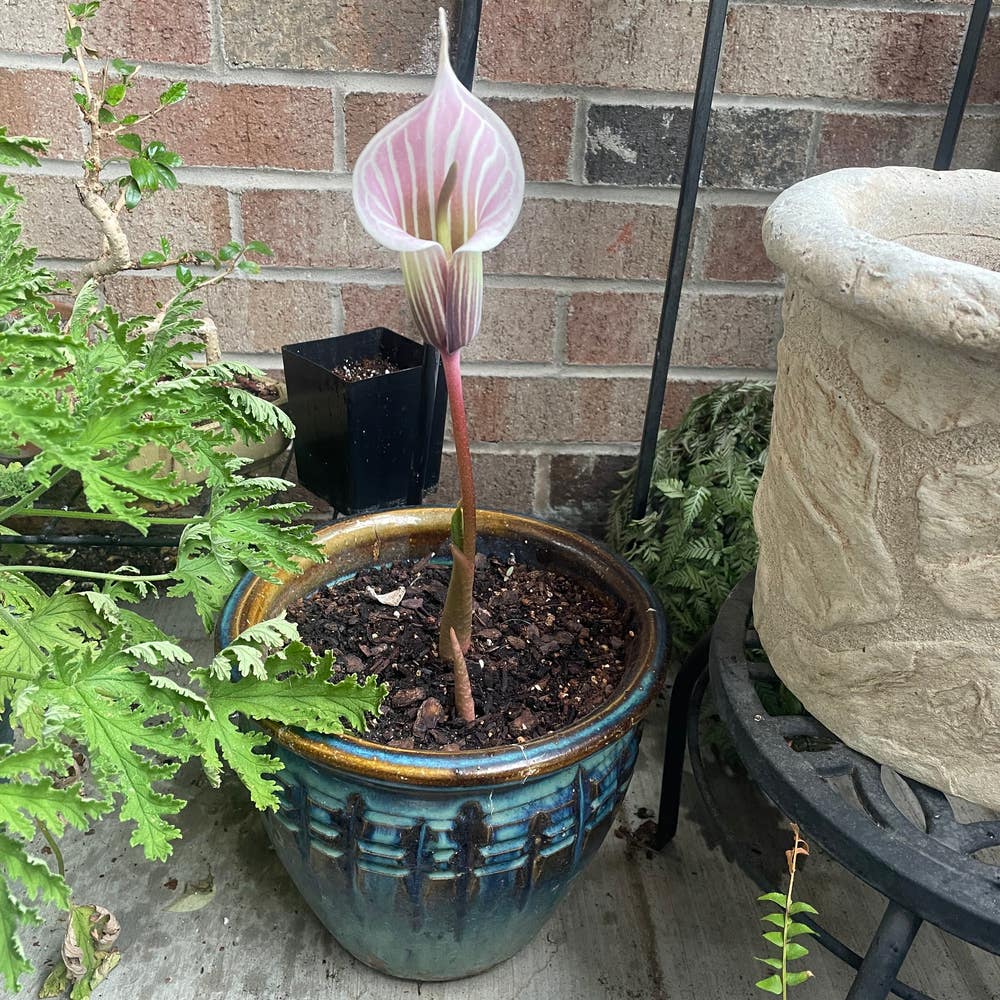
Arisaema ulugurense
By the Greg Editorial Team
Nov 26, 2024•5 min read
This article was created with the help of AI so we can cover more plants for you. May contain errors. See one? Report it here.
Master Arisaema propagation 🌱 with expert tips for thriving plants and a flourishing garden!
- 🌱 Timing is key: Collect Arisaema seeds after flowering for best results.
- 🌡️ Stratify seeds for 4-6 weeks at 40°F to boost germination success.
- 🌳 Plant in shade with well-draining soil for thriving Arisaema propagation.
Seed Propagation
Collecting Seeds 🌱
Timing is crucial when collecting Arisaema seeds. Wait until after flowering, ensuring the seeds are mature for the best results.
To collect seeds, gently remove them from the ripe fruit. This method preserves seed integrity and maximizes your yield.
Preparing Seeds for Germination 🧼
Cleaning your seeds is the next step. Rinse them thoroughly to remove any pulp and debris, ensuring a clean start.
After cleaning, it's time for stratification. Place the seeds in a cold environment for 4-6 weeks at 40°F (4°C) to mimic natural conditions.
Germination Conditions and Timeline ⏳
For optimal germination, maintain a temperature between 65°F to 75°F (18°C to 24°C). This range encourages healthy seed development.
Germination can take anywhere from 4 to 12 weeks, depending on the species. Patience is key during this phase.
Transplanting Seedlings 🌿
When your seedlings develop 2-3 true leaves, it's time to transplant. This indicates they are ready for their next stage of growth.
Carefully move the seedlings to individual pots or garden beds. This gentle approach helps minimize stress and promotes healthy establishment.
With these steps, you're well on your way to successfully propagating Arisaema from seeds. Next, let's explore the process of corm division, another effective propagation method.
Corm Division
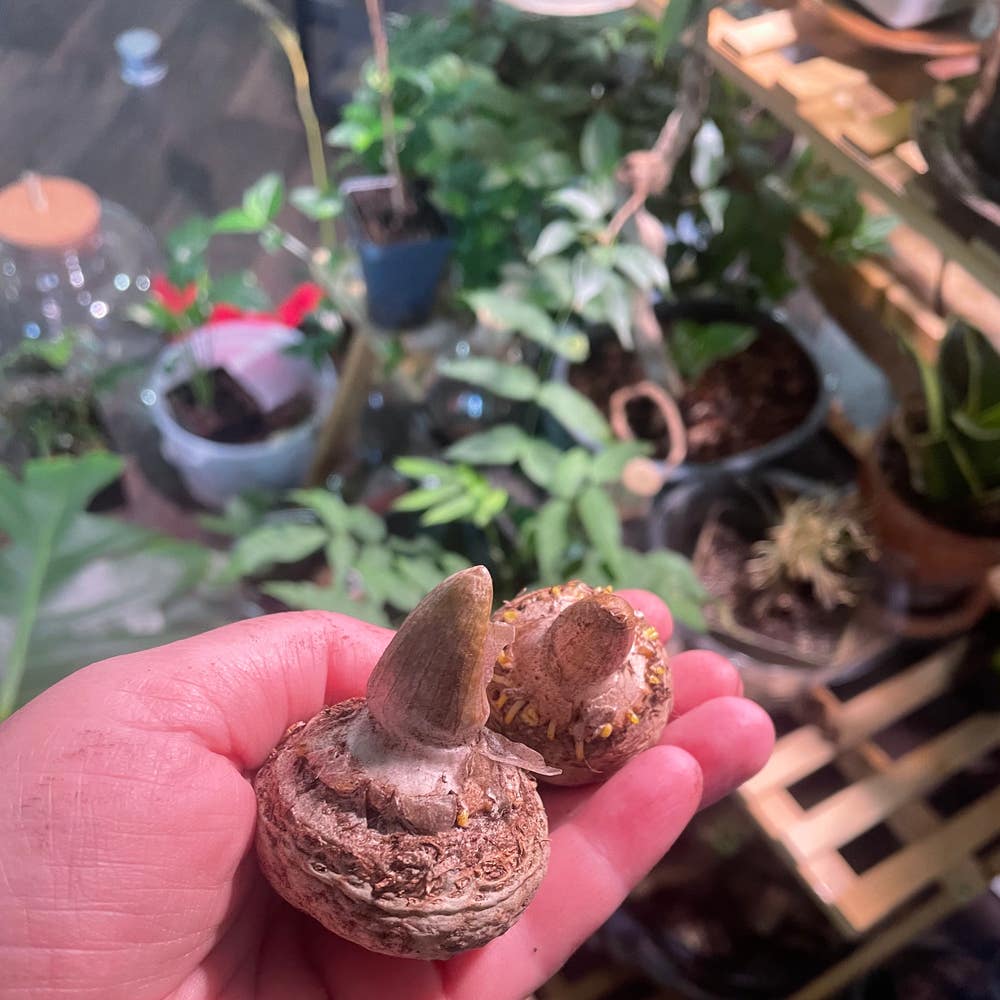
🌱 Identifying Mature Corms
To successfully propagate Arisaema, start by identifying mature corms. Look for corms that are large, firm, and show signs of good health, such as a vibrant color and no visible damage.
The best time to inspect these corms is during late summer to early fall. This timing ensures that you catch them at their peak maturity, ready for division.
⏰ Timing for Division
Timing is crucial when it comes to dividing corms. The ideal moment to do this is after the dormancy period but before new growth begins.
Typically, this means planning your division for late winter to early spring. This window allows the corms to recover and establish themselves before the growing season kicks in.
✂️ Step-by-Step Division Process
Follow these steps to divide your corms effectively:
- Digging up corms: Use a spade to carefully lift the corms from the soil, taking care not to damage them.
- Cleaning corms: Once removed, gently clean off any excess soil and inspect each corm for signs of damage or disease.
- Dividing corms: Cut the corms into sections, ensuring that each piece has at least one viable bud. This is essential for successful regrowth.
🌿 Post-Division Care
After dividing the corms, immediate care is important. Allow the cut surfaces to dry for about 24 hours to prevent rot.
When replanting, ensure that you place the sections in well-draining soil at the same depth as they were originally. This will help them acclimate and thrive in their new environment.
With these steps, you’re well on your way to successfully propagating Arisaema through corm division. Next, let’s explore how to recognize and harvest offsets for even more propagation opportunities.
Offsets and Bulb Division
🌱 Recognizing Offsets
Offsets are small corms or bulbs that sprout around the main corm, indicating healthy growth. The best time to harvest these offsets is during late summer to early fall, when they are fully developed and ready for separation.
🥕 Harvesting Offsets
To harvest offsets, gently lift them using a trowel or spade, taking care not to damage the main corm. After lifting, clean the offsets by removing excess soil and inspecting them for any signs of disease or damage.
🌼 Planting Offsets
When planting offsets, ensure they are placed 2-3 inches deep in well-draining soil. For optimal growth, space them 6-12 inches apart to allow for healthy development and airflow.
Offsets are a fantastic way to propagate Arisaema, ensuring your garden thrives with new growth. Next, let’s explore the environmental considerations that will support your propagation efforts.
Environmental Considerations
🌱 Ideal Soil Conditions for Propagation
For successful propagation of Arisaema, the soil must be well-draining and rich in organic matter. This ensures that the roots can breathe and absorb nutrients effectively.
The ideal pH level for the soil should be slightly acidic to neutral, ranging from 6.0 to 7.0. This balance promotes healthy growth and prevents nutrient deficiencies.
☀️ Light and Temperature Requirements
Arisaema thrives in partial to full shade, making it perfect for woodland gardens or shaded areas. Too much direct sunlight can stress the plants, hindering their growth.
Temperature plays a crucial role during propagation. Aim for a range of 60°F to 75°F (15°C to 24°C) to create an optimal environment for your plants. This temperature range supports healthy germination and growth.
Understanding these environmental considerations will set you up for success in propagating Arisaema. With the right soil and light conditions, your plants will flourish, paving the way for the next steps in propagation.
Common Challenges in Propagation
🐛 Pests and Diseases
Pests can be a significant hurdle when propagating Arisaema. Common culprits include aphids, slugs, and nematodes, which can damage your plants if left unchecked.
To prevent these issues, regular inspection is crucial. Maintaining healthy soil through proper care can also deter pests and reduce the risk of disease.
🌱 Troubleshooting Germination Issues
Germination can sometimes be tricky, with common problems like low germination rates or mold growth. If you encounter these issues, consider adjusting moisture levels or ensuring that your seeds undergo proper stratification.
Monitoring your germination environment closely can make a world of difference. A little attention can lead to a thriving batch of seedlings.
🌾 Ensuring Successful Corm Growth
Healthy corms are vital for successful propagation. Look for signs like firmness and the absence of rot to gauge their health.
To promote robust growth, monitor moisture levels carefully. Avoid overwatering, as this can lead to rot and other complications that hinder your plants' development.
With these challenges in mind, you're better equipped to navigate the propagation process. Next, let’s explore the environmental considerations that can enhance your success in growing Arisaema.
⚠️ Safety First
This content is for general information and may contain errors, omissions, or outdated details. It is not medical, veterinary advice, or an endorsement of therapeutic claims.
Always consult a qualified healthcare professional before using any plant as food, medicine, or supplement.
Never eat any plant (or feed one to pets) without confirming its identity with at least two trusted sources.
If you suspect poisoning, call Poison Control (800) 222-1222, the Pet Poison Helpline (800) 213-6680, or your local emergency service immediately.
Spotted an error? Please report it here.
Master Arisaema propagation 🌱 with Greg's tailored reminders and expert tips to help your seeds and corms thrive every step of the way!