Diagnosing Neoregelia Chlorosticta Root Rot
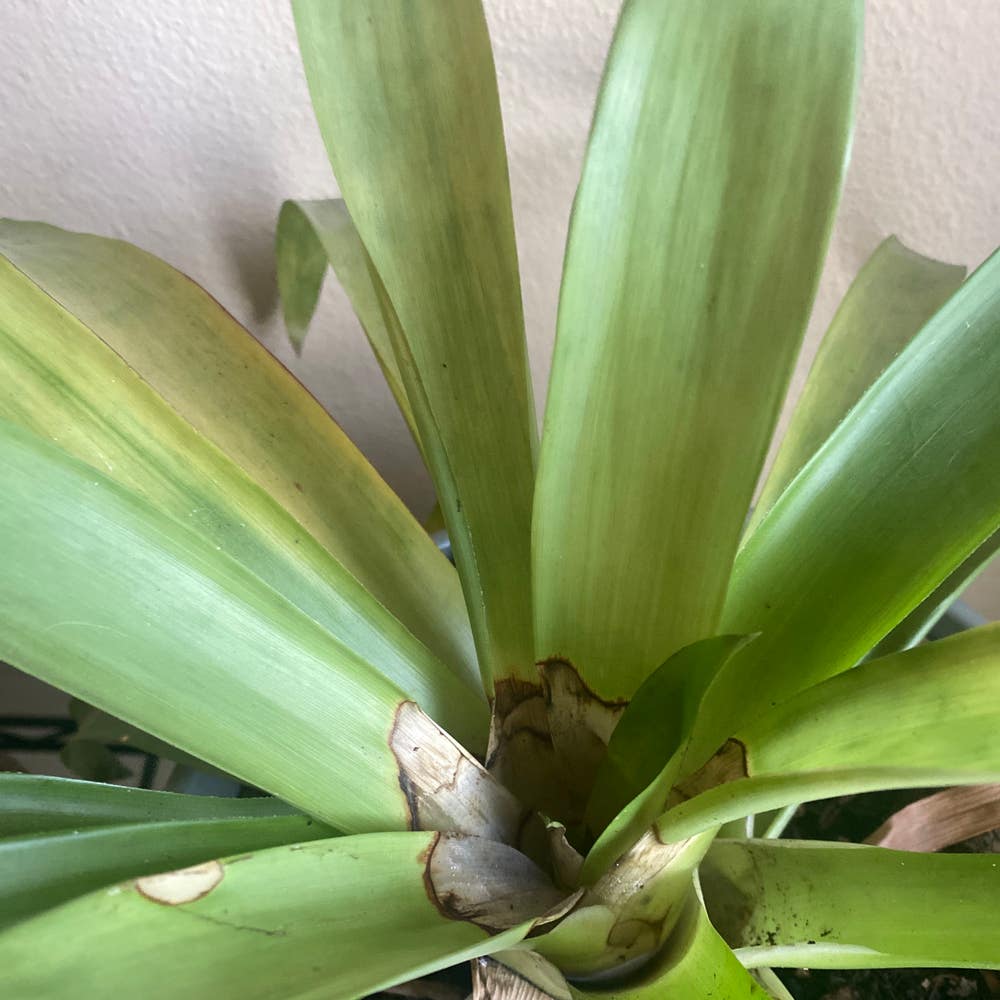
Neoregelia chlorosticta
By the Greg Editorial Team
Mar 23, 2024•4 min read
This article was created with the help of AI so we can cover more plants for you. May contain errors. See one? Report it here.
Rescue your Neoregelia 🌿 from the clutches of root rot with these essential detection and treatment tips!
- Yellow leaves, mushy roots, foul odor: telltale signs of root rot.
- Surgical root removal and disinfection are crucial for treatment.
- Well-draining soil, proper pot, and adjusted care prevent recurrence.
Spotting the Red Flags: Symptoms of Root Rot
🚨 Visual Clues
Yellowing leaves and mushy roots are your plant's version of a red light on the dashboard. They're not just aesthetic changes; they're distress signals.
📢 Sensory Alerts
A foul odor emanating from the soil or roots is like a silent alarm for root rot. If the roots feel like they've lost their vigor, it's time to take serious note.
🌱 Plant Behavior
Wilting and stunted growth are subtle hints that your Neoregelia chlorosticta might be in trouble. These behaviors are not just signs of a bad day; they indicate potential root rot.
Getting to the Root of the Problem: Diagnosis Techniques
🕵️♂️ Root Inspection
To safely unearth and assess the root system of your Neoregelia chlorosticta, start by gently removing the plant from its pot. Avoid damaging the roots during this process. Healthy roots should be firm and white, while rotting roots are typically soft, brown, and may emit a foul odor.
Beyond the Roots
Inspect the plant for other signs of distress. Check the leaves, stem, and base of the plant for unusual symptoms. If the plant has been struggling, consider the possibility of a systemic issue affecting its overall health. Sterilized tools should be used for any cutting or probing to prevent the spread of pathogens. If after your thorough inspection you're still unsure, a professional lab test can serve as a crucial second opinion.
Cutting Out the Rot: Immediate Treatment Actions
🏥 Surgical Precision
When Neoregelia chlorosticta falls victim to root rot, it's time for some plant surgery. Sterilize your scissors or shears with rubbing alcohol or a bleach solution. Carefully remove the plant from its pot and shake off excess soil. Rinse the roots with water to better identify the rot. Snip away the mushy, discolored roots, cutting slightly into healthy tissue to ensure no rot remains. It's like defusing a bomb; one wrong move and you could lose the plant.
🧼 Disinfection and Recovery
After the root-ectomy, disinfect the remaining roots. A copper-based fungicide or hydrogen peroxide bath can act as a shield against further fungal assault. Let the roots dry completely—this isn't a rush job. Clean the pot with a bleach solution or, if you're not taking any chances, use a new one. Repot with fresh, well-draining soil and keep the environment sterile. Remember, you're not just saving a plant; you're warding off the botanical equivalent of the zombie apocalypse.
Repotting for a Fresh Start: Soil and Pot Considerations
🌱 Choosing the Right Soil Mix
Selecting a well-draining soil mix is crucial for the health of your Neoregelia chlorosticta. Aim for a blend that strikes the right balance between moisture retention and aeration. A mix of potting soil, compost, and perlite or coarse sand can provide the ideal environment for your plant's roots. Remember, the goal is to create a nutrient-rich haven that wards off root rot like a garden gnome repels evil spirits.
🏺 Pot Selection
When it comes to pots, size and drainage take the spotlight. Choose a pot that's a tad larger than the current one, allowing your plant's roots some room to groove. Drainage holes are non-negotiable—they're the escape route for excess water, keeping your plant's feet dry. Cover these holes with mesh to keep the soil from pulling a Houdini. And let's not forget, the right pot is like a tailored suit; it looks good and fits just right.
Keeping the Rot at Bay: Prevention Strategies
💧 Watering Wisely
Watering your Neoregelia chlorosticta is less about sticking to a rigid schedule and more about understanding its needs. Check the top inch of soil; if it's dry, it's time to water. Ensure your plant gets just enough to hydrate the roots without drowning them. Remember, overwatering is the fast track to root rot.
🌿 Creating the Ideal Environment
Adjusting the humidity and air circulation around your plant is crucial. You're aiming for that perfect middle ground—not a rainforest, not a desert. Think of it as setting the stage for your plant to thrive without the threat of root rot. Rotate your pots to promote even growth and prevent disease from taking hold.
🌱 Pot and Soil Strategy
Select a pot with drainage holes to prevent water from pooling at the bottom. If you're into decorative pots, set up a cachepot situation—style on the outside, functionality on the inside. For soil, go for a mix that's as airy and balanced as a yoga instructor—think perlite or sand to keep those roots breathing easy.
🌍 Environmental Mastery
Keep your plant's environment clean and well-lit. Prune regularly to encourage good air circulation and prevent the kind of overcrowding that root rot loves. And just like updating your wardrobe with the seasons, adjust your plant care routine as the weather changes. It's all about being proactive, not reactive.
⚠️ Safety First
This content is for general information and may contain errors, omissions, or outdated details. It is not medical, veterinary advice, or an endorsement of therapeutic claims.
Always consult a qualified healthcare professional before using any plant as food, medicine, or supplement.
Never eat any plant (or feed one to pets) without confirming its identity with at least two trusted sources.
If you suspect poisoning, call Poison Control (800) 222-1222, the Pet Poison Helpline (800) 213-6680, or your local emergency service immediately.
Spotted an error? Please report it here.
Combat neoregelia chlorosticta root rot by detecting 🕵️♂️ early signs and using Greg's tailored care plan to ensure your plant's swift recovery.