Best Tips for Repotting Coco Palm 🥥
Syagrus cocoides
By the Greg Editorial Team
Nov 23, 2024•7 min read
This article was created with the help of AI so we can cover more plants for you. May contain errors. See one? Report it here.
Revitalize your Coco Palm 🌴 by spotting repotting signs early and following these essential care tips! 🌱
- 🌱 Repot when roots are root-bound or showing signs of stress like yellowing leaves.
- 🛠️ Gather essential materials like a new pot and fresh soil before repotting.
- 💧 Water thoroughly after repotting to support recovery and monitor for stress signs.
Signs That Coco Palm Needs Repotting
🌱 Root System Indicators
One of the first signs that your Coco Palm needs repotting is when you notice roots growing out of the drainage holes. This indicates that the plant is root-bound and requires more space to thrive.
Additionally, if you see roots circling the pot, it’s a clear signal that your palm is cramped and needs a larger container to spread out.
📈 Growth Patterns
Stunted growth is another red flag. If your Coco Palm shows a lack of new fronds or has a noticeably slow growth rate, it may be time to consider repotting.
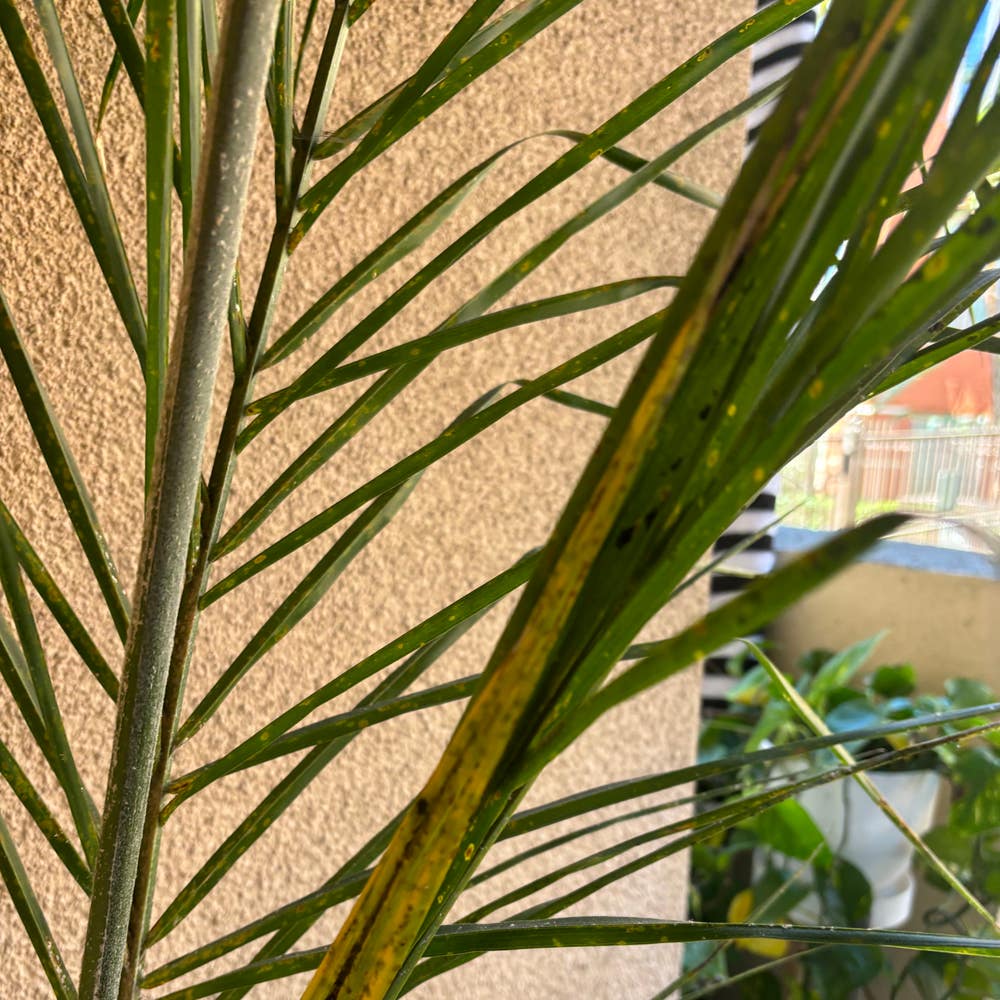
Yellowing leaves can also indicate issues, often pointing to root stress or nutrient deficiency. Keep an eye on these symptoms to ensure your plant remains healthy.
🪴 Soil Condition
The condition of the soil plays a crucial role in your Coco Palm's health. If the soil is compacted or degraded, it can lead to poor drainage and nutrient retention, making repotting necessary.
Moreover, the presence of mold or pests in the soil is a strong indicator that fresh soil is needed. This not only rejuvenates the plant but also helps prevent further issues.
Recognizing these signs early can make a significant difference in the health of your Coco Palm. By staying vigilant, you can ensure your plant continues to flourish and grow.
Next, let’s explore the step-by-step guide to repotting your Coco Palm effectively.
Step-by-Step Guide to Repotting Coco Palm
Repotting your Coco Palm can seem daunting, but with the right approach, it can be a rewarding experience. Follow these steps to ensure your plant thrives in its new home.
1. Gather Necessary Materials 🛠️
Start by collecting all the essentials: a new pot, fresh soil mix, and tools like a trowel and gloves. Having everything on hand will make the process smoother.
2. Choose the Right Pot Size 📏
Select a pot that is 2-4 inches larger in diameter than the current one. This extra space allows your Coco Palm's roots to spread out comfortably.
3. Prepare the New Pot 🪴
Before planting, check that your new pot has adequate drainage holes. Adding a layer of gravel or small stones at the bottom will enhance drainage and prevent waterlogging.
4. Remove the Coco Palm from Its Current Pot 🌱
Gently loosen the soil around the edges of the pot. Carefully lift the plant, supporting the base and root system to avoid damage.
5. Inspect the Roots 🔍
Take a close look at the roots. Trim any damaged or rotten roots with sterilized scissors, and loosen tightly bound roots to promote healthy growth.
6. Place the Coco Palm in the New Pot 🏺
Center the plant in the new pot and fill in with fresh soil mix. Ensure the root ball is level with the pot rim for stability.
7. Water Thoroughly 💧
After planting, water the Coco Palm thoroughly. The soil should be moist but not soggy, providing the right balance for your plant.
8. Position the Repotted Coco Palm 🌞
Finally, place your repotted Coco Palm in a location with bright, indirect light. This will help reduce stress and encourage new growth.
By following these steps, you can successfully repot your Coco Palm and set it up for a thriving future. Next, let’s explore the best pot materials to enhance your plant's growth.
Pot Material Options for Coco Palm
Choosing the right pot material for your Coco Palm is crucial for its health and growth. Each material has its unique advantages and disadvantages that can impact your plant's well-being.
🌟 Pros and Cons of Each Material
Ceramic
Ceramic pots are visually appealing and provide excellent insulation for roots. However, they can be heavy and may retain too much moisture, which could lead to root rot.
Plastic
Plastic pots are lightweight and affordable, making them a popular choice. They offer good drainage options but can be less durable and may heat up quickly in direct sunlight.
Terracotta
Terracotta pots excel in drainage and are breathable, allowing air to reach the roots. On the downside, they can dry out quickly and may crack in colder temperatures.
Metal
Metal pots bring a modern aesthetic and are quite durable. Unfortunately, they offer poor insulation and can heat up excessively, potentially harming the roots.
🌱 Recommended Pot Materials for Optimal Growth
For the best results, opt for terracotta or ceramic pots. These materials strike a balance between moisture control and aesthetic appeal. Avoid non-breathable materials that retain too much moisture, as they can lead to root issues.
By selecting the right pot material, you set your Coco Palm up for success. This choice not only enhances its growth but also complements your home decor beautifully.
Next, let’s explore the essential post-repotting care to ensure your Coco Palm thrives in its new home.
Post-Repotting Care for Coco Palm
🌱 Immediate Care After Repotting
After repotting your Coco Palm, immediate care is crucial for its recovery. Start by watering the plant thoroughly, ensuring the soil is consistently moist but not soggy.
Next, place your Coco Palm in a location with bright, indirect light. This helps reduce stress and encourages healthy growth as it acclimates to its new environment.
🚨 Signs of Stress After Repotting
Keep an eye out for signs of stress following repotting. Wilting or drooping fronds can indicate potential overwatering or shock from the transition.
Additionally, monitor for leaf discoloration, such as yellowing or browning edges. These symptoms can signal that your plant is struggling to adjust.
🛠️ Addressing Stress Symptoms
If you notice stress symptoms, adjust your watering schedule based on the soil moisture. Allow the top inch of soil to dry out before watering again to prevent overwatering.
Creating a stable environment is also essential. Maintain consistent temperature and humidity levels to help your Coco Palm thrive in its new pot.
By providing attentive care, your Coco Palm will bounce back and flourish in no time. Next, let’s explore common mistakes to avoid when repotting your Coco Palm.
Common Mistakes in Repotting Coco Palm
Mistakes to Avoid 🌪️
Repotting your Coco Palm too frequently can lead to unnecessary stress. It's essential to wait until the plant truly needs more space, as constant repotting can disrupt its growth cycle.
Using the wrong pot size is another common pitfall. A pot that's too large can retain excess moisture, leading to root rot and other issues.
How to Prevent Root Damage During Repotting 🛠️
When repotting, always handle the root ball gently. Avoid pulling or tearing the roots, as this can cause lasting damage and hinder the plant's recovery.
Using sterilized tools is crucial to minimize the risk of infection. Clean tools help ensure your Coco Palm remains healthy and thriving after the transition.
By avoiding these mistakes, you set your Coco Palm up for success in its new home. Next, let’s explore how often you should repot your Coco Palm to keep it flourishing.
Repotting Frequency for Coco Palm
🌱 How Often Should You Repot Coco Palm?
Repotting your Coco Palm is generally recommended every 2-3 years. Keep an eye out for signs of being root-bound, as these indicators signal it's time for a new pot.
⏳ Factors Influencing Repotting Frequency
Several factors can affect how often you need to repot your Coco Palm.
Growth Rate: If your plant is growing rapidly, it may require more frequent repotting to accommodate its expanding roots.
Pot Size: Using a larger pot can extend the time between repotting, as it provides more room for growth.
Environmental Conditions: Humidity and temperature play a significant role in growth and root development. Warmer, humid environments can accelerate growth, necessitating more frequent repotting.
Understanding these factors will help you maintain a healthy Coco Palm and ensure it thrives in its new home. As you monitor your plant's growth and conditions, you'll become more attuned to its needs, making repotting a seamless part of your plant care routine.
⚠️ Safety First
This content is for general information and may contain errors, omissions, or outdated details. It is not medical, veterinary advice, or an endorsement of therapeutic claims.
Always consult a qualified healthcare professional before using any plant as food, medicine, or supplement.
Never eat any plant (or feed one to pets) without confirming its identity with at least two trusted sources.
If you suspect poisoning, call Poison Control (800) 222-1222, the Pet Poison Helpline (800) 213-6680, or your local emergency service immediately.
Spotted an error? Please report it here.
Repotting your Coco Palm is crucial for its vibrant growth 🌱, and with Greg's tailored reminders and expert tips, you'll have everything you need to help your plant flourish in its new pot!