When and Where Should I Trim My Philodendron billietiae?
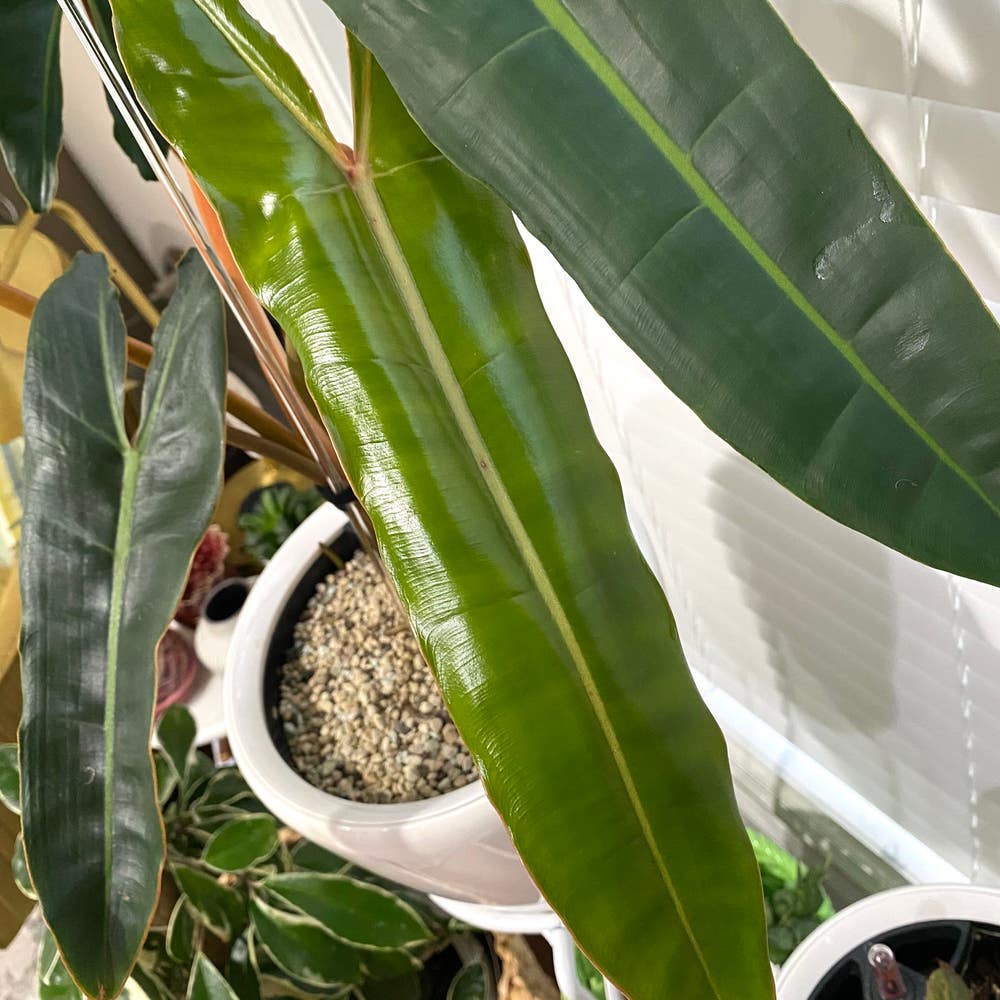
Philodendron billietiae
By the Greg Editorial Team
Jun 18, 2024•4 min read
This article was created with the help of AI so we can cover more plants for you. May contain errors. See one? Report it here.
- 🌱 Prune in spring/early summer for vigorous growth and recovery.
- ✂️ Cut above leaf nodes for direction and to maintain plant shape.
- 🔄 Sterilize tools, propagate cuttings for health and new growth.
Timing Your Trims: When to Prune
📅 Seasonal Smarts: Best Times of Year for Pruning
Pruning your Philodendron billietiae isn't a whimsical decision. Timing is crucial. Aim for spring or early summer, when the plant's growth is most vigorous. This aligns with the natural growth cycle, encouraging robust new shoots and a fuller plant.
🌱 Growth and Health Check: When Your Plant is Ready
Keep an eye on your Philodendron billietiae's health. Yellowing leaves or leggy growth? It's signaling for a trim. Pruning when the plant is healthy and actively growing ensures a quick recovery and minimizes stress.
🌸 After the Bloom: Post-Flowering Pruning
If your Philodendron billietiae has graced you with flowers, wait until the show is over. Post-bloom pruning gives the plant a chance to redirect its energy to new growth and potential future blooms. Remember, it's not just a haircut, it's a strategic move for more spectacular displays down the line.

Where to Make the Cut: Pruning Locations
🌱 Node Know-How: Identifying Pruning Points
Leaf nodes are your compass for directing new growth. Snip above a node angling in your desired growth direction, and that's where new branches will emerge. Remember the 45-degree angle rule—it's like giving your plant a mini umbrella to ward off water and disease.
✂️ Shape and Structure: Trimming for Aesthetics
Aesthetic pruning isn't just a snip here and there; it's about envisioning the plant's future form. Trim to maintain symmetry and encourage a balanced shape. If your Philodendron billietiae is looking more like a wild bush than a refined houseplant, it's time to intervene with your shears.
🚑 Damage Control: Removing Unhealthy Growth
Spot brown or yellow leaves? It's surgery time. Excise the unhealthy bits with precision to stop the spread of potential disease. And don't forget the 4 D's: Dead, Damaged, Diseased, and Deranged growth must go. It's not just a trim; it's a therapeutic intervention for your plant's well-being.

Pruning with Purpose: Techniques and Tools
🔪 Sharp and Clean: Selecting the Right Pruning Shears
Pruning your Philodendron billietiae starts with the right tools. Go for pruning shears that make you feel like Edward Scissorhands—precise, sharp, and almost an extension of your own hand. They should handle cuts up to 3/4 inches in diameter with ease. For anything heftier, lopping shears will give you the leverage you need without turning your plant into a hack job.
🌱 Making the Cut: Techniques to Minimize Stress
When it's time to snip, think of it as plant surgery. Each cut should be clean and confident. Aim for a spot just above a leaf node; that's the sweet spot where new growth will thank you. And remember, you're not on a reality TV show—no dramatic over-pruning. Keep it to 25% or less of the plant's foliage to avoid a botanical meltdown.
🧼 Cleanliness is Key: Sterilizing Your Tools
Before you play plant doctor, sterilize your shears with rubbing alcohol. It's like the hand sanitizer of the plant world. Sterilize before and after each cut to prevent your green friends from catching something nasty. Think of it as good hygiene for your garden.

Pruning for Propagation: A Dual Benefit
🌱 Cut to Multiply: How Pruning Can Lead to New Plants
Pruning isn't just a haircut for your Philodendron billietiae—it's a cloning machine. Snip off a healthy section, and you've got the start of a new plant. Nodes are the key; these little bumps are where new roots will pop out. Make sure your cutting includes one or two.
🌿 Rooting for Success: Caring for Your Cuttings
Once you've got your cuttings, it's time to root them into existence. You can start in water or go straight to soil. If you're the water type, submerge the node and wait for roots to emerge. For soil fans, a moist, well-draining mix is your cutting's new best friend. Cover with a plastic bag to keep the humidity high, and keep the soil damp but not soggy. Patience is your virtue here—roots take time to develop. Once they're a few inches long, it's potting time.
⚠️ Safety First
This content is for general information and may contain errors, omissions, or outdated details. It is not medical, veterinary advice, or an endorsement of therapeutic claims.
Always consult a qualified healthcare professional before using any plant as food, medicine, or supplement.
Never eat any plant (or feed one to pets) without confirming its identity with at least two trusted sources.
If you suspect poisoning, call Poison Control (800) 222-1222, the Pet Poison Helpline (800) 213-6680, or your local emergency service immediately.
Spotted an error? Please report it here.
Prune your Philodendron billietiae to perfection by following the article's advice and using Greg's tailored reminders 🌿 for the best timing and techniques.