Leather Fern: How to Plant ⛏️
Rumohra adiantiformis
By the Greg Editorial Team
Jan 07, 2025•5 min read
This article was created with the help of AI so we can cover more plants for you. May contain errors. See one? Report it here.
- 🌱 Plant leather ferns in spring for optimal growth and adaptability.
- 🌿 Transplant established ferns for immediate size, but watch for transplant shock.
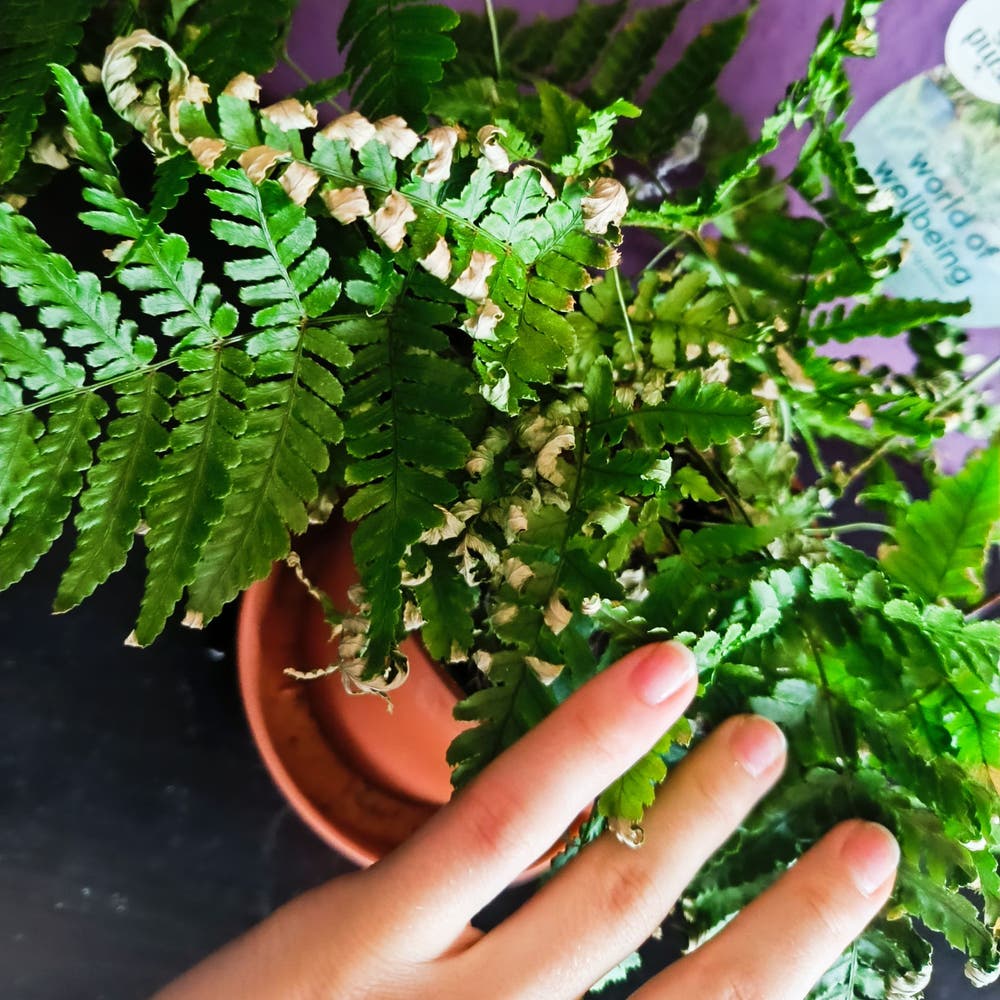
- 💧 Maintain humidity and moisture to ensure healthy growth and prevent root rot.
New vs. Transplanting Leather Fern
🌱 Benefits of Planting New Leather Fern
Planting new leather ferns can be a cost-effective choice. Generally, they are less expensive than established plants, making them a budget-friendly option for gardeners.
Additionally, new leather ferns exhibit greater adaptability. They tend to acclimate more easily to their new environments, which can lead to healthier growth in the long run.
⚠️ Drawbacks of Planting New Leather Fern
However, there are some drawbacks to consider. New leather ferns take longer to reach full size and health, requiring patience from the gardener.
They also demand more initial care and attention. This means you’ll need to invest time and effort to ensure they thrive in their new home.
🌳 Benefits of Transplanting Established Leather Fern
On the other hand, transplanting established leather ferns offers immediate benefits. These plants provide instant size and presence in your garden, creating an instant impact.
Moreover, their established root systems can lead to quicker adaptation. This means they may settle into their new location faster than newly planted ferns.
😬 Drawbacks of Transplanting Established Leather Fern
Yet, transplanting comes with its own set of challenges. There’s a risk of transplant shock, which can cause stress and decline in the plant.
Additionally, the process is often more labor-intensive. Careful handling and preparation are crucial to ensure the fern survives the transition.
In summary, both planting new and transplanting established leather ferns have their pros and cons. Your choice will depend on your gardening goals and the specific conditions of your space.
Key Steps for Planting New Leather Fern
🌱 Optimal Timing for Planting
The best time to plant new leather fern is during spring or early summer. This timing aligns with mild temperatures, which are ideal for growth, but always consider your local climate conditions and the plant's natural growth cycle.
🪴 Selecting the Appropriate Soil Mix and Containers
For optimal growth, use a well-draining potting mix enriched with organic matter. If you're opting for container gardening, ensure your pots have drainage holes to prevent waterlogging.
📏 Proper Depth and Spacing for Planting
When planting, make sure the crown of the fern is level with the soil surface. For outdoor planting, space your ferns 18-24 inches apart to allow ample room for growth.
☀️ Maintaining Ideal Growing Conditions
Leather ferns thrive in indirect sunlight, so avoid placing them in harsh direct light. Additionally, maintaining high humidity levels is crucial, especially for indoor plants, to mimic their natural habitat.
🌤️ Hardening Off Leather Fern Before Outdoor Planting
Before moving your fern outdoors, gradually expose it to the elements. Start with a few hours of outdoor exposure, increasing the time daily over 7-10 days, and keep an eye out for signs of stress, such as wilting or leaf burn.
These steps will set your new leather fern on the path to thriving in its new environment. Next, let’s explore the key steps for transplanting established leather ferns for those looking to relocate their plants.
Key Steps for Transplanting Established Leather Fern
Optimal Timing for Transplanting 🌱
Transplanting your established leather fern is best done in early spring or fall. During these times, the plant is not actively growing, which helps minimize stress and encourages a smoother transition.
Step-by-Step Instructions for Transplanting 🛠️
- Prepare the new planting site: Clear any debris and amend the soil as needed to ensure a healthy environment.
- Water the established plant: Moist soil helps ease the removal process, so give it a good drink before you start.
- Carefully remove the plant: Use a spade to dig around the root zone, taking care to preserve as many roots as possible.
- Place in the new site: Position the fern at the same depth it was previously growing to maintain its health.
Preparing the New Planting Site 🏡
Soil preparation is crucial for a successful transplant. Incorporate organic matter to enhance drainage and provide essential nutrients.
Ensure you leave at least 18-24 inches of space for growth. This spacing allows your fern to thrive without competing for resources.
Tips for Watering, Mulching, and Support 💧
Keep the soil consistently moist but avoid sogginess. Overwatering can lead to root rot, so find that sweet spot.
Applying a layer of organic mulch helps retain moisture and suppress weeds, creating a more favorable environment.
If your fern has long fronds, consider using stakes for support. This prevents bending or breaking as it settles into its new home.
Transplanting can be a rewarding experience, setting your leather fern up for success in its new location. With the right timing and care, your fern will flourish and bring beauty to your garden.
Troubleshooting Common Issues
Identifying Transplant Shock 🌱
Transplant shock is a common issue that can affect your leather fern after moving it to a new location. Look for symptoms like wilting, yellowing leaves, and stunted growth, which typically appear within the first few weeks post-transplant.
Solutions for Establishment Problems 💪
To help your fern recover, start by adjusting your watering routine. Ensure the soil remains consistently moist but avoid overwatering, which can lead to root rot.
Fertilization can also play a crucial role in recovery. Use a diluted, balanced fertilizer to provide the necessary nutrients without overwhelming the plant.
General Care Tips for Newly Planted or Transplanted Leather Fern 🌿
Monitoring environmental conditions is essential for your fern's health. Adjust humidity and light levels as needed to create a comfortable environment.
Regular inspections are key to preventing issues. Check for pests and diseases to ensure your leather fern remains healthy and vibrant.
By staying attentive and proactive, you can help your leather fern thrive in its new home.
⚠️ Safety First
This content is for general information and may contain errors, omissions, or outdated details. It is not medical, veterinary advice, or an endorsement of therapeutic claims.
Always consult a qualified healthcare professional before using any plant as food, medicine, or supplement.
Never eat any plant (or feed one to pets) without confirming its identity with at least two trusted sources.
If you suspect poisoning, call Poison Control (800) 222-1222, the Pet Poison Helpline (800) 213-6680, or your local emergency service immediately.
Spotted an error? Please report it here.
Transform your garden with thriving leather ferns 🌿 by using Greg's tailored care tips and watering reminders to help them flourish in their new environment!