Step-by-Step Guide to Potting Garlic
Allium sativum
By the Greg Editorial Team
Jul 22, 2024•4 min read
This article was created with the help of AI so we can cover more plants for you. May contain errors. See one? Report it here.
Nurture gourmet garlic 🌱 with the perfect pot size and material for a thriving home harvest.
- 🌱 Pot size progression is key for healthy garlic growth.
- 🏺 Material choice affects garlic health; consider clay or plastic for optimal conditions.
- 💧 Ensure proper drainage to prevent root rot and boost garlic vitality.
Pot Size Matters
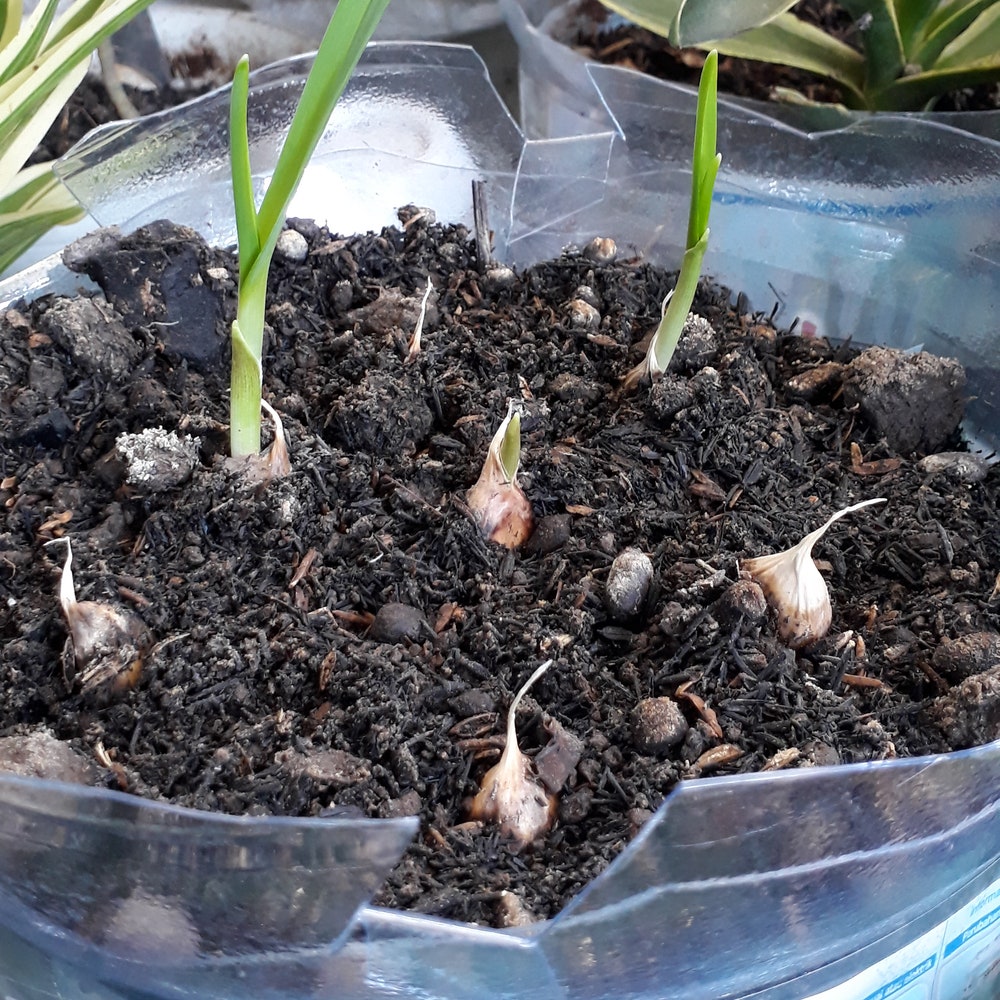
Starting Pots for Seedlings
🌱 Garlic seedlings require a cozy environment to flourish. Here's how to choose the right size:
- Ideal starter pot size: 2 to 4 inches in diameter.
- This size maintains soil moisture balance and supports initial root development.
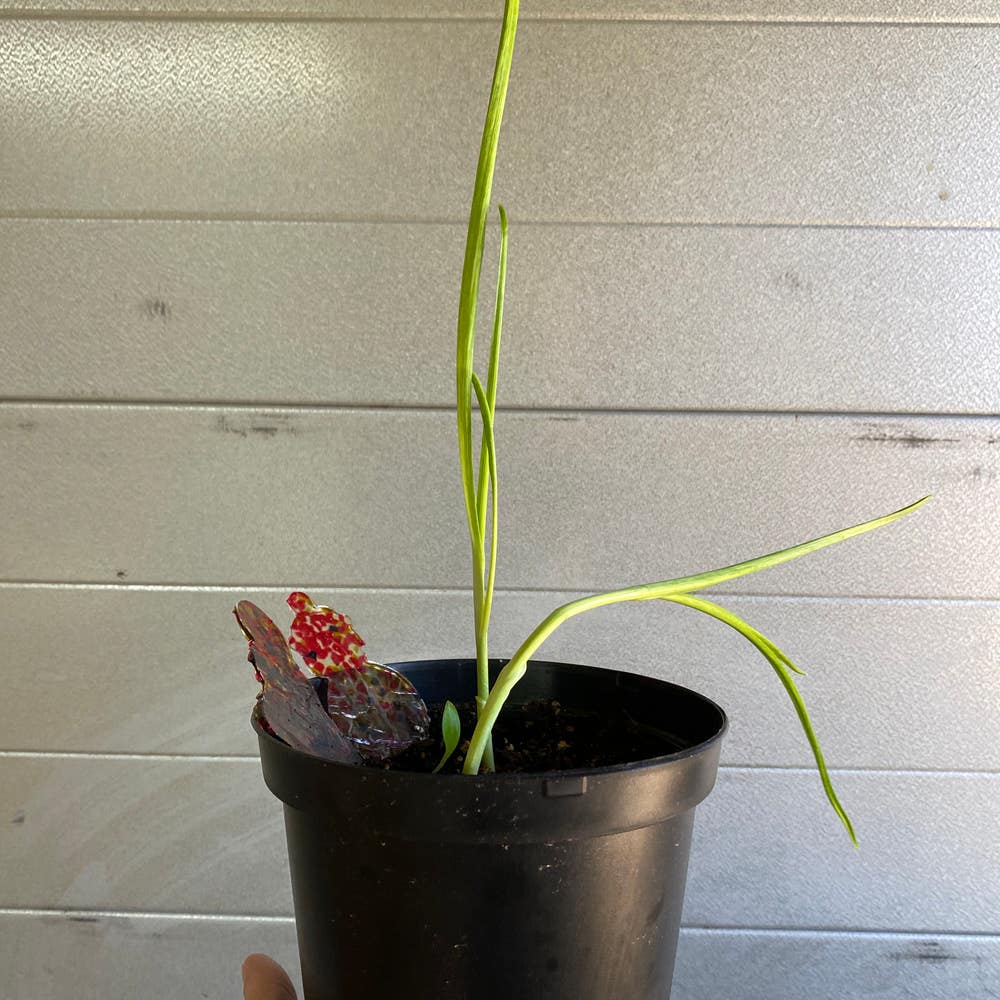
Growth Stage Upgrades
🌿 As garlic plants grow, their pots should grow with them:
- Transition to larger pots: When roots fill the starter pot, typically a few weeks after sprouting.
- Recommended sizes for mature plants:
- At least 8 inches deep to accommodate the root system.
- Width should be proportional to the number of plants; a 22-inch diameter can house 8 to 10 cloves.
Upgrading pot size at the right time ensures your garlic has the space it needs to develop into robust, flavorful bulbs.
Choosing Pot Materials
🌱 Best Materials for Garlic
Selecting the right pot material is crucial for the health and growth of garlic. Here's what to consider:
- Clay Pots: These are like a breathable fabric for roots, allowing air and moisture to pass through, which can prevent overwatering. However, they may require more frequent watering due to their porous nature.
- Plastic Pots: These are the cost-effective, lightweight champions of moisture retention, ideal for those who might not water as often. But be cautious of waterlogging and ensure good drainage.
- Fabric Pots: These are the mavericks of root aeration, promoting healthy growth and preventing root circling. They do dry out quickly, so keep an eye on watering.
- Wooden Pots: Wooden pots add a natural aesthetic but need to be treated to prevent rot. They offer good insulation against temperature changes.
🌡️ Temperature and Material
The material of your pot can significantly affect soil temperature, which in turn impacts garlic health:
- Clay and Terracotta: These materials can help regulate soil temperature due to their breathability but may get too cold in winter if not insulated.
- Plastic: Plastic pots can protect roots from rapid temperature fluctuations but may heat up in direct sunlight.
- Fabric: Fabric pots allow for excellent air circulation, which can help keep soil temperatures stable.
- Wood: Wood is a natural insulator and can help shield garlic from extreme temperature changes.
Drainage Essentials
🕳️ Drainage Hole Importance
Garlic thrives in well-drained soil, making drainage holes in pots non-negotiable. These holes are crucial for preventing water from pooling at the bottom, which can lead to root rot and other moisture-related diseases. To ensure your pot's drainage is up to par, perform a simple check:
- Water the soil and observe. Water should flow out freely from the bottom.
- If water stagnates or drains slowly, it's a red flag. Consider drilling additional holes or choosing a different pot.
🌪️ Improving Drainage
Even with drainage holes, sometimes additional measures are needed to enhance soil aeration and moisture control. Here's how to boost drainage:
- Mix perlite, coarse sand, or gravel into your potting soil. These amendments increase space between soil particles, facilitating better water flow.
- Create a drainage layer at the pot's base using pebbles or broken terracotta pieces. This layer acts as a buffer between the soil and the drainage hole, preventing soil from clogging the exit route and allowing water to escape more efficiently.
Repotting Garlic Plants
Signs It's Time to Repot
Garlic plants communicate their discomfort in confined spaces through a few telltale signs. Here's what to look for:
- Roots peeking out of drainage holes or circling the soil surface.
- Stunted growth or yellowing leaves, indicating a nutrient-starved plant.
- Soil that dries out too quickly or becomes waterlogged, suggesting poor soil structure due to root overcrowding.
🌱 Step-by-Step Repotting Process
Repotting garlic requires a gentle touch and the right materials. Follow these steps to ensure a smooth transition:
- Choose a new pot that's one to two sizes larger with ample drainage holes.
- Prepare a mix of potting soil and compost in a 75:25 ratio for nutrient-rich, well-draining conditions.
- Gently remove the garlic plant from its current pot, taking care not to damage the roots.
- Place the plant in the new pot and fill around it with your soil mix, ensuring the base of the stems is level with the pot's rim.
- Water the soil just enough to settle it around the roots, avoiding overwatering.
Selecting the right pot for repotting is crucial:
- Opt for a pot with at least 6 inches of space between plants and a depth of 6 inches to accommodate growth.
- Avoid metal pots that can overheat and glazed ceramic that may crack.
- Ensure recycled pots are clean and free from contaminants.
⚠️ Safety First
This content is for general information and may contain errors, omissions, or outdated details. It is not medical, veterinary advice, or an endorsement of therapeutic claims.
Always consult a qualified healthcare professional before using any plant as food, medicine, or supplement.
Never eat any plant (or feed one to pets) without confirming its identity with at least two trusted sources.
If you suspect poisoning, call Poison Control (800) 222-1222, the Pet Poison Helpline (800) 213-6680, or your local emergency service immediately.
Spotted an error? Please report it here.
Ensure your garlic thrives by letting Greg remind you when it's time for a pot upgrade 🧄, based on the insights from this potting guide.