🧄 Best Practices for Planting Allium sativum
Allium sativum
By the Greg Editorial Team
Jul 22, 2024•5 min read
This article was created with the help of AI so we can cover more plants for you. May contain errors. See one? Report it here.
Grow garlic like a pro 🧄 with the right method for your garden's bounty!
- 🌱 Cloves vs. Transplants: Each method suits different preferences, climates, and budgets.
- ⏰ Timing is crucial: Plant cloves or transplants based on your climate zone.
- 🛠️ Proper planting and care: Depth, spacing, soil, and post-planting attention are key.
Planting Methods Overview
Garlic, unlike many vegetables, doesn't start from seeds but from cloves or transplants. Let's delve into these two methods to understand which might be best for your garden.
🧄 Comparing Garlic Cloves and Transplants
- Garlic Cloves: These are individual segments from a garlic bulb, each capable of growing into a new plant.
- Transplants: These are young garlic plants that have started growing from a clove and are moved to a new location.
Pros and Cons
- Garlic Cloves:
- Pros:
- More varieties to choose from, allowing for customization to your taste and climate.
- Typically more cost-effective and accessible.
- Can be planted directly where they will grow, avoiding transplant shock.
- Cons:
- Requires careful handling to avoid damage to the clove.
- May take longer to establish and mature compared to transplants.
- Pros:
- Transplants:
- Pros:
- Allows for a head start in the growing season.
- Can be beneficial if starting with less than ideal clove sizes.
- Cons:
- Limited variety choices, as it depends on what's available at nurseries.
- Risk of transplant shock, which can affect growth and yield.
- Generally more expensive than planting cloves directly.
- Pros:
Planting Garlic Cloves
When to Plant Cloves
Timing is crucial for planting garlic cloves. Here's a quick rundown based on your climate zone:
- Zones 0-3: Late August to late September
- Zones 3-5: Mid to late September
- Zones 5-7: Early to mid-October
- Zones 7-9: Late October
- Zones 9-10: Late October to December
Remember, plant 4-6 weeks before the ground freezes to allow for root development.
🌱 Preparing Soil and Containers
Get your garlic off to a great start with the right soil and container:
- Use well-drained soil high in organic matter.
- Avoid soil from areas recently growing other Alliums to prevent disease.
- Choose containers allowing 4-6 inches between cloves.
- Ensure containers have adequate drainage.
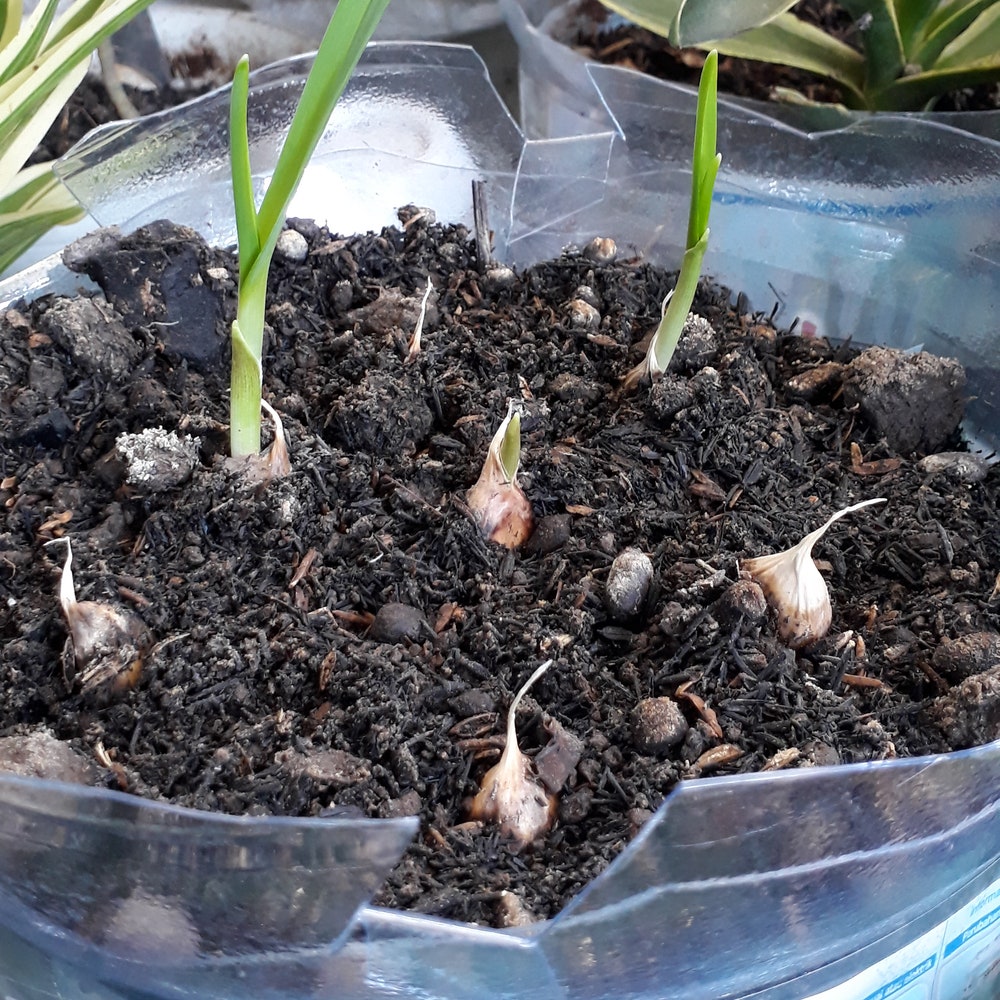
🌿 Planting Depth and Spacing
Planting your cloves correctly is key to a bountiful harvest:
- Plant cloves 1-2 inches deep in warm climates, 3-4 inches in colder regions.
- Space cloves about 4-6 inches apart.
- Point the tip upwards, as roots grow from the flat bottom.
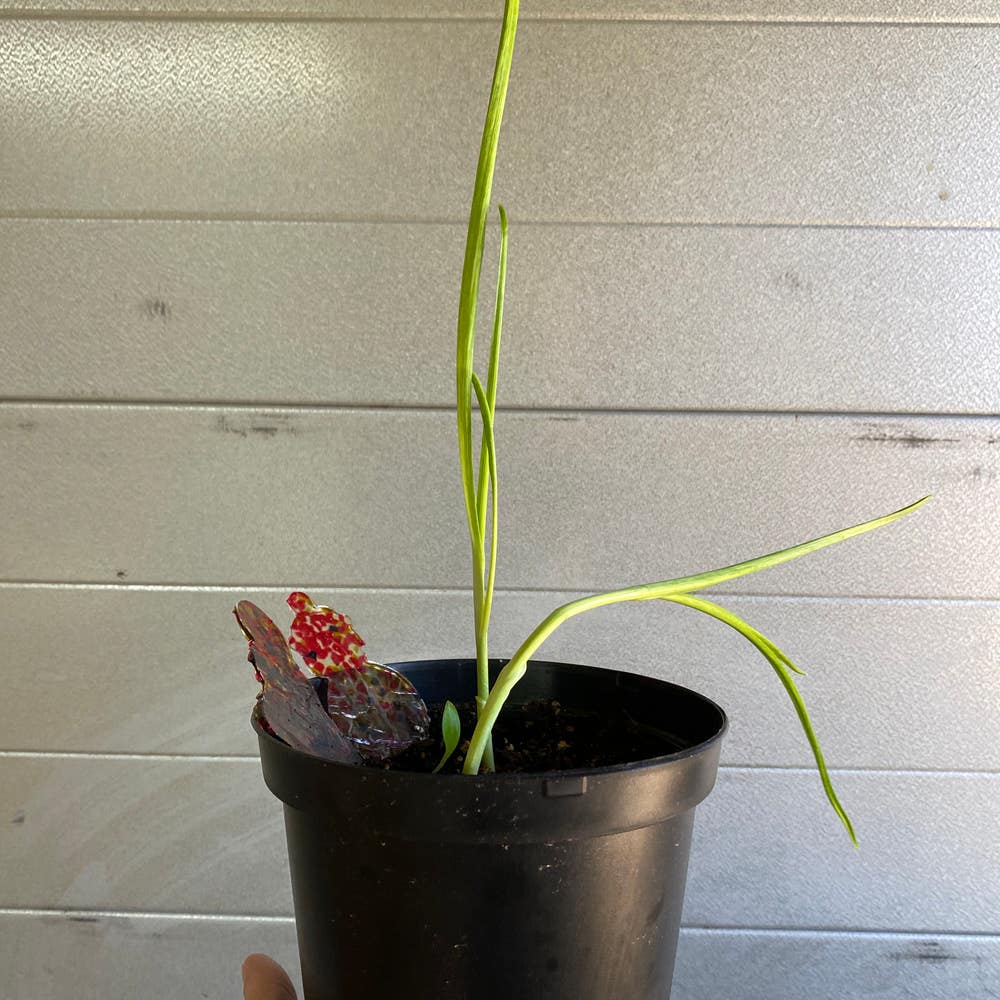
🌱 Seedling Care
Once your cloves are in the ground, they'll need some TLC:
- Water weekly with 1/2 to 1 inch of water.
- Ensure at least six to eight hours of sunlight daily.
- Mulch to regulate soil temperature and retain moisture.
With these steps, you're on your way to growing robust garlic plants.
Transplanting Garlic
🌱 Timing for Transplanting
Transplanting garlic requires precision timing. Aim for early development stages, ideally in fall or early spring before growth peaks.
- Transplant in the morning, evening, or on a cloudy day to reduce stress.
- If possible, time the transplant before rain to ease the transition and avoid direct sunlight.
🌿 The Transplanting Process
Careful handling is crucial during the transplanting process. Here's how to do it:
- Water the garlic well before starting to ease root extraction.
- Gently dig around the plant to obtain a root ball at least the size of a softball, keeping soil around the roots.
- Trim the top 4-6 inches of the leaf structure to help the plant re-establish.
- Place the plant in a pre-prepared hole in the new location, ensuring good drainage.
- Backfill with soil and water again to settle the roots.
🌳 Post-Transplant Care
After transplanting, garlic needs special attention to thrive.
- Water just enough to settle the soil, avoiding overwatering which can lead to rot.
- Mulch with straw to maintain moisture and temperature, and prevent weeds.
- Space plants adequately, allowing at least 6 inches between them for proper growth.
- Be patient as the plant recovers from transplant shock, and avoid fertilizing immediately after transplanting.
Planting Troubleshooting
Addressing Germination Issues
- Not enough time has passed: Patience is key. Wait a bit longer.
- Cold temperatures: Ensure you're planting at the right time. Use cloches to warm the soil if needed.
- Dry soil: Water the bed to maintain consistent moisture.
- Overly wet soil: Improve drainage and replant if rot has set in.
- Pests: Protect the beds with netting or fleece to deter critters.
Managing Transplant Shock
- Keep soil around the roots during transplanting.
- Avoid root disturbance and ensure they stay moist.
- Be patient as the plant recovers, and provide good drainage.
Pest and Disease Prevention
- Use certified, disease-free seed cloves.
- Consider hot water treatment for cloves, but be mindful of germination impact.
- Keep garlic beds well-mulched, but don't let it touch the stalks.
- Rotate crops to prevent soil-borne diseases.
- Embrace companion planting; garlic's pungent presence can deter pests.
⚠️ Safety First
This content is for general information and may contain errors, omissions, or outdated details. It is not medical, veterinary advice, or an endorsement of therapeutic claims.
Always consult a qualified healthcare professional before using any plant as food, medicine, or supplement.
Never eat any plant (or feed one to pets) without confirming its identity with at least two trusted sources.
If you suspect poisoning, call Poison Control (800) 222-1222, the Pet Poison Helpline (800) 213-6680, or your local emergency service immediately.
Spotted an error? Please report it here.
Ensure your Allium sativum thrives with precise planting 🧄 by using Greg to nail the perfect timing and care routine from these best practices!