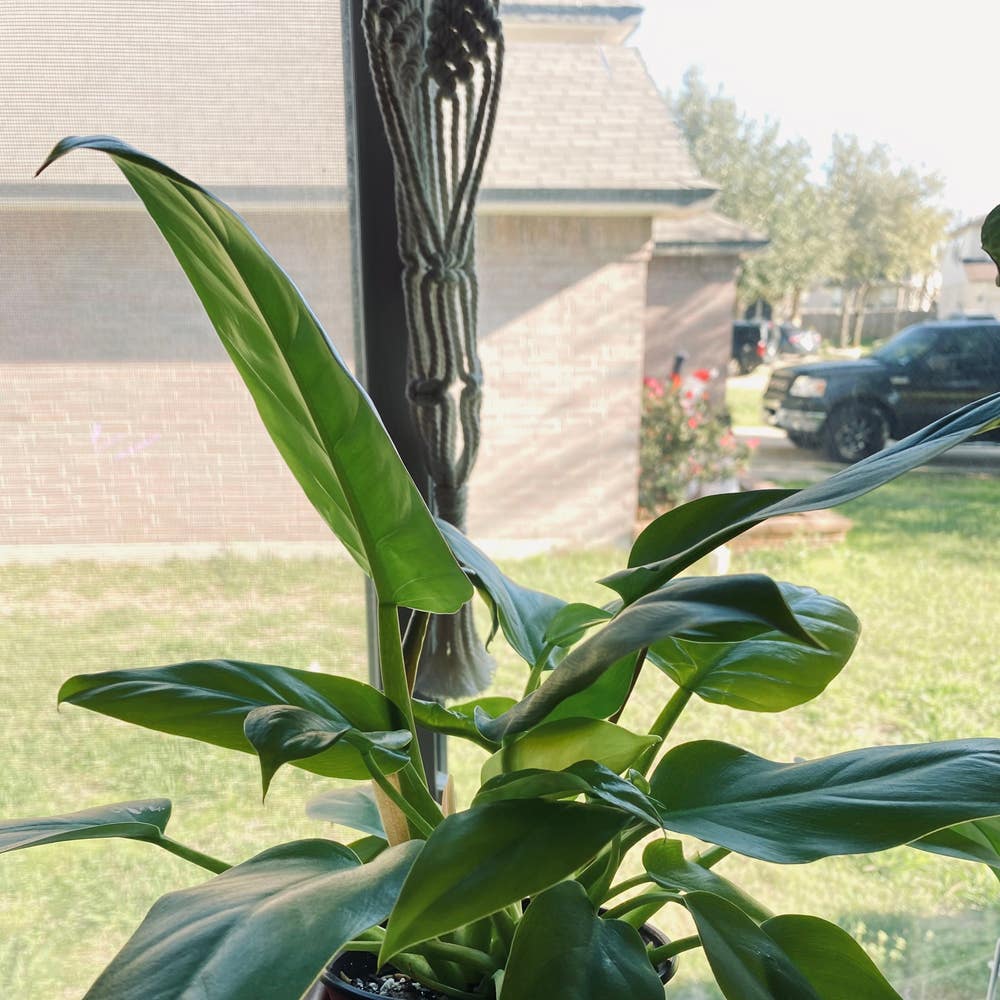
Propagating Philodendron melinonii: The Ultimate Guide
Philodendron melinonii
By the Greg Editorial Team
Jun 18, 2024•5 min read
This article was created with the help of AI so we can cover more plants for you. May contain errors. See one? Report it here.
Propagate your Philodendron melinonii 🌿 and watch your green family thrive with this ultimate guide! 📗
- Choose healthy stem cuttings with vibrant leaves and aerial roots for best results.
- Water propagation: Change water weekly and wait for 2-inch roots.
- Soil transition: Use well-draining mix and repot when roots outgrow container.
Choosing Your Propagation Adventure
🌱 Stem Cuttings: The Classic Approach
Selecting the best stems is your first step. Look for robust growth, vibrant leaves, and aerial roots if available. These are the hallmarks of a stem ready to thrive post-cut.
Making the cut requires precision. Use disinfected shears to snip below a node at a 45-degree angle. This increases the surface area for root growth and signals your commitment to the cause.
Prepping your cuttings is like setting the stage for a grand performance. Strip lower leaves to minimize rot risk, leaving a couple at the top for photosynthesis. A dip in rooting hormone is like a backstage pep talk, not essential but highly encouraged.
🌿 Aerial Roots: Going Airborne
Identifying aerial roots is straightforward—they're the ones reaching out into the air, looking for soil. They're your golden ticket for propagation without the initial cut.
Encouraging soil transition starts with a gentle touch. Nestle the aerial roots into moist soil, maintaining a humid environment to coax them into believing they're already underground.
Remember, patience is not just a virtue; it's a necessity. Check on your cuttings bi-weekly, ensuring they stay moist but not waterlogged. Roots will emerge like shy performers, ready for their solo when they're good and ready.

Getting Your Hands Wet: Water Propagation
💧 The Setup: What You Need to Start Water Propagation
Clear glass containers are your best friends here. They're not just for your Instagram aesthetic; they let you spy on those roots as they develop. You'll want to fill them with lukewarm, filtered water—think of it as a cozy bath for your cuttings. Place these soon-to-be-rooted beauties in a spot with bright, indirect light. It's like a VIP lounge for plant parts, but without the overpriced cocktails.
🚿 Caring for Your Water-Bound Cuttings
Change the water 1-2 times a week to keep it fresher than your weekend playlist. This isn't just about hygiene; it's about giving those roots the oxygen they crave. And when you see algae trying to crash the party, give those roots a gentle rinse. It's like bouncers keeping the riff-raff out of the club.
🌱 Knowing When Roots Are Ready for Soil
Patience is key; roots take their sweet time, especially when they're not basking in the summer sun. You'll know it's go-time when the roots are about two inches long. That's their way of saying, "We're ready for the big leagues." Transitioning to soil is like moving out of your parents' house—scary but necessary for growth. Just make sure you've got a pot with a drainage hole and the right potting mix. It's all about setting up for success, not a soggy mess.

Digging In: Soil Propagation
🌱 Preparing the Perfect Potting Mix
Quality is your mantra when it comes to soil. Mix equal parts potting soil, perlite, and peat for that well-draining magic. It's like a breathable, supportive mattress for your cuttings—minus the springs and memory foam.
🌿 Planting Your Cuttings and Initial Care
Plant your cutting in a snug hole, ensuring the roots are comfortably buried. Water it to settle the soil, but don't drown it—think of it as a refreshing sip, not a plunge pool dive. Monitor the soil's moisture like it's your favorite social media account; consistently moist but never soggy.
🏡 Transitioning to a Permanent Home
Repotting time is a big move for your cutting. Choose a pot with drainage holes to avoid waterlogged roots. When the roots hit one to two inches, it's time to upgrade. Loosen the roots gently to encourage them to explore their new digs. Keep the soil evenly moist, and remember, a well-draining potting mix is your best friend here.

Keeping an Eye on Progress
👣 Signs of Success
In the world of propagation, roots are your first high-five. Healthy root development looks like a bunch of firm, white tendrils, often visible through a clear container. It's like your cuttings are sending you a silent "thumbs up." When you feel a gentle resistance upon tugging the cutting, it's rooted and ready for the big leagues.
🌱 When to Move from Water to Soil or Pot Up
Transplant time is when roots start looking like they're trying to escape the container or when growth seems to hit the brakes. That's your cue to give them more room to groove.
🛠 Troubleshooting Tips
Dealing with Rotting Cuttings or Slow Rooters
Got mushy, brown roots? That's your plant's cry for help. Overwatering is the usual suspect, so ease up on the hydration station. If growth is more "meh" than "yay," it might be time to reassess your care strategy.
Adjusting Care to Avoid Common Pitfalls
Keep your soil moist, not soggy, like a wrung-out sponge. Ensure your pots have drainage holes to let excess water say goodbye. And remember, a pot too big is like an oversized coat in summer—unnecessary and potentially problematic. Keep your eyes peeled for a squishy stem base or yellowing leaves; they're telling you something's not right.
⚠️ Safety First
This content is for general information and may contain errors, omissions, or outdated details. It is not medical, veterinary advice, or an endorsement of therapeutic claims.
Always consult a qualified healthcare professional before using any plant as food, medicine, or supplement.
Never eat any plant (or feed one to pets) without confirming its identity with at least two trusted sources.
If you suspect poisoning, call Poison Control (800) 222-1222, the Pet Poison Helpline (800) 213-6680, or your local emergency service immediately.
Spotted an error? Please report it here.
Unlock the secret to thriving Philodendron melinonii cuttings with personalized care reminders 🌿 from Greg, ensuring your propagation success every step of the way.