Propagating Paphiopedilum spicerianum: Step-by-Step Guide
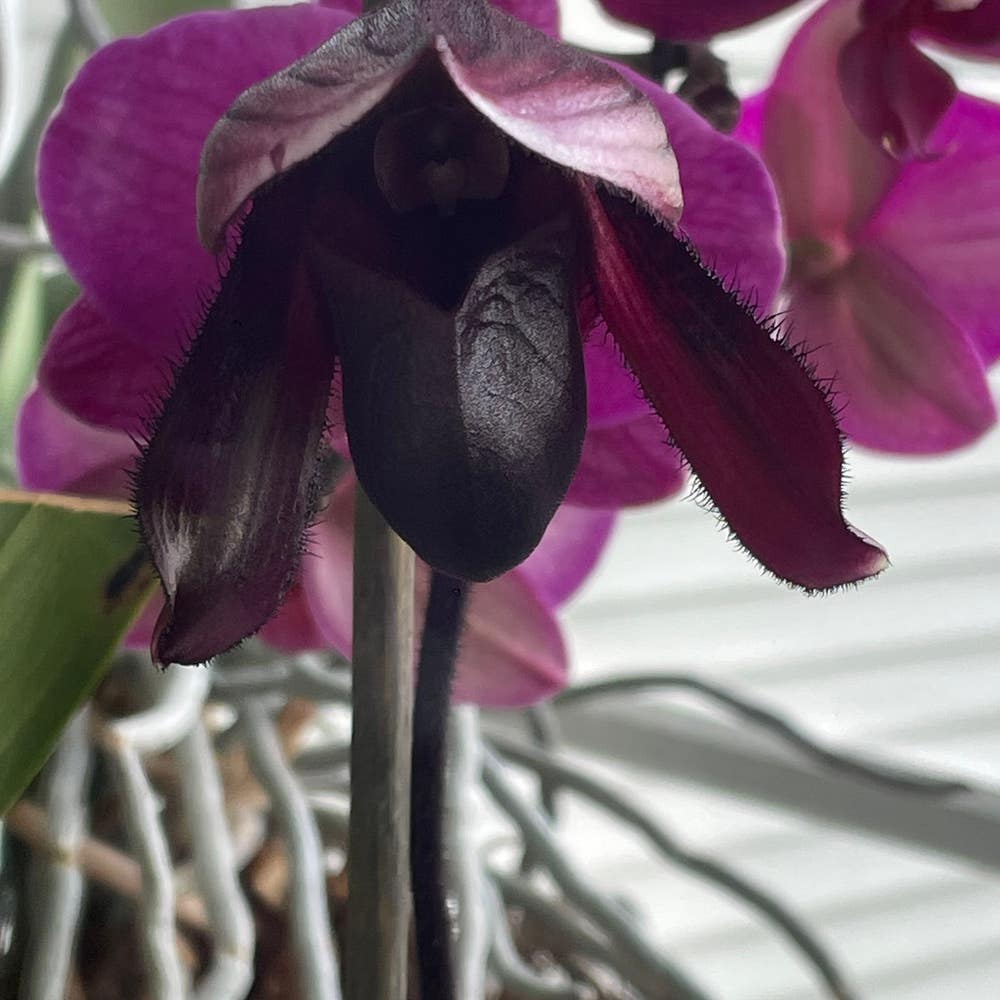
Paphiopedilum spicerianum
By the Greg Editorial Team
Apr 06, 2024•6 min read
This article was created with the help of AI so we can cover more plants for you. May contain errors. See one? Report it here.
- Spring is prime time for dividing orchids with care for roots and shoots.
- 🌱 Seed and tissue culture need precise conditions and gradual acclimatization.
- Monitor, adjust, and be patient with light, watering, and pest control for success.
Step-by-Step Guide to Division
🌸 When to Divide Your Orchid
Timing is everything when it comes to dividing your Paphiopedilum spicerianum. The best period is spring, tapping into the orchid's natural growth spurt. Look for signs like overcrowded pots or a decrease in flowering as your cue. If your plant's looking more like a packed subway at rush hour, it's time to give it some breathing room.
🌱 The Division Process
🛠️ Preparing to Divide
Before you play plant surgeon, water your orchid thoroughly. This makes the potting medium more pliable and roots cooperative. Sterilize your tools; a sharp knife or scissors will do. You're aiming for precision cuts, not a hack job.
🌿 Executing the Division
Gently coax the orchid from its pot, like you're persuading a cat out from under the bed. Inspect the root ball for natural divisions—these are your guidelines. With confidence and care, separate the sections, ensuring each has its own roots and shoots. It's like giving each kid their own room; they'll thrive with their own space.
🏺 Post-Division Potting
Plant each division in fresh potting mix, tailored for semi-terrestrial orchids—think fine particles, about ¼-inch. The right depth is crucial; plant them as they were, to avoid the dreaded root rot. It's like tucking them in at night; too deep and they'll suffocate, too shallow and they'll catch a cold.
🌿 Post-Division Care
🌧️ Initial Aftercare
Keep the moisture consistent but not excessive; think of it as making a good risotto—wet but not swimming. Place your new orchid divisions in bright, indirect light. This is their recovery room where they'll show signs of new growth, the ultimate high-five for your efforts.
🌞 Acclimatization
Don't rush to move your orchids to their final spot. Acclimate them gradually over a few weeks, adjusting light and temperature. It's like getting into a hot bath, you do it one toe at a time. Keep an eye on their response; they'll tell you if they're happy or if you're missing the mark.
Seed Propagation: A Delicate Endeavor
🌼 Pollination to Pod: The Journey Begins
Pollinating Paphiopedilum spicerianum is a DIY affair. In the absence of natural pollinators, it's up to you to play matchmaker with a paintbrush. Gently transfer pollen from the anther to the stigma. Once successful, the flower will yield a seed pod, a process that's more waiting game than action-packed thriller. Patience is your new best friend.
🌱 Sowing Seeds the Right Way
Sowing these microscopic contenders is less about brawn and more about surgical precision. Sterility is the name of the game. Use a well-draining mix and sprinkle the seeds with the care of a bomb technician disarming a device. Moisture is crucial, but too much and you'll have a seedling swimming pool. Aim for damp, not drenched.
🌿 Seedling Care
Once those green specks emerge, it's time to shift gears. A gentle spray bottle is your weapon of choice to keep the soil moist without unleashing a tsunami on your seedlings. Deep pots encourage a robust root system, laying the groundwork for a future orchid heavyweight. Remember, these are the infants of the plant world; handle with care and watch them blossom into botanical beauties.
Tissue Culture: Advanced Propagation
🧫 Preparing for Tissue Culture
In tissue culture, you're not just playing in the dirt; you're playing god on a micro level. Sterility is the gospel here. Before you even think about snipping a piece of your Paphiopedilum spicerianum, ensure your workspace is as clean as a whistle. Autoclave your tools or give them a hot bath in a pressure cooker. A laminar flow hood is the Rolls Royce of sterile workspaces, but a disinfected plastic box can serve as the trusty Toyota.
🌱 The Tissue Culture Process
Alright, it's go time. Grab your scalpel—this isn't a job for the shaky-handed—and carve out a tiny piece of plant tissue. We're talking minuscule, like the size of a pinhead. Nestle that little guy into a bed of tissue culture medium (TCM), a veritable smorgasbord of hormones and nutrients. Seal the deal with a lid or parafilm to keep the contaminants out. Now, the waiting game begins. It's a slow dance, taking anywhere from 8 to 16 weeks, but watch as those cells divide like there's no tomorrow.
🌿 Growing Up: Plantlet Acclimatization
Once your plantlets have leafed out, it's time for the real world. Transitioning from flask to pot is like moving from mom's basement to your first apartment. Prepare a moist growing medium—not too wet, not too dry. Gently introduce each plantlet to its new home, spreading the roots with the care of a brain surgeon. Lightly press the medium around them for good contact. Now, the pampering begins. Water judiciously, fertilize with a gentle touch, and prune like a bonsai master. This is where your little green Frankensteins learn to thrive in the wild.
Ensuring Propagation Success
🚰 Common Pitfalls and How to Avoid Them
Overwatering is the silent killer of Paphiopedilum spicerianum. It's a fine line between hydration and drowning. Ensure the medium is moist but never soggy, and always check for adequate drainage.
Lighting can be tricky; too much and you'll scorch the leaves, too little and you'll stunt growth. Aim for bright, indirect sunlight. It's like finding the perfect pair of jeans—satisfying when you get it right.
🕵️ Monitoring and Adjusting Care
Temperature and humidity need constant vigilance. These orchids aren't fans of the extremes. Keep them cozy in moderate temps and with humidity levels that mimic a misty morning.
Fertilizing—it's easy to get overzealous. Remember, less is more. A diluted, balanced fertilizer every few weeks should suffice. It's like seasoning food; you can always add more, but you can't take it away.
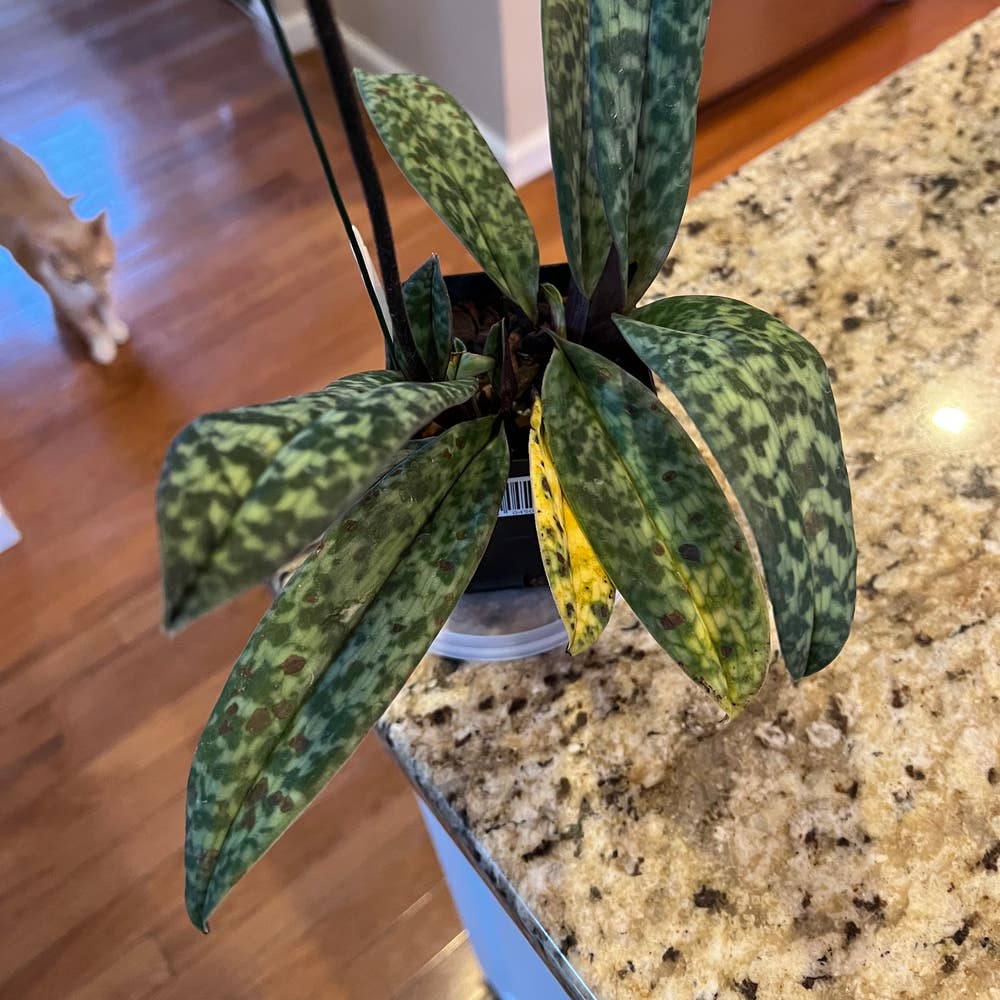
Pests and diseases are the party crashers no one invited. Keep an eye out for signs of trouble like yellowing leaves or stunted growth. Act fast with a fungicide or insecticide—think of it as bouncer kicking out unwanted guests.
Lastly, patience is not just a virtue but a requirement. These plants won't rush for anyone. Adjust care routines as needed, and remember, slow and steady wins the race.
⚠️ Safety First
This content is for general information and may contain errors, omissions, or outdated details. It is not medical, veterinary advice, or an endorsement of therapeutic claims.
Always consult a qualified healthcare professional before using any plant as food, medicine, or supplement.
Never eat any plant (or feed one to pets) without confirming its identity with at least two trusted sources.
If you suspect poisoning, call Poison Control (800) 222-1222, the Pet Poison Helpline (800) 213-6680, or your local emergency service immediately.
Spotted an error? Please report it here.
Nurture your orchid divisions to perfection 🏵 with Greg's custom care plans, ensuring every step from potting to blooming is a success.