🌸 Should I Repot My Paphiopedilum spicerianum And If So, How?
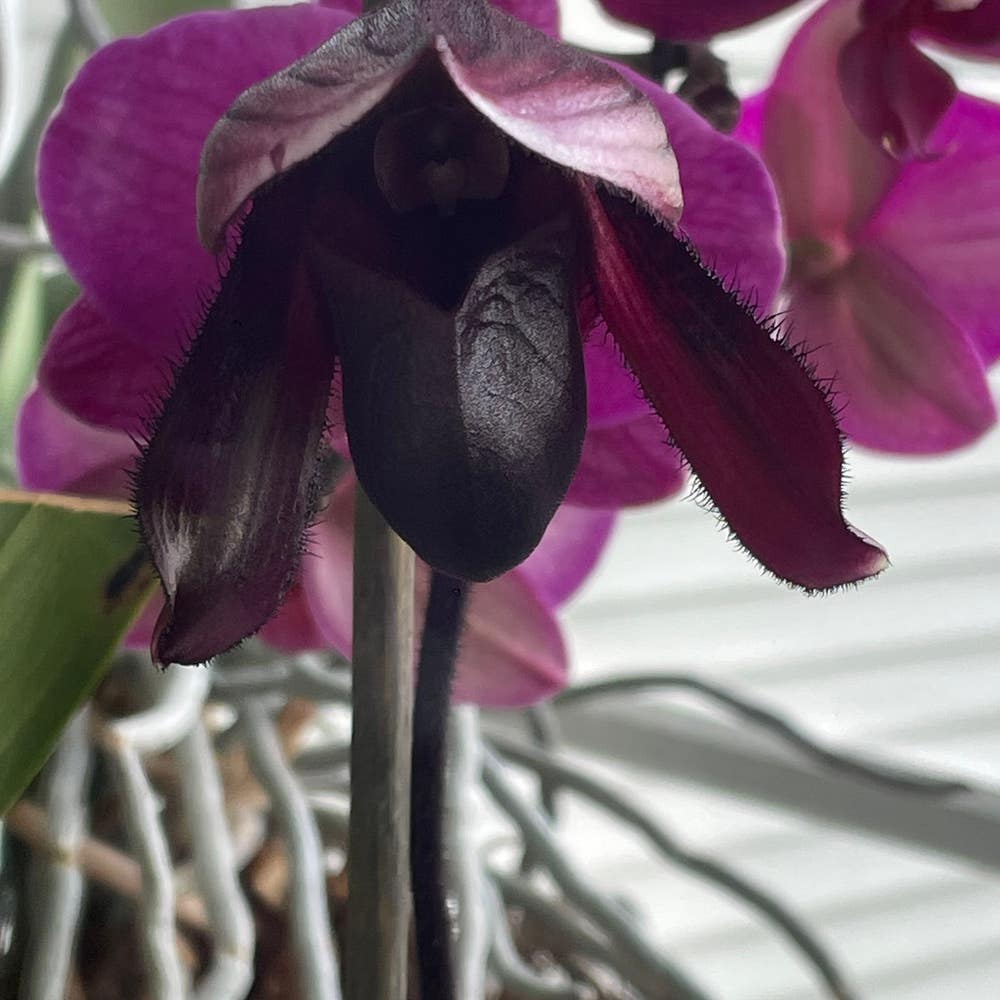
Paphiopedilum spicerianum
By the Greg Editorial Team
Apr 06, 2024•4 min read
This article was created with the help of AI so we can cover more plants for you. May contain errors. See one? Report it here.
- Root crowding and degraded mix signal it's time to repot your orchid.
- 🌱 Spring repotting aligns with orchids' growth cycles for optimal results.
- Choose the right pot and mix for healthy drainage and aeration.
Spotting the Telltale Signs It's Time to Repot
🌱 Root Check: Cramped Quarters Below the Soil
When your Paphiopedilum spicerianum starts performing acrobatics with its roots, wrapping around the pot's interior or poking out of drainage holes, it's not showing off. It's cramped. Roots need space to breathe and grow, not a contortionist's challenge.
🌿 Media Matters: When Your Potting Mix Breaks Down
Your orchid's potting mix is its lifeline, but over time it can degrade faster than a viral meme. If the mix is more dust than dirt, or if you catch a whiff of something foul, it's a red flag. Compacted or decomposed media is about as useful to roots as a chocolate teapot.
🌷 Growth Spurts and Slumps: Reading Your Orchid's Signals
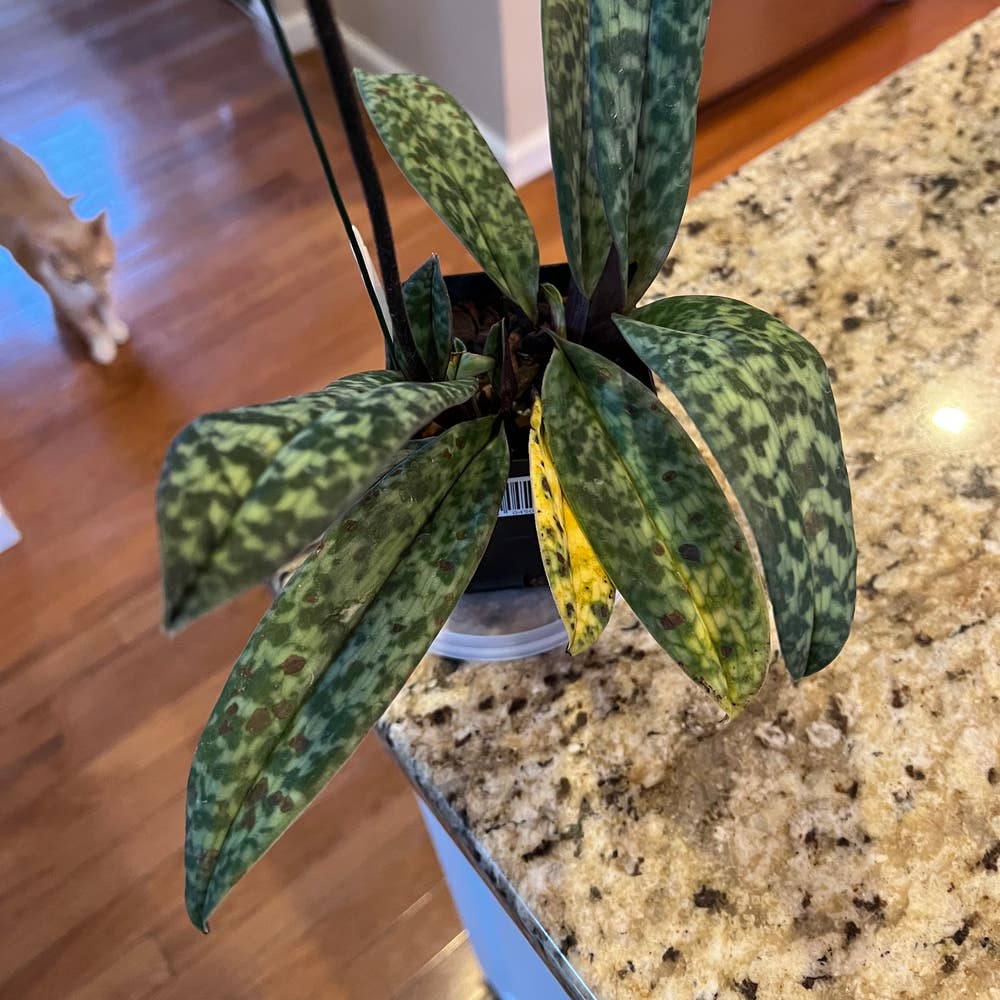
If your orchid's leaves are drooping like a teenager asked to do chores, or if growth has hit a wall, it's signaling a distress call. These visual cues are your orchid's way of saying, "Hey, I need a change of scenery." Don't wait for the roots to stage a jailbreak—give them the space they need.
Choosing the Right Season for Repotting
🌸 Syncing with Growth Cycles: Timing is Everything
Spring emerges as the champion season for repotting your Paphiopedilum spicerianum. It's not just about warmer weather; it's about your orchid's readiness to embrace change. During spring, the plant shakes off its winter slumber and gears up for active growth. This natural cycle of rejuvenation is your cue; the orchid is primed to recover swiftly and settle into its new digs with vigor.
🌼 Post-Bloom Bliss: Capitalizing on the Orchid's Rest Period
Once the last petal drops, your orchid enters a rest period, a sort of post-bloom zen mode. This is when your plant is least likely to throw a fit over a change of scenery. It's a strategic moment to repot, allowing your orchid to channel its energy into root development rather than flowers. Think of it as the plant's way of saying, "Alright, let's do this," before it dives back into the next growth cycle.
The Repotting Playbook: A Step-by-Step Guide
🌱 Pre-Repot Prep: Gathering Your Supplies
Before diving into the repotting process, ensure you have all necessary supplies at hand. You'll need a new pot, fresh potting mix, sterilized pruning shears, and a few more items to make the transition smooth. Don't forget a workspace cover like old newspapers to catch the mess, and a bowl of tepid water to soak the orchid's roots, making them more pliable.
🌺 Orchid Out, Orchid In: The Delicate Dance of Repotting
Gently coax your Paphiopedilum spicerianum from its current pot, being mindful not to damage its roots. Inspect and clean the roots, snipping away any dead or rotting parts with your sterilized shears. Position the orchid in its new pot, which should be just an inch larger in diameter than the old one, and has ample drainage.
🏡 Home Sweet Home: Settling Your Orchid into Its New Pot
Once your orchid is snug in its new pot, carefully fill in around the roots with your chosen potting media. Use a chopstick to poke the media into air pockets without compacting it too much. Secure the orchid with a rhizome clip if needed, and give it a label with the repotting date. Finally, clean up your space with a cloth or paper towels, and admire your handiwork. Your orchid is now set for continued growth in its refreshed abode.
Picking the Perfect Pot and Potting Mix
🏺 Material Matters: Comparing Plastic, Clay, and Baskets
When selecting a pot for your Paphiopedilum spicerianum, material is key. Plastic pots are lightweight and retain moisture, making them forgiving for those who occasionally forget to water. However, they can encourage waterlogging if not monitored closely. Terracotta pots are porous, offering breathability that helps prevent root rot by wicking away excess moisture. This means more frequent watering but better air flow for the roots. Baskets allow for excellent drainage and air circulation, though they can dry out quickly and may require more attentive watering practices.
🛏️ The Best Bed for Roots: Selecting the Ideal Potting Media
Choosing the right potting media is like picking a mattress for your orchid; get it wrong, and your plant won't thrive. A mix that provides drainage and aeration is crucial. Consider a blend of bark, perlite, and charcoal, which offers a balance of moisture retention and airflow, preventing the dreaded soggy roots scenario. Custom mixes can cater to specific needs, but always ensure the medium is loose enough to allow for healthy root growth and quick drainage. Remember, a well-chosen pot and potting mix are the unsung heroes in your orchid's life.
⚠️ Safety First
This content is for general information and may contain errors, omissions, or outdated details. It is not medical, veterinary advice, or an endorsement of therapeutic claims.
Always consult a qualified healthcare professional before using any plant as food, medicine, or supplement.
Never eat any plant (or feed one to pets) without confirming its identity with at least two trusted sources.
If you suspect poisoning, call Poison Control (800) 222-1222, the Pet Poison Helpline (800) 213-6680, or your local emergency service immediately.
Spotted an error? Please report it here.
Ensure your Paphiopedilum spicerianum thrives in a new home 🏡 with Greg's personalized reminders for the ideal repotting season and expert care tips.