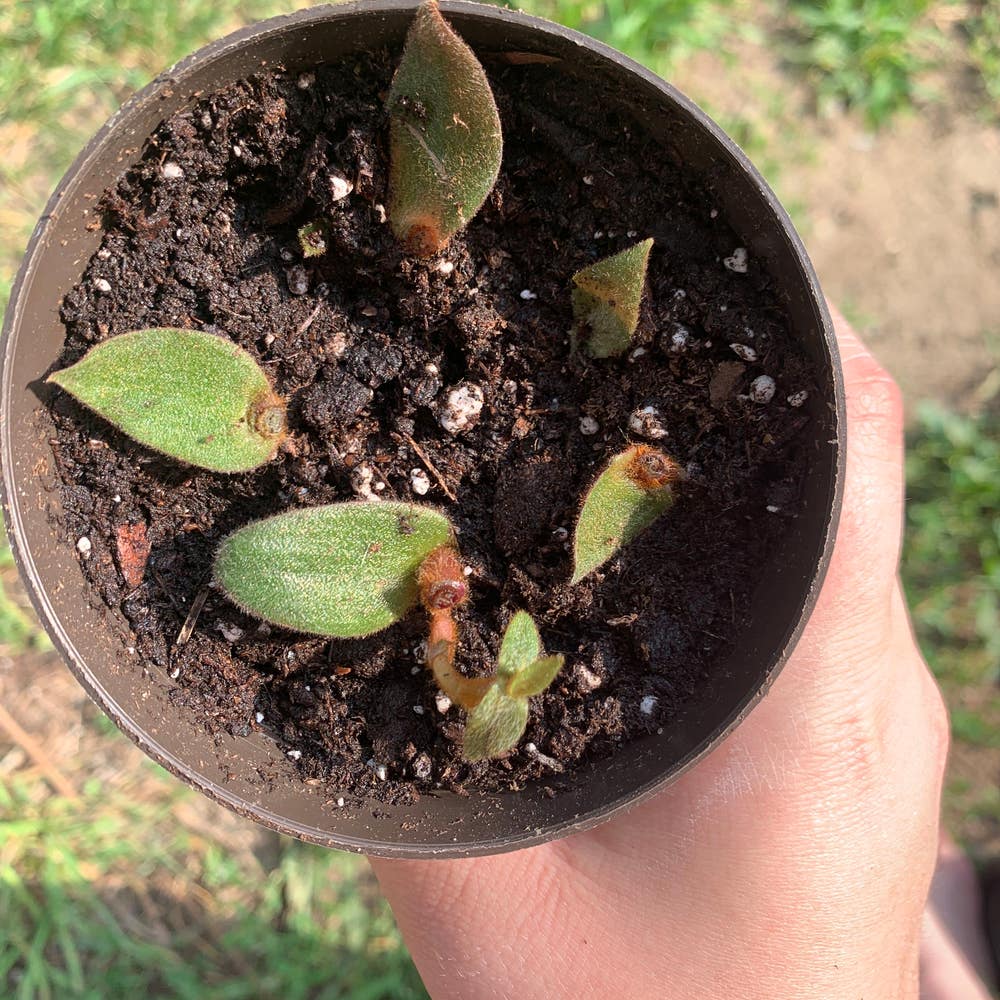
🐱 How to Propagate Your Kitten Ear Plant
Cyanotis somaliensis
By the Greg Editorial Team
Oct 19, 2024•5 min read
This article was created with the help of AI so we can cover more plants for you. May contain errors. See one? Report it here.
Unlock lush growth for your Kitten Ear plant 🌱 with these essential tips for successful propagation!
- 🌱 Start with healthy, mature leaves for successful Kitten Ear plant propagation.
- ✂️ Make clean cuts and allow cuttings to callous to prevent rot.
- 💧 Water sparingly and ensure well-draining soil for optimal growth.
Leaf Cuttings
Step-by-step Instructions
Select healthy leaves: Start by choosing plump, mature leaves from your Kitten Ear plant. Healthy leaves are crucial for successful propagation.
Cut the leaf: Use a clean, sharp knife or scissors to make a precise cut at the base of the leaf. This ensures a clean wound for better healing.
Allow to callous: Place the cut leaf in a dry, shaded area for 1-2 days. This step is essential for forming a callous over the cut surface, which helps prevent rot.
Prepare the soil: Opt for a well-draining succulent mix. Good drainage is vital for the health of your new cutting.
Plant the cutting: Insert the calloused end into the soil, burying it about 1 inch deep. Make sure it’s stable and secure.
Water lightly: Mist the soil to keep it slightly moist. Avoid soaking it, as overwatering can lead to issues.
🌱 Ideal Conditions for Rooting
Temperature: Aim for a cozy range of 20°C to 25°C (68°F to 77°F). This warmth encourages root development.
Light: Provide bright, indirect sunlight. Too much direct light can scorch the leaves.
Humidity: Keep humidity low to moderate. This balance helps the cutting thrive without becoming too damp.
⏳ Timeframe for Growth
Rooting time: Expect rooting to take about 2-4 weeks. Patience is key during this period.
Signs of success: Look for new growth or roots emerging from the soil. These indicators show that your propagation efforts are paying off.
With these steps, you’re well on your way to successfully propagating your Kitten Ear plant through leaf cuttings. Next, let’s explore how to propagate using stem cuttings for even more growth opportunities!
Stem Cuttings
🌱 How to Select a Healthy Stem
Choosing the right stem is crucial for successful propagation. Look for stems that are firm, vibrant, and free from blemishes or pests.
Opt for stems that have at least 2-3 leaves. This increases your chances of successful rooting and growth.
✂️ Preparing the Cutting
- Cut the stem: Make a clean cut just below a leaf node. This is where the roots will emerge.
- Remove lower leaves: Trim off leaves from the bottom third of the stem. This helps prevent rot when planted.
🌿 Planting and Care After Cutting
- Allow to callous: Let the cut end dry for 1-2 days. This forms a protective layer that reduces the risk of rot.
- Plant in soil: Insert the calloused end into well-draining soil. Ensure it’s buried deep enough to support the cutting.
- Watering: Mist lightly to keep the soil slightly moist. Avoid soaking it, as too much water can lead to rot.
With these steps, you’re well on your way to propagating your Kitten Ear plant successfully. Next, let’s explore water propagation, another effective method for growing new plants.
Water Propagation
Choosing the Right Container 🌊
For water propagation, a clear glass or jar is ideal. This allows you to easily monitor root development as your cutting grows.
Make sure the container is clean to prevent any bacterial growth. A spotless environment is crucial for the health of your new plant.
Water Quality and Maintenance 💧
Opt for distilled or rainwater to avoid harmful chemicals often found in tap water. This small choice can make a big difference in your plant's success.
Change the water every week to keep it fresh and oxygenated. Regular maintenance helps prevent stagnation and promotes healthy root growth.
Signs of Successful Rooting 🌱
Look for roots that are at least 2 inches long before transferring your cutting to soil. This indicates that your plant is ready for its next stage.
You may also notice new leaves forming at the top of the cutting. This is a positive sign that your propagation efforts are paying off!
With the right container, quality water, and attention to detail, your kitten ear plant will thrive. Next, let’s explore soil propagation for even more growth options!
Soil Propagation
Best Soil Mix for Kitten Ear Plant 🌱
For optimal growth, combine equal parts potting soil, perlite, and sand. This mix ensures excellent drainage, which is crucial for the health of your kitten ear plant.
Pot Selection and Drainage 🪴
When selecting pots, always choose those with drainage holes to prevent waterlogging. Terracotta pots are a fantastic option as they help regulate moisture levels effectively.
Watering Techniques for New Cuttings 💧
Water your new cuttings sparingly until they establish roots. It's essential to let the top inch of soil dry out before watering again, promoting healthy root development.
By following these guidelines, you'll set your kitten ear plant up for success. Next, let’s explore common mistakes in propagation to ensure you avoid pitfalls along the way.
Common Mistakes in Propagation
💧 Overwatering Issues
Overwatering is a common pitfall for many plant enthusiasts. If you notice yellowing leaves or mushy stems, it’s a clear sign that your plant is drowning.
To remedy this, allow the soil to dry out completely before watering again. This simple adjustment can save your cuttings from further distress.
🌱 Choosing Unhealthy Cuttings
Selecting the right cuttings is crucial for successful propagation. Always look for healthy, mature leaves or stems; wilting or discoloration indicates that the cutting may not thrive.
By choosing robust cuttings, you set the stage for a healthier plant. It’s a small step that can make a big difference in your propagation journey.
🌡️ Environmental Factors Affecting Propagation
Environmental conditions play a significant role in the success of your cuttings. Temperature fluctuations can stress your plants, so aim to maintain a stable environment.
Additionally, ensure your cuttings receive bright, indirect sunlight. This balance of warmth and light is essential for healthy growth and rooting.
By avoiding these common mistakes, you’ll be well on your way to successfully propagating your Kitten Ear Plant. Next, let’s explore the various methods of propagation to find the best fit for your gardening style.
⚠️ Safety First
This content is for general information and may contain errors, omissions, or outdated details. It is not medical, veterinary advice, or an endorsement of therapeutic claims.
Always consult a qualified healthcare professional before using any plant as food, medicine, or supplement.
Never eat any plant (or feed one to pets) without confirming its identity with at least two trusted sources.
If you suspect poisoning, call Poison Control (800) 222-1222, the Pet Poison Helpline (800) 213-6680, or your local emergency service immediately.
Spotted an error? Please report it here.
Propagating your Kitten Ear plant is a breeze 🌿 when you start with healthy leaves and let Greg guide you with tailored reminders and tips for thriving cuttings!