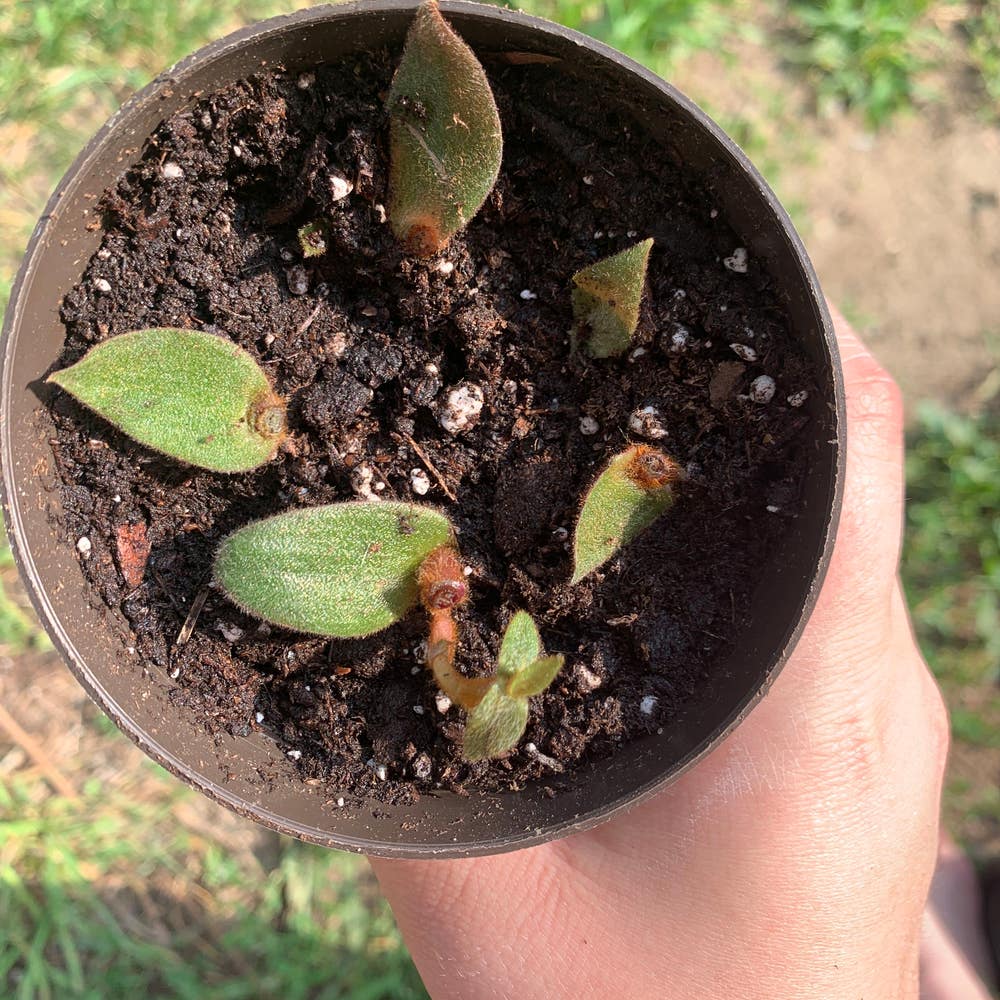
Ultimate Guide to Soil for Kitten Ear Plant 🐱
Cyanotis somaliensis
By the Greg Editorial Team
Oct 19, 2024•6 min read
This article was created with the help of AI so we can cover more plants for you. May contain errors. See one? Report it here.
Unlock your Kitten Ear Plant's full potential 🌱 by mastering soil care for vibrant growth and lasting health!
- 🌱 Moldy soil signals excess moisture, risking root rot in Kitten Ear Plants.
- 📏 Use the finger test to check moisture; avoid watering if wet an inch down.
- ⚖️ Ideal pH for Kitten Ear Plants is 6.0-7.0; adjust with sulfur or lime.
Identifying Unhealthy Soil
🚩 Signs of Unhealthy Soil
Moldy soil is a clear red flag for plant health. If you spot fuzzy patches, it indicates excess moisture and poor air circulation, which can lead to root rot.
Soil compaction is another issue to watch for. When soil becomes dense, it restricts aeration and drainage, making it hard for roots to breathe and absorb nutrients.
Other signs include foul odors and excessive moisture retention. A musty smell often points to decay, while overly wet soil can suffocate your plant.
📏 How to Test Soil Moisture Levels
Testing soil moisture is essential for the health of your Kitten Ear Plant.
You can use the finger test: simply insert your finger into the soil to check for dampness. If it feels wet an inch down, it’s time to hold off on watering.
For more accuracy, consider a soil moisture meter. This handy tool provides precise readings, ensuring you know exactly when to water.
The ideal moisture level for a Kitten Ear Plant is slightly moist but not soggy. Aim for a balance that keeps the roots happy without drowning them.
🛠️ Solutions for Moldy Soil and Other Issues
If you discover moldy soil, don’t panic. Follow these steps to restore health:
- Remove affected soil: Carefully take out the top layer where mold is present.
- Allow soil to dry: Place the remaining soil in a sunny area to reduce moisture.
- Replace with fresh soil: Use a well-draining mix to give your plant a fresh start.
To prevent future issues, avoid overwatering and ensure proper drainage. A little vigilance can go a long way in keeping your Kitten Ear Plant thriving.
With these insights, you’re well-equipped to tackle unhealthy soil and keep your plant in top shape. Next, let’s explore the importance of soil pH and nutrient needs for your Kitten Ear Plant.
Soil pH and Nutrient Needs
Ideal pH Range for Kitten Ear Plant 🌱
The ideal pH for your Kitten Ear Plant is slightly acidic to neutral, ranging from 6.0 to 7.0. This pH range is crucial as it directly affects nutrient availability, ensuring your plant thrives.
How to Test Soil pH 🔬
To test soil pH, you have a couple of straightforward options.
- pH Test Kits: These simple home kits are user-friendly and provide quick results.
- Digital pH Meters: For those seeking precision, digital meters offer accurate measurements.
Timing is key; the best moments to test pH are during repotting or seasonal changes. This ensures your plant gets the right nutrients at the right time.
Adjusting Soil pH with Amendments ⚗️
If your soil pH needs adjusting, there are common amendments to consider.
- Sulfur: This lowers pH, creating more acidic conditions.
- Lime: Use this to raise pH for a more alkaline environment.
Here’s a step-by-step guide to adjusting pH:
- Test Current pH Level: Start with a reliable test to know where you stand.
- Determine Necessary Adjustments: Decide how much you need to change the pH.
- Mix Amendments Thoroughly into the Soil: Ensure even distribution for effective results.
With these steps, you can create the perfect soil environment for your Kitten Ear Plant.
As you adjust pH and ensure nutrient availability, you set the stage for a flourishing plant. Next, let’s explore how to create a homemade soil mix tailored to your plant's needs.
Creating a Homemade Soil Mix
🥣 Ingredients for a Balanced Homemade Soil Mix
Creating the perfect soil mix for your Kitten Ear Plant starts with the right ingredients.
- Potting Soil: This serves as the nutrient base, providing essential elements for growth.
- Coarse Sand or Perlite: These improve drainage, preventing water from pooling around the roots.
- Pumice or Gravel: These materials enhance aeration, allowing roots to breathe.
For added moisture retention, consider including coconut coir as an optional ingredient. It helps maintain the right balance of moisture without making the soil soggy.
🛠️ Step-by-Step Guide to Mixing Soil for Kitten Ear Plant
Mixing your own soil is straightforward and rewarding. Follow these easy steps:
- Gather Materials: Collect potting soil, sand, pumice, and a mixing container.
- Measure Ingredients: Use a 1:1:1 ratio for a balanced mix of potting soil, sand, and pumice.
- Combine Thoroughly: Mix the components well to ensure even distribution.
- Test Moisture Retention: After mixing, check how well the soil retains moisture. Adjust the ratios if necessary to achieve the desired consistency.
🌱 Benefits of Using Homemade Soil Versus Commercial Mixes
Opting for a homemade soil mix has several advantages.
- Customization: You can tailor the mix to meet the specific needs of your Kitten Ear Plant.
- Cost-Effectiveness: Making your own mix is often cheaper than purchasing pre-made options.
- Quality Control: You know exactly what goes into your soil, ensuring it’s free from unwanted chemicals.
Creating your own soil mix not only enhances your plant's health but also deepens your connection to your gardening journey. With the right ingredients and a little effort, your Kitten Ear Plant will thrive in its customized environment.
As you embark on this soil-mixing adventure, remember that the next step involves understanding soil maintenance and care to keep your plant flourishing.
Soil Maintenance and Care
How to Refresh or Replace Soil 🌱
Recognizing when your Kitten Ear Plant's soil needs refreshing is crucial. Look for signs like soil compaction and poor drainage, which can hinder your plant's growth.
To refresh the soil, follow these simple steps:
- Carefully remove the plant from its pot.
- Gently shake off the old soil.
- Replace it with a fresh mix, ensuring proper drainage.
Seasonal Considerations for Soil Care 🌸
Timing is everything when it comes to soil maintenance. Spring is the perfect season for repotting and refreshing soil, as your plant is gearing up for growth.
During summer, keep a close eye on moisture levels due to the heat. As fall and winter approach, reduce watering frequency since the plant's growth slows down.
Tips for Maintaining Soil Health Over Time 🌿
Maintaining soil health is an ongoing process. Regularly check for compaction and drainage issues to keep your plant thriving.
Use soil amendments as needed to replenish nutrients. Additionally, rotating pots occasionally ensures even exposure to light and air, promoting balanced growth.
With these practices, your Kitten Ear Plant will flourish, setting the stage for vibrant growth and health. Next, let’s explore how to create a homemade soil mix tailored to your plant's needs.
⚠️ Safety First
This content is for general information and may contain errors, omissions, or outdated details. It is not medical, veterinary advice, or an endorsement of therapeutic claims.
Always consult a qualified healthcare professional before using any plant as food, medicine, or supplement.
Never eat any plant (or feed one to pets) without confirming its identity with at least two trusted sources.
If you suspect poisoning, call Poison Control (800) 222-1222, the Pet Poison Helpline (800) 213-6680, or your local emergency service immediately.
Spotted an error? Please report it here.
Ensure your Kitten Ear Plant flourishes with healthy soil by using Greg's soil moisture meter and tailored care tips for the perfect balance of nutrients and moisture! 🌿