Propagating Chilean Sea Fig: The Ultimate Guide
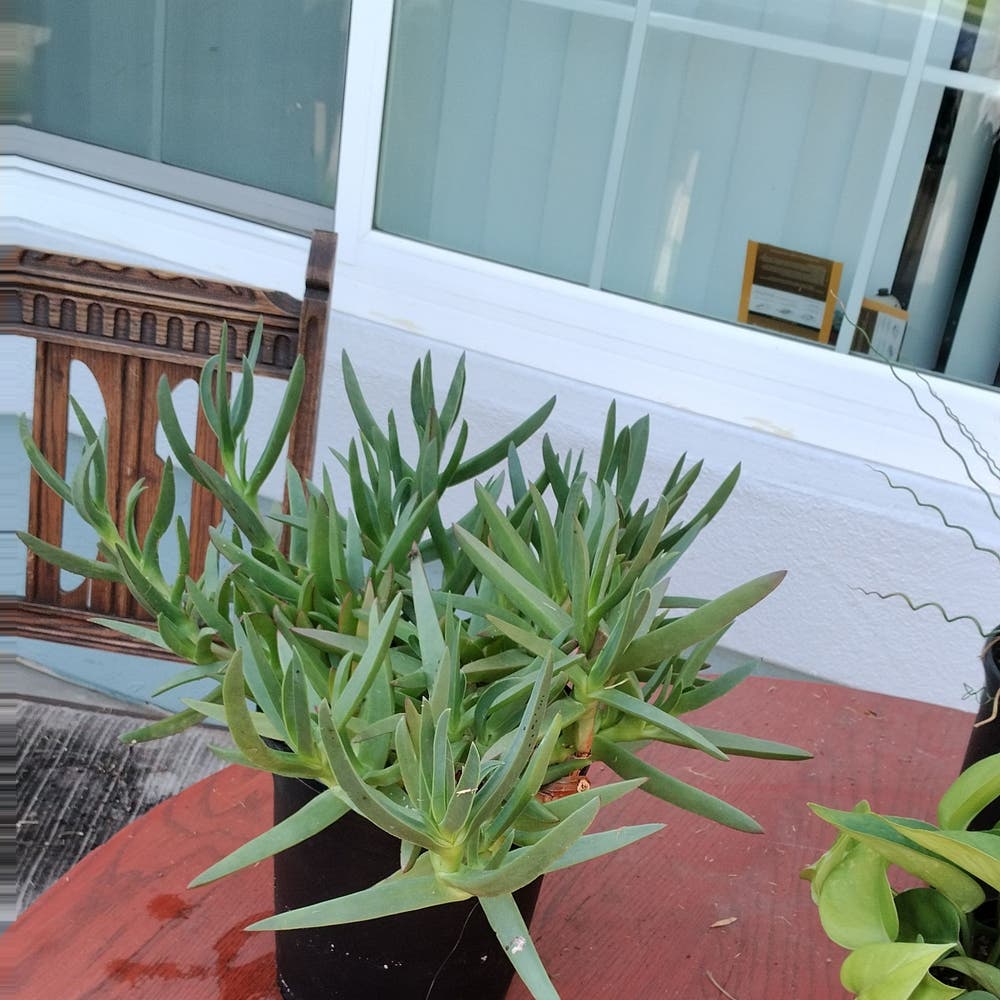
Carpobrotus chilensis
By the Greg Editorial Team
Jun 18, 2024•6 min read
This article was created with the help of AI so we can cover more plants for you. May contain errors. See one? Report it here.
Multiply your succulent garden 🌵 with ease using this ultimate guide to propagating Chilean Sea Fig!
- Two methods: Stem cuttings for ease, division for crowded roots.
- Ideal conditions: 65-75°F, misty-morning humidity, bright indirect light.
- Avoid pitfalls: Use sterile tools, well-draining soil, and monitor watering.
Getting Started with Propagation
🌱 Choosing Your Method: Stem Cuttings vs. Division
In the realm of Chilean Sea Fig propagation, you've got two contenders: stem cuttings and division. Stem cuttings are the express lane to plant proliferation—snip, dip, and stick. It's cloning at its simplest. Division, on the other hand, is like a plant's personal space reclamation—it's best for giving those crowded roots some breathing room. Use stem cuttings for a quick increase and division when your plant's quarters get cramped.
🛠️ Preparing for Propagation
Before you dive into the propagation pool, you'll need your gear. Sterile tools are non-negotiable—think surgical cleanliness. A sharp pair of shears or a knife, some rooting hormone, and a pot with well-draining soil are your basic toolkit. When selecting the plant part for your propagation venture, aim for healthy and robust. For stem cuttings, choose a vigorous stem with a few leaf nodes; for division, look for a section of the plant with ample roots and a few shoots. Remember, the healthier the start, the better the finish.

The Propagation Play-by-Play
🌱 Step-by-Step: Stem Cuttings
To kick off stem cutting propagation, choose a healthy stem—this is non-negotiable. Snip it with sterilized shears to avoid introducing any pathogens. Next, let the cutting callous over for a few days; this is like putting a band-aid on a scraped knee. It prevents rot and gives your cutting a fighting chance.
Once calloused, consider dipping the end in rooting hormone. It's like a secret weapon, not essential but highly recommended. Plant the stem in well-draining soil, because no one likes wet socks, especially not your Chilean Sea Fig.
🌿 The Division Process
Division time is like a plant's version of moving day. Do this during the plant's growing season for best results. Gently tease apart the roots and use a clean knife to divide, ensuring each new plant has roots and at least one shoot. This is the plant equivalent of making sure each roommate has their own key to the apartment.
After the split, handle the roots with care. They're as delicate as a spider's web and just as crucial. Plant each division in its own pot with similar well-draining soil. Remember, they're starting a new life, so be supportive and give them the space they need to thrive.

Creating the Perfect Propagation Environment
🌡️ Temperature and Humidity
Creating a cozy climate for your Chilean Sea Fig propagations is like setting the thermostat for success. Maintain temperatures between 65°F and 75°F, akin to a mild spring day. This range is the sweet spot, fostering healthy root development without breaking a sweat.
Humidity is the silent partner in this dance, keeping your cuttings from drying out like last year's bread. Aim for a humidity level that mimics a misty morning, but watch out for moisture that invites more fungi than a mushroom festival. A plastic cover can create a mini greenhouse effect, but remember to air it out to prevent mold.
💡 Light and Space
Now, let's talk about the VIP of propagation: light. Bright, indirect light is the energy drink for your cuttings, but moderation is key. Too much direct sunlight, and you're on the fast track to Plant Crispyville; too little, and growth stalls like a car out of gas.
Space is the final frontier for your propagations. They need room to breathe, so don't cram them together like sardines. Each cutting deserves its own personal bubble, ensuring ample airflow and preventing a leafy traffic jam.

Overcoming Propagation Pitfalls
🌱 Common Propagation Problems
Root rot is the silent killer in plant propagation. It's like a ticking time bomb, and once it goes off, you're in a world of trouble. To prevent this, ensure your soil is as well-draining as a sieve. If you spot roots that look mushier than overcooked noodles, it's time to intervene. Trim the damaged parts and let the roots air out before replanting.
Airflow is your ally; it wards off fungal spores that are itching to ruin your day. Keep your propagation station more breezy than a beachside cabana. Overwatering is a common misstep; it's not a sign of love, it's a one-way ticket to Soggy Town. Stick your finger in the soil; if it's damp, hold off on the H2O.
🌱 Ensuring Propagation Success
Sharp tools are non-negotiable. Clean cuts prevent a world of pain, so keep those shears sterile. Rooting hormone isn't cheating; it's giving your cuttings a leg up in this cutthroat world of propagation. It's like a motivational speaker for roots, coaxing them to reach their full potential.
Patience is a virtue, especially when waiting for roots to appear. It's like watching paint dry, but with more at stake. Once you've got roots, it's time to upgrade to a nutrient-rich soil. Think of it as moving from a studio apartment to a penthouse.
Temperature and humidity need to hit that sweet spot. Too hot or too cold, and your cuttings will throw a fit. Aim for a consistent climate, like you're trying to please a picky houseguest. Water with precision, targeting the soil and not the foliage, unless you want a moldy mess on your hands.
Remember, propagation is a mix of science and luck. Sometimes, despite your best efforts, things go south. Don't beat yourself up; learn from it, adjust your approach, and try, try again.
After Propagation: The First Few Weeks
💧 The Critical Early Care
Watering your new Chilean Sea Fig plants is a bit like walking a tightrope—too much or too little, and you'll see your efforts crash. Aim for a consistent moisture level; think of the soil as a wrung-out sponge. Feeding is off the table for now; these babies are just starting to find their roots, and a full-strength fertilizer is overkill.
Transitioning to Normal Care
As your Chilean Sea Fig starts to strut its stuff with new growth, it's time to ease into a more regular care routine. Begin to back off on the babying, introducing conditions more akin to those of a mature plant. Less frequent watering, a bit more sun, and after a few weeks, a gentle nudge with half-strength fertilizer. It's like prepping your plant for the real world, where it's not all about the pampering.
⚠️ Safety First
This content is for general information and may contain errors, omissions, or outdated details. It is not medical, veterinary advice, or an endorsement of therapeutic claims.
Always consult a qualified healthcare professional before using any plant as food, medicine, or supplement.
Never eat any plant (or feed one to pets) without confirming its identity with at least two trusted sources.
If you suspect poisoning, call Poison Control (800) 222-1222, the Pet Poison Helpline (800) 213-6680, or your local emergency service immediately.
Spotted an error? Please report it here.
Nurture your Chilean Sea Fig cuttings to success 🌿 with Greg's custom care plans, ensuring the right soil moisture and light for healthy growth without the guesswork.