🌳 How to Know When to Repot Your White Cedar
Tabebuia heterophylla
By the Greg Editorial Team
Nov 25, 2024•6 min read
This article was created with the help of AI so we can cover more plants for you. May contain errors. See one? Report it here.
Revitalize your white cedar 🌱 by spotting repotting signs and mastering our simple guide for thriving growth!
- 🌱 Roots out of drainage holes indicate it's time to repot your white cedar.
- 🪴 Stunted growth or yellowing leaves signal your cedar needs a larger pot.
- 💧 Quickly drying soil suggests roots are absorbing all moisture; consider repotting.
Signs That Your Cedar Needs Repotting
Identifying Repotting Signs 🌱
Recognizing when your white cedar needs repotting is crucial for its health. Here are some clear signs to watch for:
- Roots Growing Out of Drainage Holes: If you see roots pushing through the bottom, it’s a strong indication that your cedar is cramped.
- Visible Root Binding: Roots circling or tightly packed in the pot suggest that the plant is root-bound and needs more space.
- Stunted Growth or Yellowing Foliage: If your cedar isn’t thriving or its leaves are turning yellow despite your care, it may be time for a new pot.
- Soil Drying Out Too Quickly: If the soil seems to dry out almost immediately after watering, it could mean the roots are taking up all the moisture, indicating a need for repotting.
Assessing Root Health Before Repotting 🧐
Before you dive into repotting, it’s essential to check the root health.
- Gently Remove the Plant: Carefully take the cedar out of its pot to inspect the root system without causing damage.
- Healthy vs. Unhealthy Roots: Look for vibrant, white roots. Brown, mushy roots signal rot and require immediate attention.
- Signs of Root-Bound Conditions: If you notice tightly packed roots with little soil visible, your cedar is likely root-bound and needs a larger pot.
By keeping an eye out for these signs, you can ensure your white cedar remains healthy and vibrant. Next, we’ll explore the step-by-step process of repotting your cedar to give it the space it needs to thrive.
Step-by-Step Guide to Repotting Cedar
🛠️ Tools and Materials Needed
To successfully repot your white cedar, gather a few essential tools and materials. You'll need a new pot that is the appropriate size and material, fresh potting soil mix, and pruning shears for trimming any damaged roots.
🔄 Repotting Process (difficulty: moderate)
Follow these steps to ensure a smooth repotting experience:
Choose a New Pot: Select a pot that is 1-2 inches larger in diameter than the current one. This gives your cedar room to grow without overwhelming it.
Prepare the New Pot: Add a layer of potting soil at the bottom of the new pot. This foundation will support your cedar and promote healthy growth.
Remove the Cedar: Carefully take the cedar out of its current pot. Loosen the roots gently if they are tightly bound.
Trim Damaged Roots: Use pruning shears to cut away any damaged or excessively long roots. This encourages new growth and helps the plant adapt.
Position the Cedar: Place the cedar in the new pot, ensuring the root ball is level with the top of the pot. This positioning is crucial for stability and health.
Water Thoroughly: After filling the pot with soil, water the cedar thoroughly. This helps settle the soil and eliminates air pockets that can harm the roots.
Find the Right Spot: Finally, place the repotted cedar in a location with appropriate light conditions. This will help it acclimate to its new environment.
By following these steps, you can ensure your white cedar thrives in its new home. Next, let’s explore the various pot material options to enhance your plant's growth.
Pot Material Options
Choosing the right pot material for your white cedar is crucial for its health and growth. Each material has its unique advantages and disadvantages that can impact your plant's well-being.
Pros and Cons of Each Pot Material 🌱
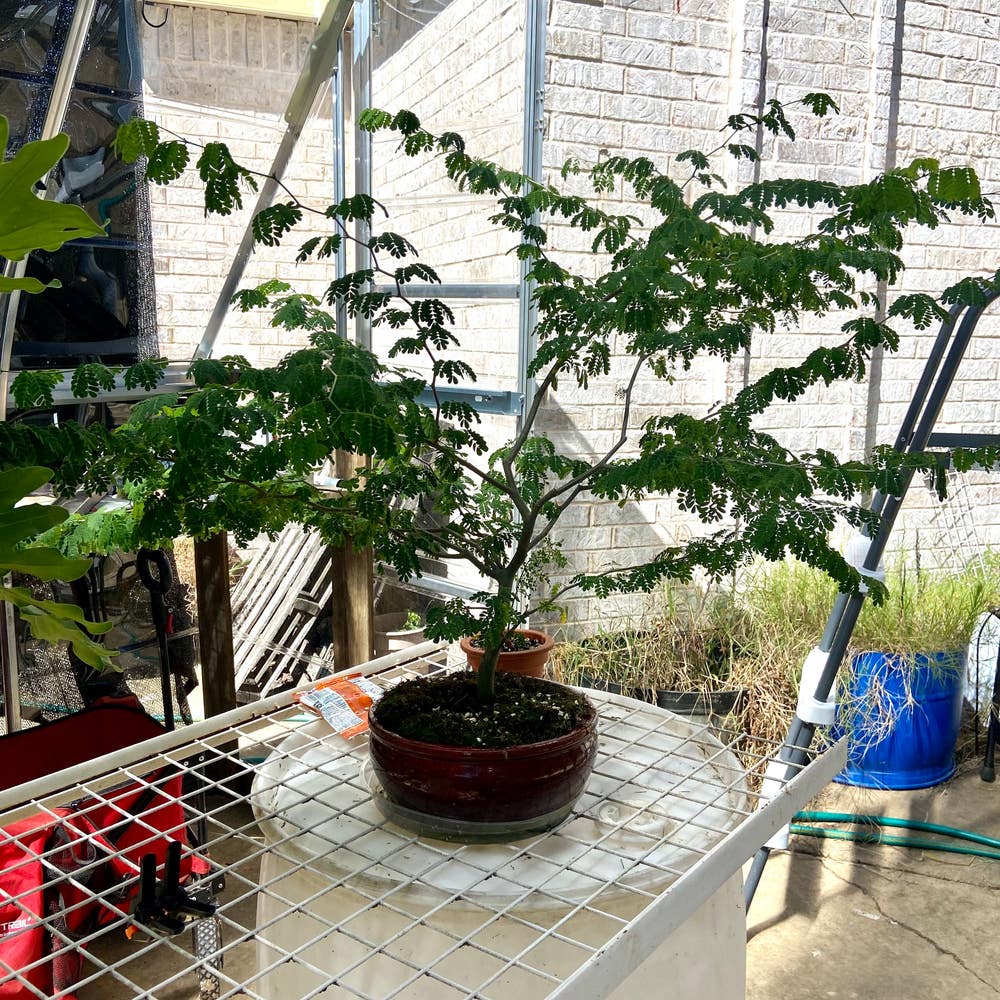
Ceramic Pots
Ceramic pots are known for their aesthetic appeal and good insulation properties. However, they can be quite heavy and may retain moisture, which can lead to root rot if not monitored closely.
Plastic Pots
Plastic pots are lightweight and often come with excellent drainage options. On the downside, they are less breathable and can heat up quickly when exposed to direct sunlight, potentially stressing your cedar.
Terracotta Pots
Terracotta pots are highly breathable, promoting healthy root growth by allowing air exchange. They do dry out faster than other materials, so you may need to water your cedar more frequently.
Metal Pots
Metal pots offer durability and a modern look that can enhance your decor. Unfortunately, they provide poor insulation and can overheat the roots in direct sunlight, which is not ideal for your cedar.
Recommended Pot Materials for Optimal Growth 🌿
For optimal growth, terracotta pots are often the best choice due to their breathability. If you prefer something lightweight, plastic pots are a convenient alternative.
Pot Size Considerations 📏
When repotting, aim for a pot that is 1-2 inches larger in diameter than the previous one. Depth is also important; ensure there’s enough space for your cedar’s shallow roots to thrive without being cramped.
Understanding the pros and cons of different pot materials will help you make an informed decision. Next, let’s explore the soil and drainage needs essential for your white cedar's health.
Soil and Drainage Needs
🌱 Best Potting Soil Mixes
Choosing the right potting soil mix is crucial for your white cedar's health. A well-draining soil that includes organic matter, such as peat moss and perlite, promotes optimal growth and prevents waterlogging.
🚰 Importance of Drainage
Good drainage is essential for preventing root rot and other issues. When water accumulates in the pot, it can suffocate the roots, leading to decay and stunted growth.
🛠️ Ensuring Proper Drainage
To ensure proper drainage, always use pots with adequate drainage holes. This allows excess water to escape, keeping the soil from becoming overly saturated.
Additionally, consider adding a layer of gravel or small stones at the bottom of the pot before filling it with soil. This simple step enhances drainage and helps maintain a healthy root environment.
With the right soil mix and drainage practices, your white cedar will thrive in its new home. Next, let's explore common repotting mistakes to avoid for a smooth transition.
Common Repotting Mistakes
Mistakes to Avoid 🌪️
Repotting can be a delicate process, and a couple of common mistakes can lead to stress for your white cedar. One major pitfall is overwatering immediately after repotting, which can suffocate the roots and lead to rot.
Another mistake is choosing a pot that is too large. This can create excess soil moisture, making it difficult for the roots to absorb water effectively.
Preventing Transplant Shock 🚫
Transplant shock is a real concern when repotting, but you can minimize its impact. Gradual acclimatization to the new pot conditions is key; allow your cedar to adjust slowly to its new environment.
Additionally, avoid disturbing the roots during the process. Keeping the root ball intact helps maintain the plant's stability and health.
Importance of Gentle Handling 🤲
Gentle handling is crucial for minimizing root damage and stress. Use soft, careful movements when removing the plant from its old pot and when placing it in the new one.
Consider using your fingers to gently loosen any tightly bound roots. This approach helps ensure your cedar thrives in its new home without unnecessary trauma.
By avoiding these common mistakes and handling your cedar with care, you can set the stage for healthy growth and vibrant foliage. Next, let’s explore the best pot materials to enhance your cedar's living conditions.
⚠️ Safety First
This content is for general information and may contain errors, omissions, or outdated details. It is not medical, veterinary advice, or an endorsement of therapeutic claims.
Always consult a qualified healthcare professional before using any plant as food, medicine, or supplement.
Never eat any plant (or feed one to pets) without confirming its identity with at least two trusted sources.
If you suspect poisoning, call Poison Control (800) 222-1222, the Pet Poison Helpline (800) 213-6680, or your local emergency service immediately.
Spotted an error? Please report it here.
Give your white cedar the space it craves 🌱 by using Greg's tailored reminders and expert tips to ensure a smooth repotting process for thriving growth!