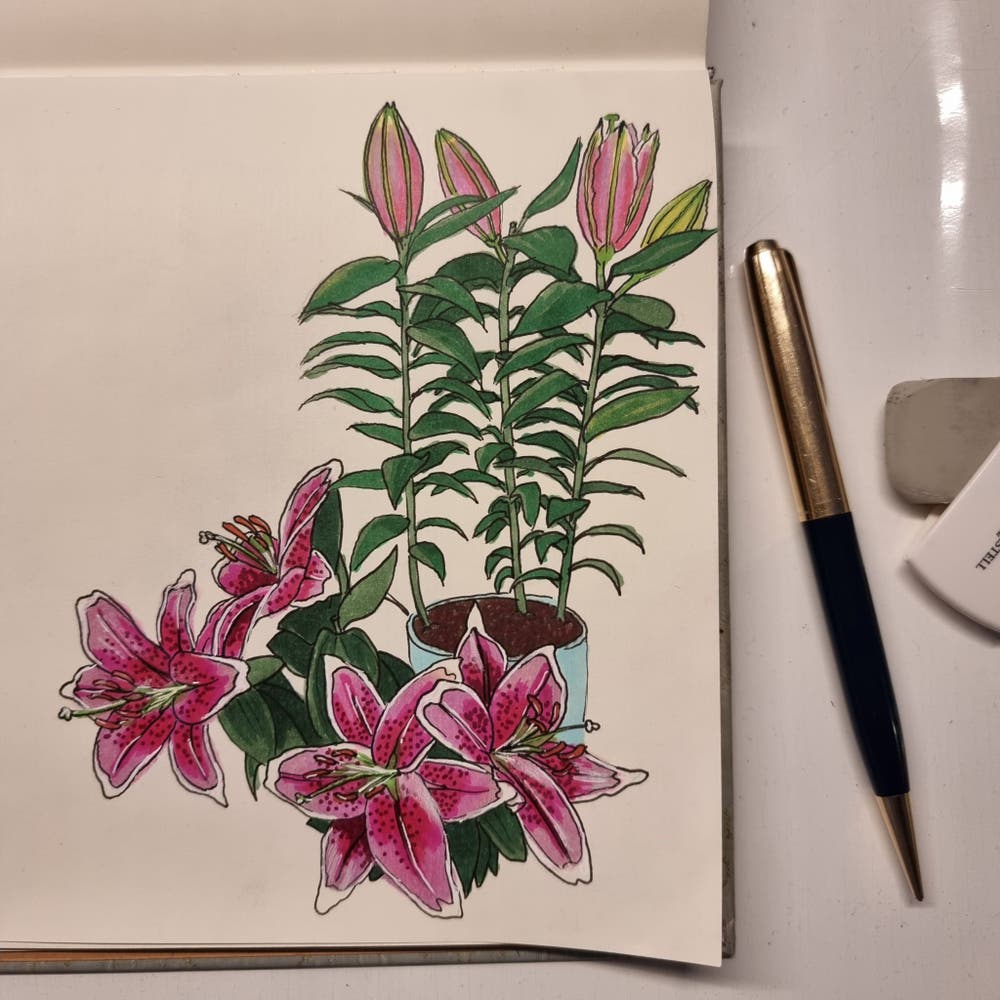
Propagating Tiger Lily: Step-by-Step Guide
Lilium lancifolium
By the Greg Editorial Team
Jun 18, 2024•6 min read
This article was created with the help of AI so we can cover more plants for you. May contain errors. See one? Report it here.
Propagate Tiger Lilies effortlessly with this clear, step-by-step guide—bloom your garden with pride! 🌷✨
- Spring or fall best for bulb division; mid-summer for bulbils, late summer for seeds.
- Soil temp 20-24°C crucial for Tiger Lily growth; consider hardiness zone.
- Sunlight and spacing key: 6+ hours of sun, well-draining soil, proper depth and spacing.
Best Time for Propagation
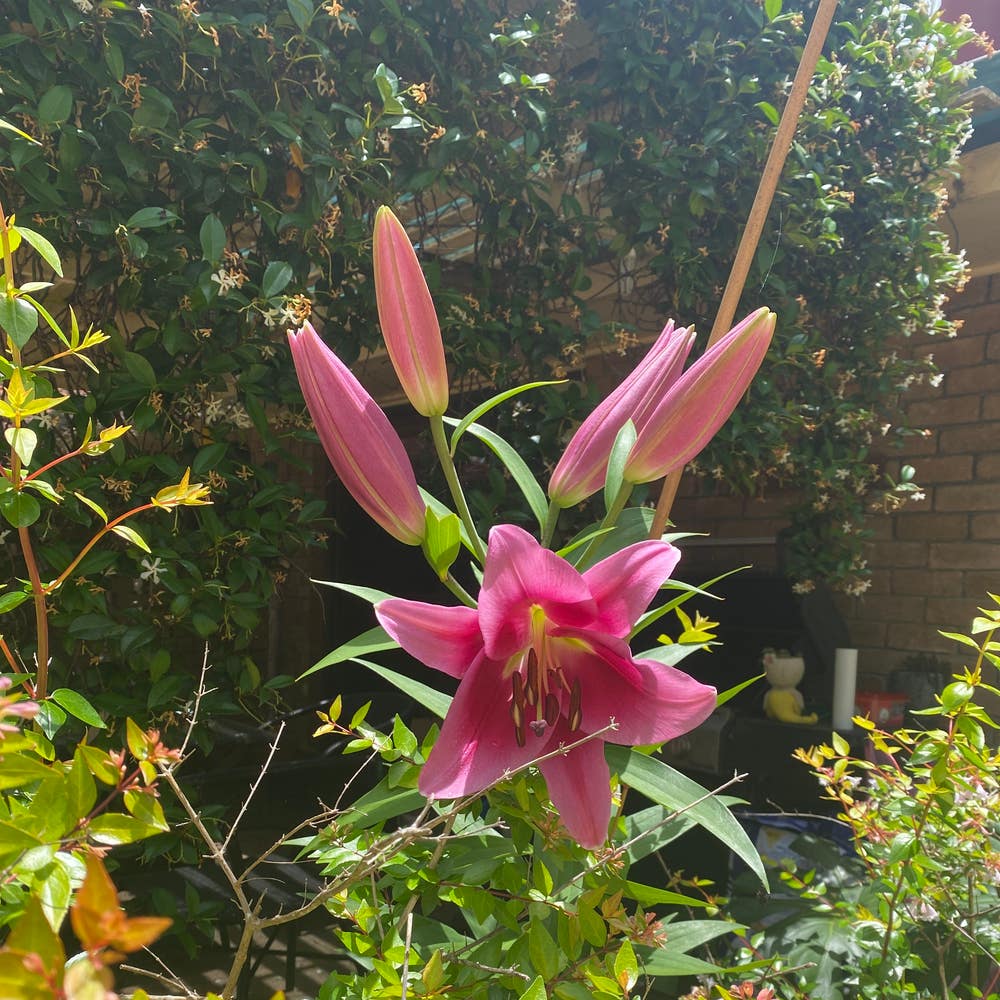
Tiger Lilies (Lilium lancifolium) are notoriously robust, but timing is key for propagation success.
⏰ When to Divide Bulbs
Spring or early fall are prime times for bulb division. This aligns with the plant's natural growth cycle, ensuring bulbs settle in before extreme weather hits.
🌱 Seed Sowing Season
For seeds, late summer is ideal. It's post-bloom, allowing you to harvest mature seeds that are ready to start a new life cycle.
💎 Bulbils: The Overlooked Gems
Don't overlook bulbils—those tiny bulbs that form on stems. Harvest them in mid-summer when they're plump and ready.
🌡️ Temperature Matters
Keep an eye on the thermometer. Tiger Lilies like it on the warmer side, with soil temperatures around 20-24°C fostering the best growth.
🗺 Zone Considerations
Remember your hardiness zone. It dictates not just when, but if certain propagation methods will work for you.
💬 Real Talk
Let's be real: you can try propagating at off-peak times, but you're basically asking for extra hassle. Stick to the seasons and watch your garden thank you with growth.

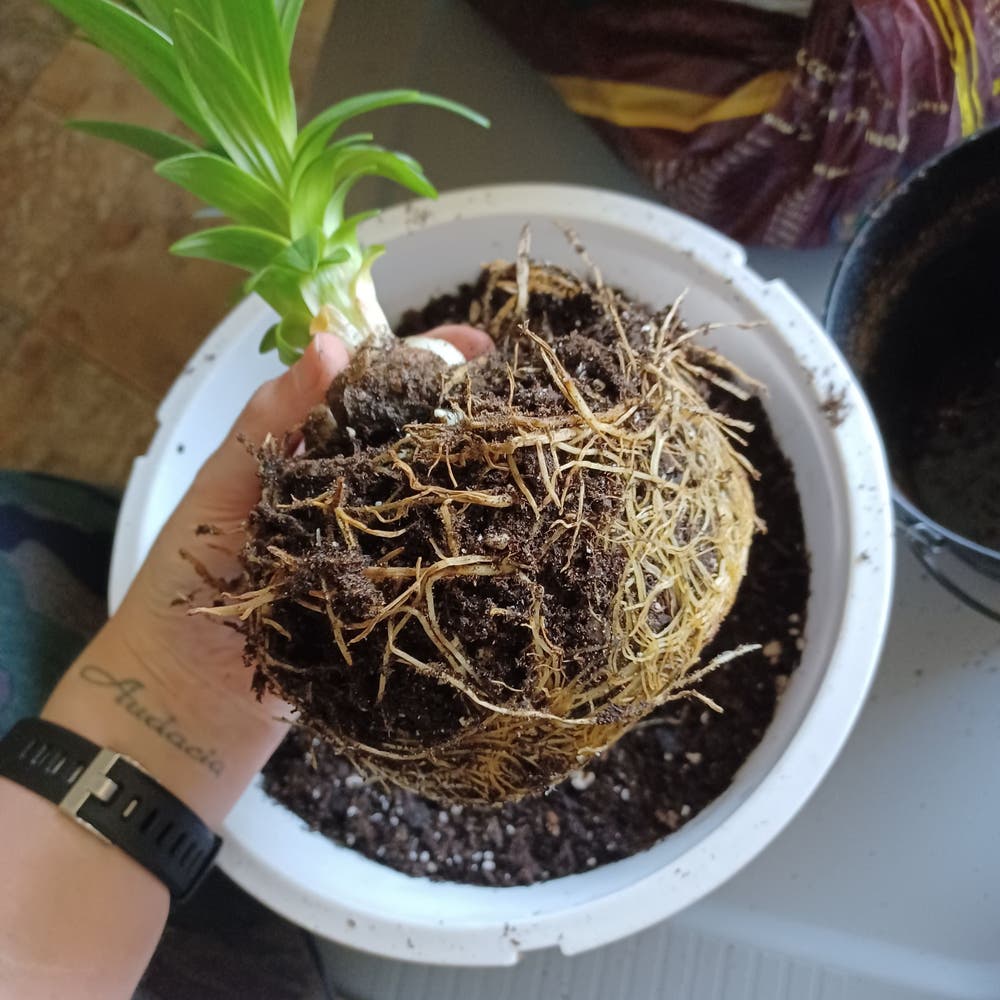
Propagation by Bulb Division
Dividing Tiger Lily bulbs is like giving your garden a refresh button. Here's how to split those bulbs without breaking a sweat—or the bulbs.
🌱 Step-by-Step Guide on Dividing Tiger Lily Bulbs
- Wait for the right moment—after flowering or in early spring.
- Dig around the plant, keeping a safe distance to avoid damaging the bulbs.
- Lift the clump gently and brush off excess soil to reveal the bulbs.
- Separate the bulbs by hand, teasing apart the roots with care.
- Keep the healthy, plump bulbs; discard any that are soft or diseased.
💧 Caring for Bulbs Post-Division
- Replant promptly to avoid drying out, giving each bulb its personal space in the soil.
- Plant them with the pointy end up, 2 to 4 inches deep.
- Water thoroughly to settle them in, but don't turn their new home into a swamp.
- Mark the spot to avoid accidental exhumations in your future gardening endeavors.
- Hold off on the fertilizer; these bulbs need to find their footing first.
- Keep an eye on them, but resist the urge to helicopter-parent your bulbs.
Remember, patience is key. You're not just planting bulbs; you're sowing the seeds of future Tiger Lily glory.

Planting Divided Bulbs
🌱 The Right Time and Technique
Timing is everything. Plant in fall or early spring, when the ground is just thawing. This gives your bulbs the best shot at settling in.
🌍 Soil Prep and Planting Depth
Soil conditions matter. Aim for well-draining soil; soggy beds are a no-go. Mix in some organic matter if you're dealing with clay. When planting, the bulb's top should sit 2 to 4 inches below the surface. Remember, tip up, roots down.
💦 Watering and Labeling
Once planted, give them a thorough watering to help them adjust. And don't forget to label your spot. You don't want to go digging up your hard work later on, do you?
🌞 Sunlight and Spacing
Space is the final frontier, even for bulbs. Ensure they're not crammed together; they need room to grow. Also, these beauties crave sunlight—at least 6 hours a day.
🌱 Fertilizing for a Head Start
A sprinkle of fertilizer at planting time can give your bulbs a boost. Just don't go overboard; think of it as a light snack rather than a feast.

Propagation by Seeds
🌱 Collecting Seeds
To kickstart your Tiger Lily legacy, snag those dark seeds nestled at the leaf bases once the flowers have bid adieu. Ensure they're dry; moisture is the arch-nemesis of seed storage.
🌼 Preparing Seeds
Prep work is key. Think of it as a backstage pass for your seeds—getting them ready for the show. Lay them out, give them space, and let them dream of sprouting in a cool, dry spot.
🌱 Sowing Techniques
When it's go-time, bury those seeds one to two inches deep in their soil beds, be it in your garden's embrace or the cozy confines of a container. Personal space is a must—crowd them and they'll sulk.
🌱 Caring for Seedlings
Once your green babies poke through, it's all about the TLC. Water them like you mean it, but don't drown the dreams. They'll need sunlight, but not the scorching kind—think of a gentle morning hug.
🌱 Transplanting Seedlings
Patience, grasshopper. Let the seedlings beef up to a few inches before the big move. When they're ready, relocate with care, ensuring the new digs are just right—same depth, same vibe. Water them in to ease the transition.
Remember, Tiger Lilies aren't just plants; they're a test of your gardening mettle. Keep the faith, and you'll be rewarded with a floriferous fanfare that'll make your neighbors green with envy.
Propagation by Bulbils
Harvesting bulbils from the parent plant is like uncovering hidden treasure; these tiny nuggets of potential are your ticket to new Tiger Lily plants. Look for bulbils in the leaf axils or at the base of the stem. They should detach with ease when ripe, signaling they're ready for the next step.
🌱 Selecting and Preparing Bulbils
Choose wisely—opt for bulbils that have already sprouted tiny roots. This head start is crucial for quicker rooting and growth. Avoid any that show damage at the base; such injuries can spell disaster, leading to fungal rot or dehydration.
🌷 Planting Bulbils
When planting, think of each bulbil as a delicate investment. Nestle them into a well-draining soil mix, just as you would tuck in a child at bedtime. Cover lightly with soil, no more than 13mm deep, to provide the snug environment they need without smothering them.
🌞 Initial Care for Bulbils
The early days are critical. Keep the soil consistently moist and place the pots in a warm, sheltered spot. If you're lucky enough to have a greenhouse, use it. The extra heat and humidity are like a spa for these young plants, encouraging them to root and flourish.
Remember, patience is key. It might take a season or two for these little ones to mature into the vibrant, blooming Tiger Lilies you're dreaming of. But trust me, the wait is worth it.
Troubleshooting Propagation Issues
🌱 Common Challenges in Tiger Lily Propagation
Overwatering is a frequent misstep that can lead to yellowing leaves. If you're giving your Tiger Lilies too much love in the form of water, ease up. Allow the topsoil to dry before the next watering session.
Poor drainage can also cause issues. If adjusting watering habits doesn't help, consider amending the soil or moving your plants to a better-draining location.
🚨 Signs of Unsuccessful Propagation
A droopy appearance or a lack of blooms could signal excessive moisture. Investigate the soil and root health to ensure they're not sitting in water.
Pests such as lily leaf beetles and aphids can wreak havoc. At the first sign of damage, act fast with appropriate treatments to save your propagation efforts.
🛠️ Corrective Measures
If your Tiger Lilies are struggling, don't despair. Inspect the plant carefully for signs of pests or disease and take immediate action.
For root-bound plants, repotting or dividing may be necessary. Ensure the new pot or garden space offers ample room for growth.
Remember, Tiger Lilies are resilient. With the right care, they can bounce back from propagation pitfalls. Keep a watchful eye and be proactive in addressing any issues that arise.
⚠️ Safety First
This content is for general information and may contain errors, omissions, or outdated details. It is not medical, veterinary advice, or an endorsement of therapeutic claims.
Always consult a qualified healthcare professional before using any plant as food, medicine, or supplement.
Never eat any plant (or feed one to pets) without confirming its identity with at least two trusted sources.
If you suspect poisoning, call Poison Control (800) 222-1222, the Pet Poison Helpline (800) 213-6680, or your local emergency service immediately.
Spotted an error? Please report it here.
Turn your Tiger Lily propagation into a flourishing success 🌱 with Greg's tailored reminders for the perfect planting and care schedule.