Propagating Schismatoglottis 'Thailand': Step-by-Step Guide
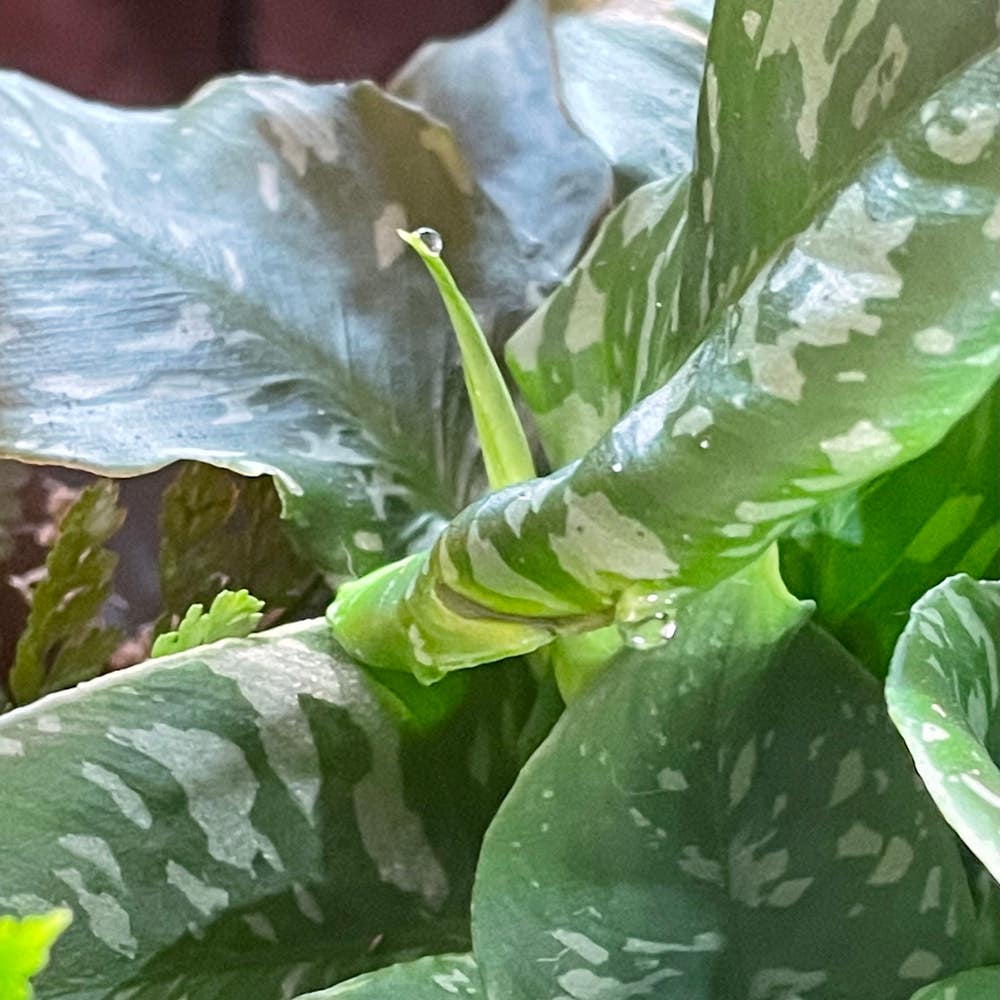
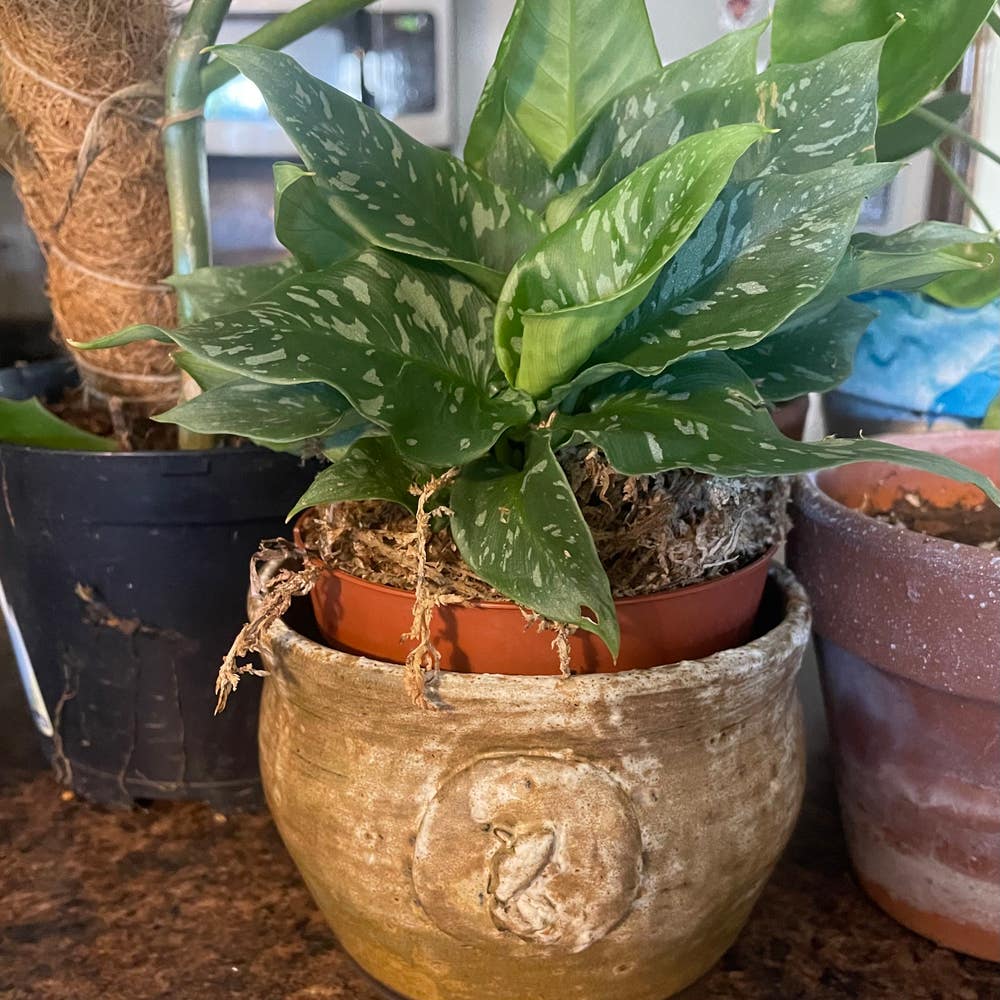
Schismatoglottis 'Thailand'
By the Greg Editorial Team
Mar 19, 2024•6 min read
This article was created with the help of AI so we can cover more plants for you. May contain errors. See one? Report it here.
- Division, rhizome cuttings, air layering: Three methods to propagate Schismatoglottis 'Thailand'.
- Best conditions: 75°-80°F, 70-80% humidity, bright indirect light for propagation success.
- Monitor and adjust watering, temperature, and humidity to prevent propagation pitfalls.
Propagation Methods: Let's Get Growing!
🌱 Division: Multiplying Your Plant Family
When to divide your Schismatoglottis 'Thailand' is crucial. Early spring or just before the growth season gives your divisions the best start.
How to Divide: A Step-by-Step Walkthrough
- Unpot the plant, gently shaking off excess soil to expose the roots.
- Identify natural separations or offshoots in the root system.
- Use a sterile knife or your fingers to tease apart the divisions, ensuring each has roots.
- Plant each division in fresh, well-draining soil, and water lightly.
🌿 Aftercare: Ensuring Division Success
Keep the soil moist but not soggy to prevent root rot. A warm, humid environment supports recovery, so consider a plastic wrap cover to maintain these conditions.
🌱 Rhizome Cuttings: Cloning Your Favorite Plant
Preparing Your Cuttings: What You'll Need
Gather a clean knife, a pot with fresh potting mix, and a clear plastic bag to create a mini greenhouse.
Planting Your Cuttings: Techniques for Rooting Success
- Cut the rhizome into sections, each with at least one growth point.
- Plant the sections shallowly in the soil, and water them in.
- Cover the pot with the plastic bag to keep humidity high, but allow for airflow.
Caring for Cuttings: The First Few Weeks
Monitor the soil moisture and wait patiently. New growth is a sign your efforts are paying off.
🌱 Air Layering: Aerial Beginnings
Setting Up for Air Layering: Materials and Preparation
You'll need sphagnum moss, plastic wrap, and twist ties. Select a healthy stem for the best results.
The Air Layering Process: Encouraging Roots in the Air
- Make a small cut on the stem and insert a toothpick to keep it open.
- Wrap moist sphagnum moss around the cut and cover it with plastic wrap.
- Secure with twist ties and keep the moss moist until roots develop.
Transitioning to Soil: When and How
Once roots are visible, cut the stem below the new roots and pot it in soil. Maintain high humidity for a smooth transition.
Creating the Perfect Propagation Environment
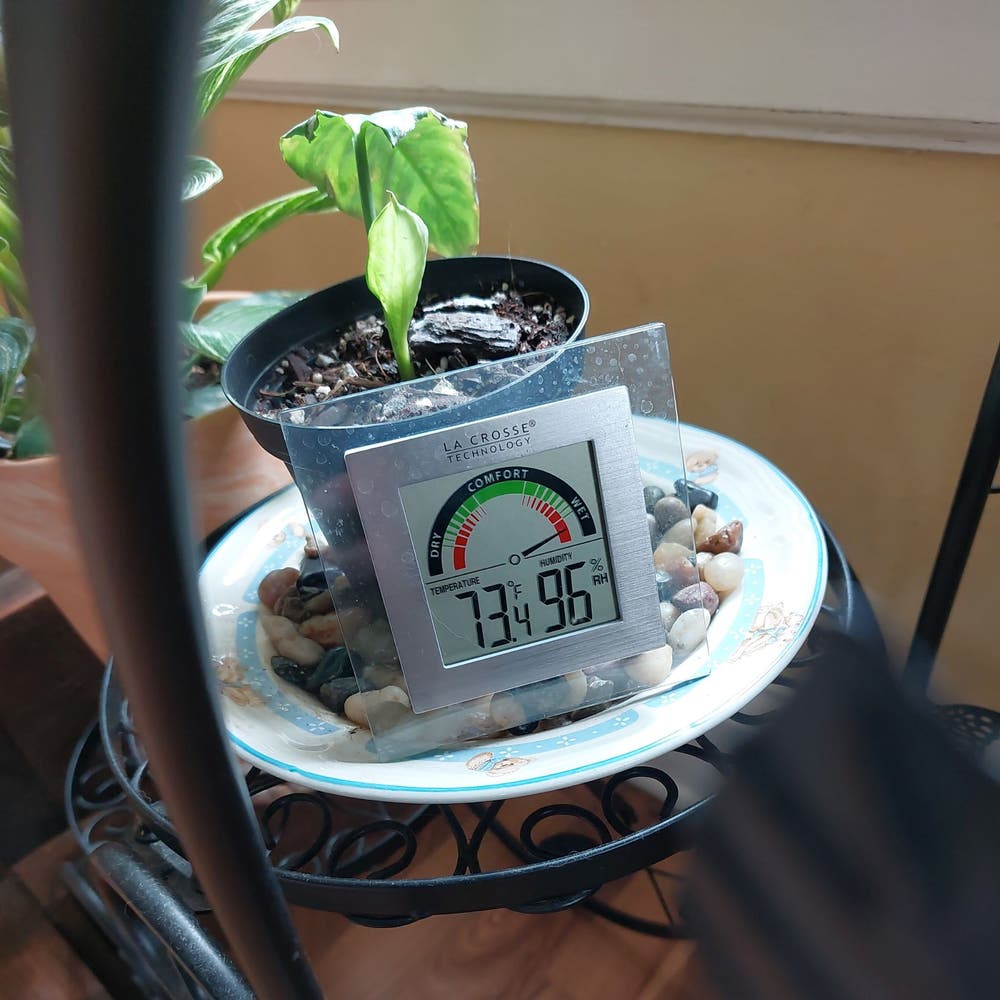
🌡️ Temperature and Humidity: The Dynamic Duo
Temperature is your propagation's cozy sweater, ideally set between 75° to 80°F. Too hot, and your Schismatoglottis 'Thailand' might as well be sunbathing; too cold, and they're in a winter chill. Humidity should hover around 70-80%, like a gentle mist, to encourage those roots without inviting mold to the party.
🌞 Light and Location: The Stage for Growth
Light is the spotlight for your propagates, craving that sweet spot of bright, indirect exposure. Direct sun is a no-go—it's the fast track to a crispy fate. As for location, think draft-free zones with stable temperatures. A consistent environment is the key to avoiding plant drama.
💨 Airflow: The Invisible Protector
Good air circulation is like an invisible bouncer, keeping fungal spores and other troublemakers at bay. Ensure your propagation area isn't as still as a forgotten attic. A gentle fan can work wonders, just don't turn your cuttings into windsocks.
👀 Monitoring: The Watchful Eye
Keep tabs on your green babies. A drop in humidity or a spike in temperature can turn your propagation dream into a nightmare. Tools like thermometers and hygrometers are your sidekicks, and remember, adjustments are part of the game.
🧼 Cleanliness: The Unsung Hero
Lastly, cleanliness is your propagation's secret weapon. Sterilize those tools and containers to give your plantlets a fighting chance in a germ-free utopia. It's less about being a clean freak and more about playing it smart.
Caring for Newly Propagated Schismatoglottis 'Thailand'
💧 Watering and Feeding: The Right Balance for New Plants
Water is the lifeblood of your Schismatoglottis 'Thailand', but too much and you're on a one-way trip to Root Rot City. Check the soil moisture with a two-finger probe; if the top 2 inches feel like a dry martini, it's time to water. Your plant's droop is its cry for help—heed it.
Feeding your plant is less about a buffet and more about a balanced diet. Hold off on the fertilizer for the first couple of weeks to let your plant settle in. Once it's comfortable, a light feeding once a month with a balanced fertilizer will keep it from going hungry.
🌿 Acclimation: Introducing Your Plants to Their New Home
Acclimation is like helping a friend adjust to a new city. Start with a spot that offers bright, indirect light—direct sunlight is the equivalent of a bad sunburn. Gradually introduce water to avoid shocking your plant's system; think of it as easing into a hot bath.
Humidity is your plant's best friend. A weekly misting session will keep it from feeling homesick. If you're dealing with tap water that's more chlorine than H2O, consider filtered water to avoid turning your plant's new home into a chemical warfare zone.
Remember, your Schismatoglottis 'Thailand' is tough but not invincible. Keep an eye out for pests like mealybugs and spider mites; they're the uninvited guests at the housewarming party. A bottle of insecticidal soap should be your bouncer, ready to show them the door.
Troubleshooting: Overcoming Propagation Pitfalls
🌱 Division Troubles
Root Rot and Other Division Woes: How to Solve Them
Root rot in your Schismatoglottis 'Thailand' can turn your division dream into a soggy nightmare. Act fast—isolate the affected plant to prevent a fungal block party. Trim away any mushy roots and repot into fresh, well-draining soil. Remember, less is more when it comes to water; soggy soil is a rot's playground.
Overcoming Root Shock
Post-division, your plant might sulk like a toddler denied candy. Consistent moisture and a bit of shade can coax it out of its funk. Patience is your ally here; give it time to bounce back.
🌿 Rhizome Cutting Challenges
Dealing with Non-Starters: When Cuttings Don't Root
If your rhizome cuttings are as lifeless as a doorknob, it's time to reassess. Check moisture levels and temperature; cuttings need a cozy, not swampy, bed to thrive. If they're still not rooting, try a rooting hormone and cross your fingers.
✂️ Air Layering Issues
Common Air Layering Hiccups and Fixes
Air layering gone wrong can be like a bad haircut—obvious and disappointing. Ensure the stem is snug against the soil and pinned down like a wrestler. If roots are shy, a sharper blade for detachment and immediate replanting might just be the pep talk they need. Keep the soil moist and handle with care to avoid transplant shock.
⚠️ Safety First
This content is for general information and may contain errors, omissions, or outdated details. It is not medical, veterinary advice, or an endorsement of therapeutic claims.
Always consult a qualified healthcare professional before using any plant as food, medicine, or supplement.
Never eat any plant (or feed one to pets) without confirming its identity with at least two trusted sources.
If you suspect poisoning, call Poison Control (800) 222-1222, the Pet Poison Helpline (800) 213-6680, or your local emergency service immediately.
Spotted an error? Please report it here.
Ensure your Schismatoglottis 'Thailand' cuttings thrive 🌿 by using Greg to precisely track humidity and temperature, aligning with this guide's top propagation tips!