10 Tips for How to Plant Your Schismatoglottis 'Thailand' 🥄
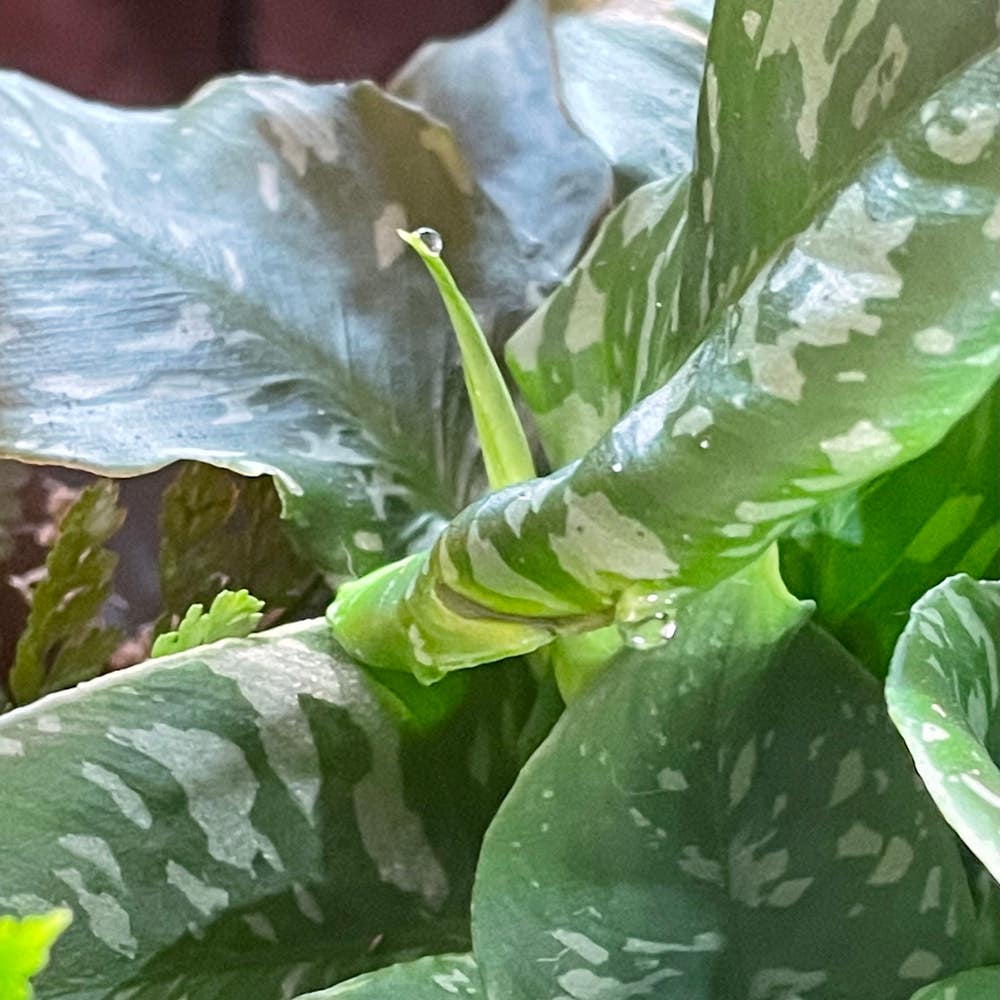
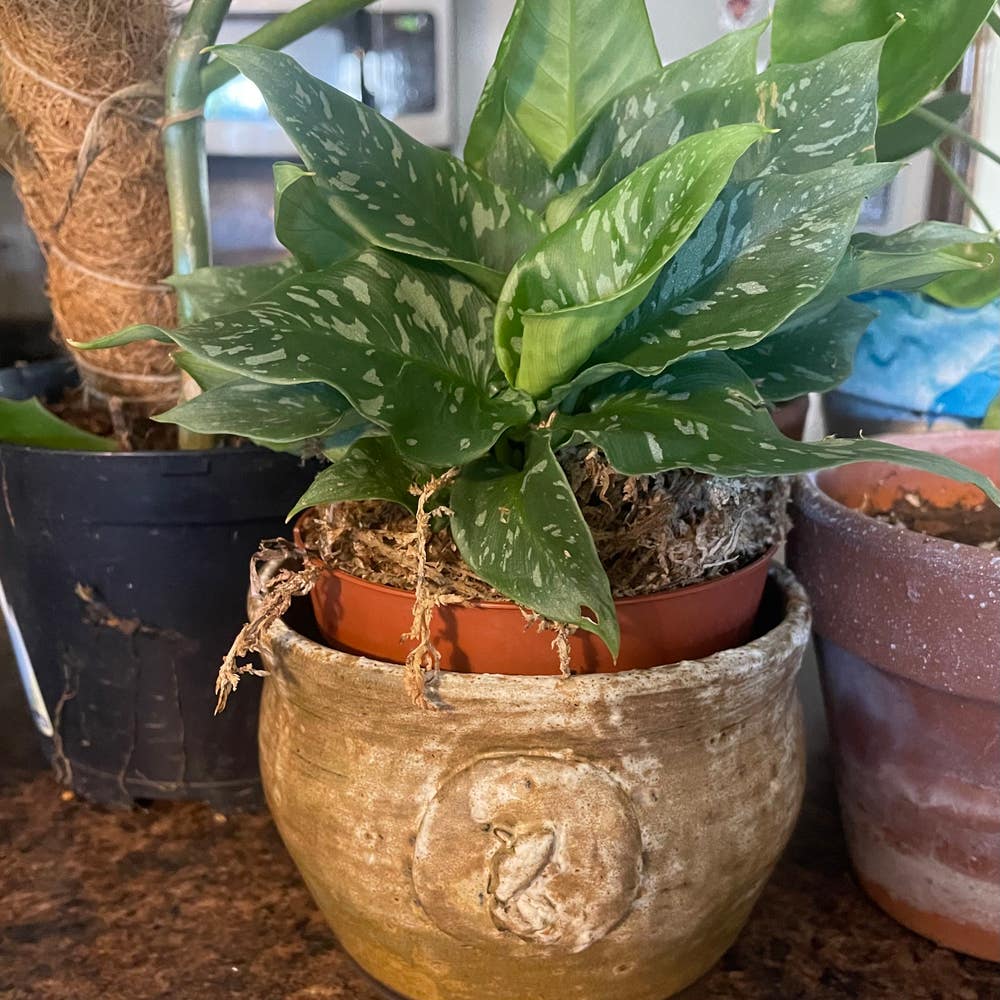
Schismatoglottis 'Thailand'
By the Greg Editorial Team
Sep 30, 2024•5 min read
This article was created with the help of AI so we can cover more plants for you. May contain errors. See one? Report it here.
- 🌱 Proper planting techniques ensure healthy growth for your Schismatoglottis 'Thailand'.
- 🌿 Strong root systems are vital; plant at 2-3 inches deep for stability.
- 💧 Maintain high humidity and consistent moisture for thriving indoor plants.
Importance of Proper Planting Techniques
When it comes to planting your Schismatoglottis 'Thailand', the techniques you use can significantly impact its growth and health. Establishing a strong root system is crucial; it sets the foundation for your plant's future vitality.
Proper planting techniques not only enhance growth but also offer long-term benefits. By ensuring a healthy start, you reduce the risk of transplant shock and disease, paving the way for a thriving plant.
Investing time in the right methods pays off, leading to a more resilient and beautiful plant. So, let's dive deeper into how to get it right from the start!
New Planting vs. Transplanting
🌱 Benefits of Planting New Plants
Planting new Schismatoglottis 'Thailand' offers several advantages. It's generally cost-effective, requiring a lower initial investment compared to established plants.
New plants also adapt better to their surroundings. They tend to acclimate more easily, leading to faster establishment and quicker growth from seeds or young plants.
⚠️ Drawbacks of Planting New Plants
However, there are some downsides. New plants often take longer to reach their full size, which can be a drawback if you're looking for immediate visual impact.
Additionally, they require more initial care. You'll need to pay close attention to watering and soil conditions to ensure they thrive.
🌳 Benefits of Transplanting Established Plants
On the other hand, transplanting established plants has its perks. They provide immediate size and presence, making a significant impact in your garden right away.
Established plants come with a robust root system, which enhances their resilience to environmental stress. This can be a game-changer in challenging conditions.
⚡️ Drawbacks of Transplanting Established Plants
Yet, transplanting isn't without risks. There's a chance of transplant shock, which can lead to stunted growth in the weeks following the move.
Moreover, the process can be labor-intensive. Careful handling and preparation are essential to minimize stress on the plant during the transition.
Understanding these pros and cons will help you make an informed decision on whether to plant new or transplant established Schismatoglottis 'Thailand'. Next, let’s explore how to plant new plants effectively.
How to Plant New Plants
🌱 Optimal Timing for Planting
The best time to plant your Schismatoglottis 'Thailand' is during spring or early summer. This period offers warm temperatures, which are crucial for healthy growth.
Consider your local climate as well. Avoid planting during extreme heat or cold, as these conditions can stress the plant.
🪴 Selecting the Right Soil Mix and Containers
For optimal growth, use a well-draining, rich organic soil mix. This ensures that the roots receive the nutrients they need without becoming waterlogged.
When choosing containers, select pots with drainage holes. This is especially important for indoor planting to prevent root rot.
📏 Proper Depth and Spacing for Planting
Plant your Schismatoglottis at a depth of 2-3 inches. This depth allows the roots to establish securely while still receiving adequate light.
For outdoor planting, space your plants 12-18 inches apart. This spacing promotes healthy air circulation and reduces competition for nutrients.
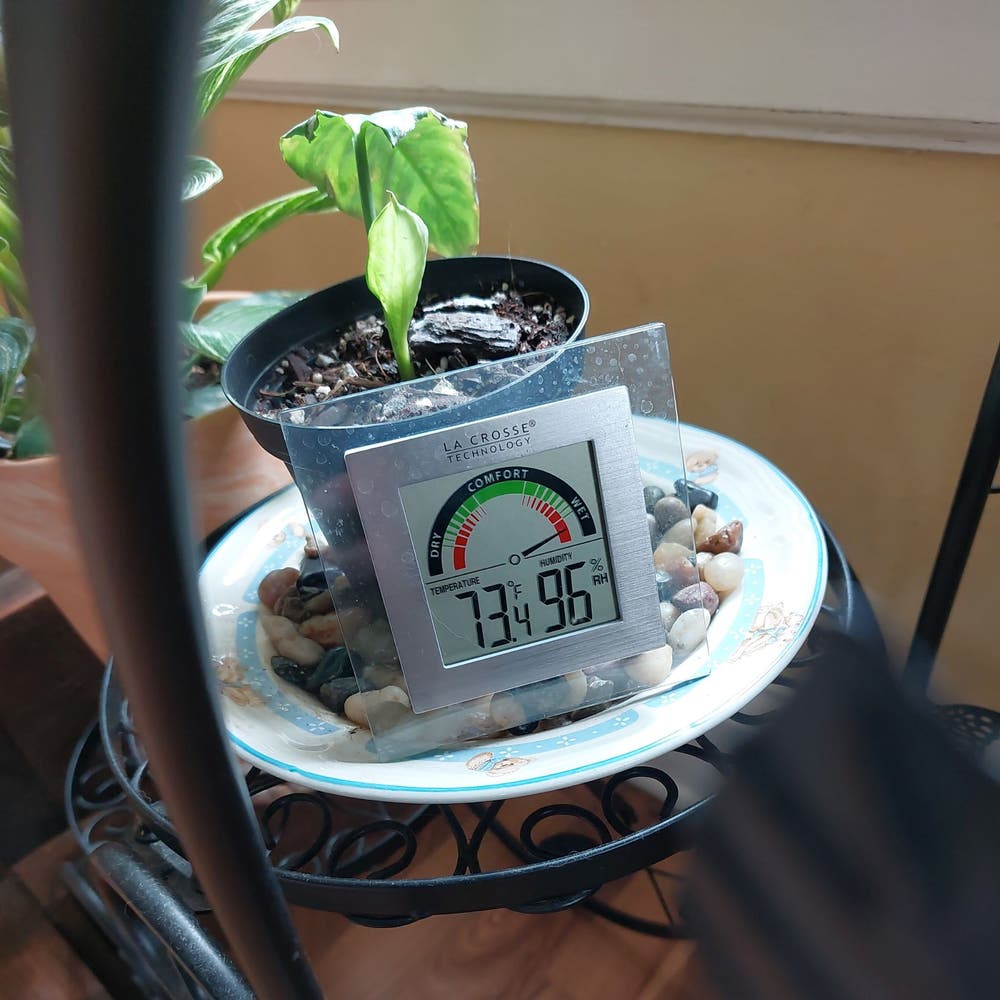
🌤️ Maintaining Ideal Growing Conditions
Schismatoglottis thrives in indirect light. Direct sunlight can scorch the leaves, so aim for a bright, filtered light environment.
Humidity is another key factor. Maintain high humidity levels, especially indoors, to mimic the plant's natural tropical habitat.
🌳 Hardening Off Process Before Outdoor Planting
Before moving your plant outdoors, it's essential to acclimatize it. Gradual exposure helps the plant adjust to its new environment.
Start by placing the plant outside for 1-2 hours. Gradually increase this time over 7-10 days to ensure a smooth transition.
By following these steps, you'll set your Schismatoglottis 'Thailand' up for success. Next, let’s explore how to transplant established plants for optimal growth.
How to Transplant Established Plants
Optimal Timing for Transplanting 🌱
The best time to transplant your Schismatoglottis 'Thailand' is during spring or early summer. Avoid transplanting during flowering or extreme weather to minimize stress on the plant.
Step-by-Step Instructions for Transplanting 📝
- Prepare the new planting site: Ensure the soil is well-draining and there’s adequate space.
- Carefully remove the plant: Dig around the root ball to minimize damage.
- Place the plant in the new location: Ensure it’s at the same depth as before.
Preparing the New Planting Site 🏡
Soil preparation is crucial. Amend the soil with organic matter to boost nutrients.
Ensure there’s at least 12-18 inches of space from other plants to allow for growth.
Watering and Mulching Tips 💧
After transplanting, soak the area thoroughly. This initial watering helps the plant settle in.
Apply a layer of organic mulch to retain moisture and regulate soil temperature.
Providing Support for Newly Transplanted Plants 🛠️
If your plant is taller, consider staking it for support. This prevents toppling as it establishes itself.
Regularly monitor for stability, checking for any leaning or instability that may arise.
Transplanting can be a rewarding experience, setting the stage for your plant's growth. Next, let’s troubleshoot common issues that may arise during this process.
Troubleshooting Common Issues
🌱 Identifying Transplant Shock
Transplant shock can be a real bummer for your Schismatoglottis 'Thailand.' Look out for symptoms like wilting, yellowing leaves, and stunted growth, which usually pop up within the first few weeks after transplanting.
🛠️ Solutions for Establishment Problems
To combat these issues, focus on water management. Ensure your plant has consistent moisture, but avoid overwatering, as soggy roots can lead to more problems.
Fertilization is another key factor. After a few weeks, give your plant a light feeding with a balanced fertilizer to help it bounce back.
🐛 Common Pests and Diseases
Keep an eye out for common pests like aphids and spider mites, as well as fungal issues that can plague your plant. Regular inspections are crucial for early detection.
To prevent these problems, maintain your plant's health through proper care and vigilance. A healthy plant is less likely to attract pests and diseases, so stay proactive!
With these tips, you'll be well-equipped to tackle any issues that arise, ensuring your Schismatoglottis thrives. Next, let's explore how to effectively care for your plant in its new environment.
⚠️ Safety First
This content is for general information and may contain errors, omissions, or outdated details. It is not medical, veterinary advice, or an endorsement of therapeutic claims.
Always consult a qualified healthcare professional before using any plant as food, medicine, or supplement.
Never eat any plant (or feed one to pets) without confirming its identity with at least two trusted sources.
If you suspect poisoning, call Poison Control (800) 222-1222, the Pet Poison Helpline (800) 213-6680, or your local emergency service immediately.
Spotted an error? Please report it here.
Plant your Schismatoglottis 'Thailand' with confidence 🌿 by using Greg's tailored care reminders to ensure a thriving root system and vibrant growth!