🌱 7 Tips for Propagating Your Echeveria
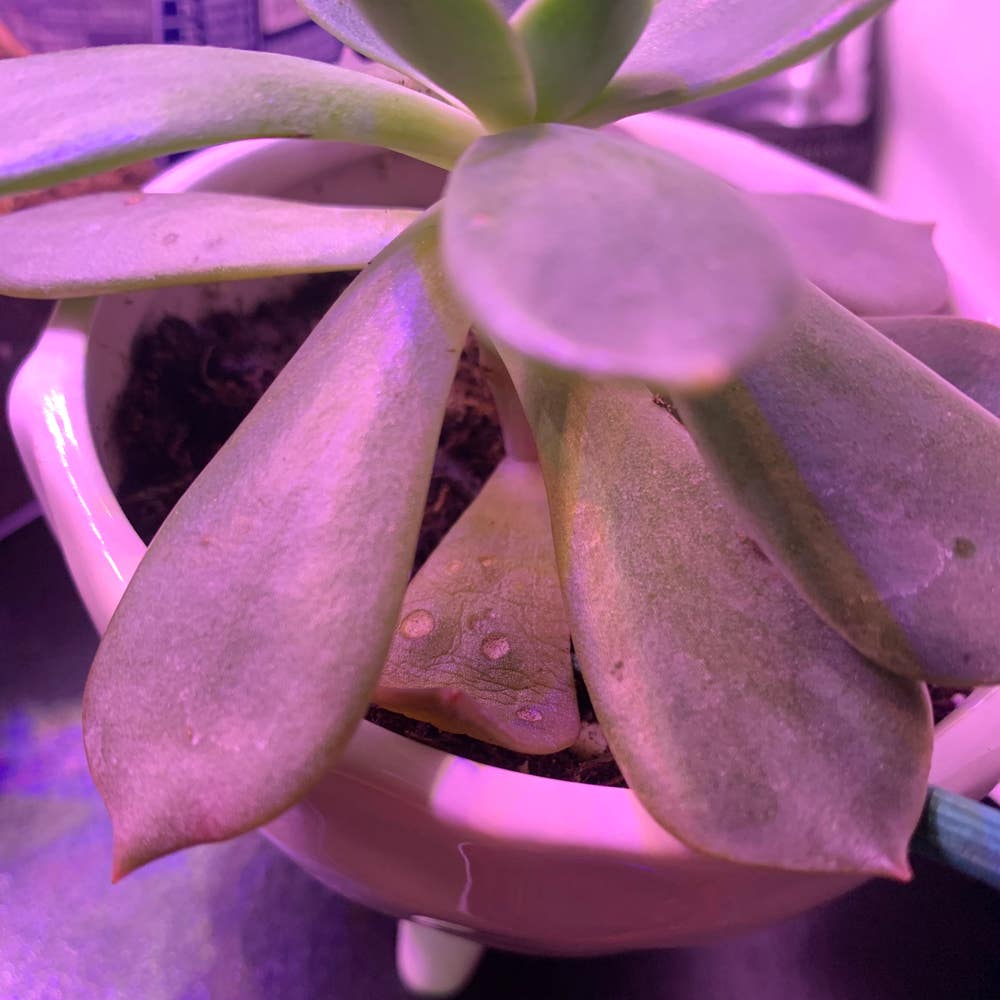
Echeveria prolifica
By the Greg Editorial Team
Sep 30, 2024•4 min read
This article was created with the help of AI so we can cover more plants for you. May contain errors. See one? Report it here.
Unlock vibrant Echeveria propagation 🌱 and transform your garden into a lush paradise of new plants!
- 🌱 Propagate Echeveria using leaf, offsets, or stem cuttings for best results.
- 🪴 Prevent rot by allowing leaves and cuttings to dry before planting in soil.
- 💧 Maintain consistent moisture without overwatering to ensure healthy root development.
Propagation Methods
🌿 Leaf Propagation
Step-by-step guide for leaf propagation (difficulty: easy)
Selecting healthy leaves: Choose plump, mature leaves from the base of the plant. These leaves are more likely to root successfully.
Removing leaves: Gently twist or cut the leaf from the stem to avoid damage. This careful approach helps maintain the integrity of both the leaf and the plant.
Drying period: Allow leaves to dry for 1-2 days in a shaded area to form a callus. This step is crucial for preventing rot when planted.
Planting leaves: Place the callused end on top of well-draining soil, ensuring it does not touch the soil. This method encourages the leaf to develop roots without the risk of decay.
Watering: Lightly mist the soil to keep it slightly moist without overwatering. Too much moisture can lead to rot, so moderation is key.
Monitoring: Check for roots and new growth in 2-4 weeks. Patience is essential, as this is when the magic happens!
🌱 Offsets Propagation
How to identify and remove offsets
Identifying offsets: Look for small rosettes at the base of the main plant. These are baby plants that can be separated for propagation.
Removal technique: Use a clean, sharp knife to cut the offset from the main plant, ensuring some roots are attached. This will help the offset thrive in its new environment.
Replanting offsets successfully (difficulty: moderate)
Drying period: Allow offsets to dry for 1-2 days to form a callus. This helps prevent rot when they are planted.
Planting: Place the offset in well-draining soil, burying it slightly. This gives the roots a good start in their new home.
Watering: Water lightly to settle the soil around the roots. Be careful not to overdo it; a little goes a long way.
Care: Provide bright, indirect sunlight and monitor for root development. This will encourage healthy growth and ensure your offsets flourish.
✂️ Stem Cuttings
Preparing stem cuttings for propagation
Selecting stems: Choose healthy, non-flowering stems with several leaves. This ensures that the cutting has enough energy to root.
Cutting technique: Use a clean, sharp knife to cut a 4-6 inch section from the stem. A clean cut minimizes the risk of disease.
Drying period: Allow cuttings to dry for 1-2 days to form a callus. This is a vital step to prevent rot when planted.
Rooting stem cuttings effectively (difficulty: moderate)
Planting: Insert the callused end into well-draining soil. This is where the roots will emerge.
Watering: Lightly mist the soil to maintain moisture without waterlogging. Consistent moisture is key, but too much can be detrimental.
Monitoring: Expect roots to develop in 2-4 weeks under optimal conditions. Keep an eye out for new growth, which is a good sign!
🐛 Common Problems and Solutions
Issues with rot and overwatering
Symptoms of rot: Yellowing leaves, mushy texture, and foul odor. These signs indicate that your plant is in distress.
Prevention: Ensure well-draining soil and avoid excessive watering. A little caution goes a long way in keeping your Echeveria healthy.
Pests that affect propagating Echeveria
Common pests: Mealybugs and aphids can be troublesome. They sap the plant's energy and can hinder growth.
Control methods: Use insecticidal soap or neem oil for treatment. Regular checks can help catch infestations early.
🛠️ Tools and Materials Needed
Essential tools for propagation
Clean, sharp knife or scissors: Necessary for making precise cuts.
Small pots or trays: Ideal for planting your cuttings and offsets.
Spray bottle: Perfect for watering without overdoing it.
With these methods and tools, you're well on your way to successfully propagating your Echeveria. Next, let’s dive into the common challenges you might face and how to tackle them effectively!
⚠️ Safety First
This content is for general information and may contain errors, omissions, or outdated details. It is not medical, veterinary advice, or an endorsement of therapeutic claims.
Always consult a qualified healthcare professional before using any plant as food, medicine, or supplement.
Never eat any plant (or feed one to pets) without confirming its identity with at least two trusted sources.
If you suspect poisoning, call Poison Control (800) 222-1222, the Pet Poison Helpline (800) 213-6680, or your local emergency service immediately.
Spotted an error? Please report it here.
Transform your Echeveria cuttings into thriving plants 🌿 with Greg's tailored care reminders that ensure your propagation success every step of the way!