🌵 Why Your Prolific Echeveria Leaves Are Falling Over
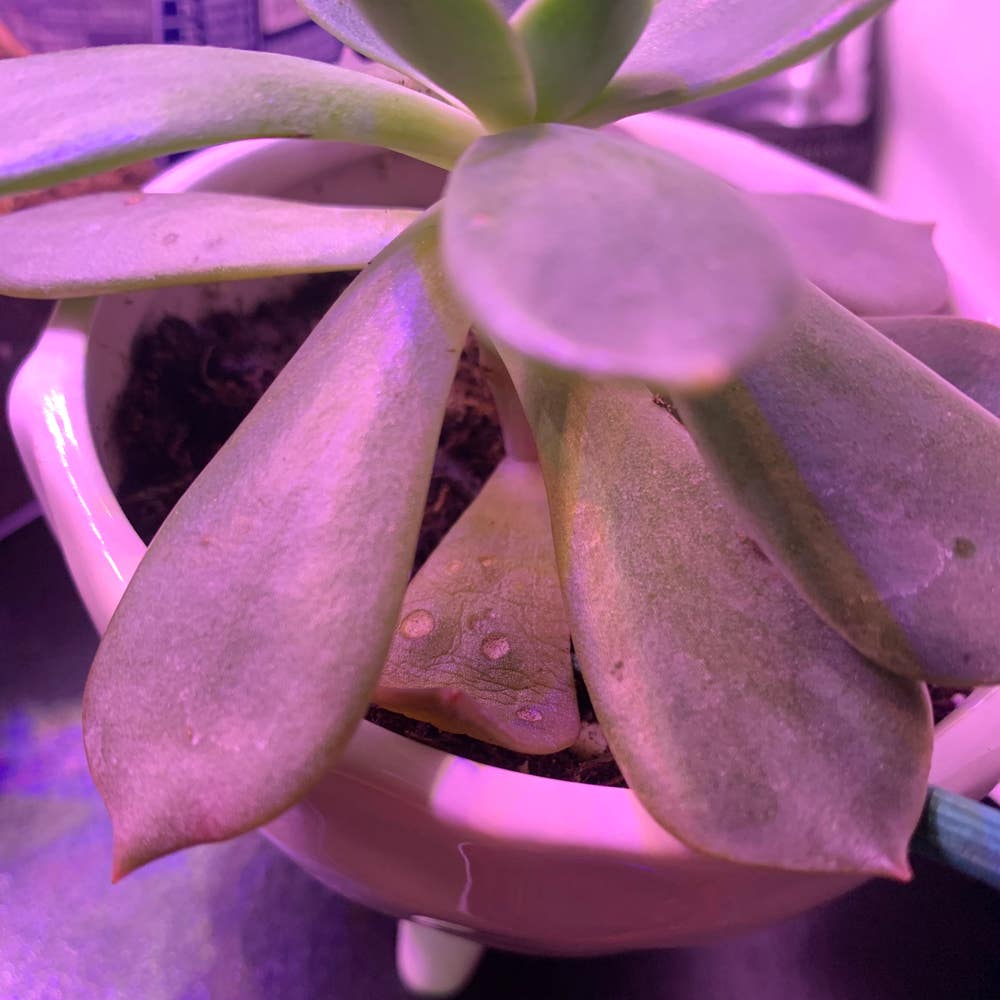
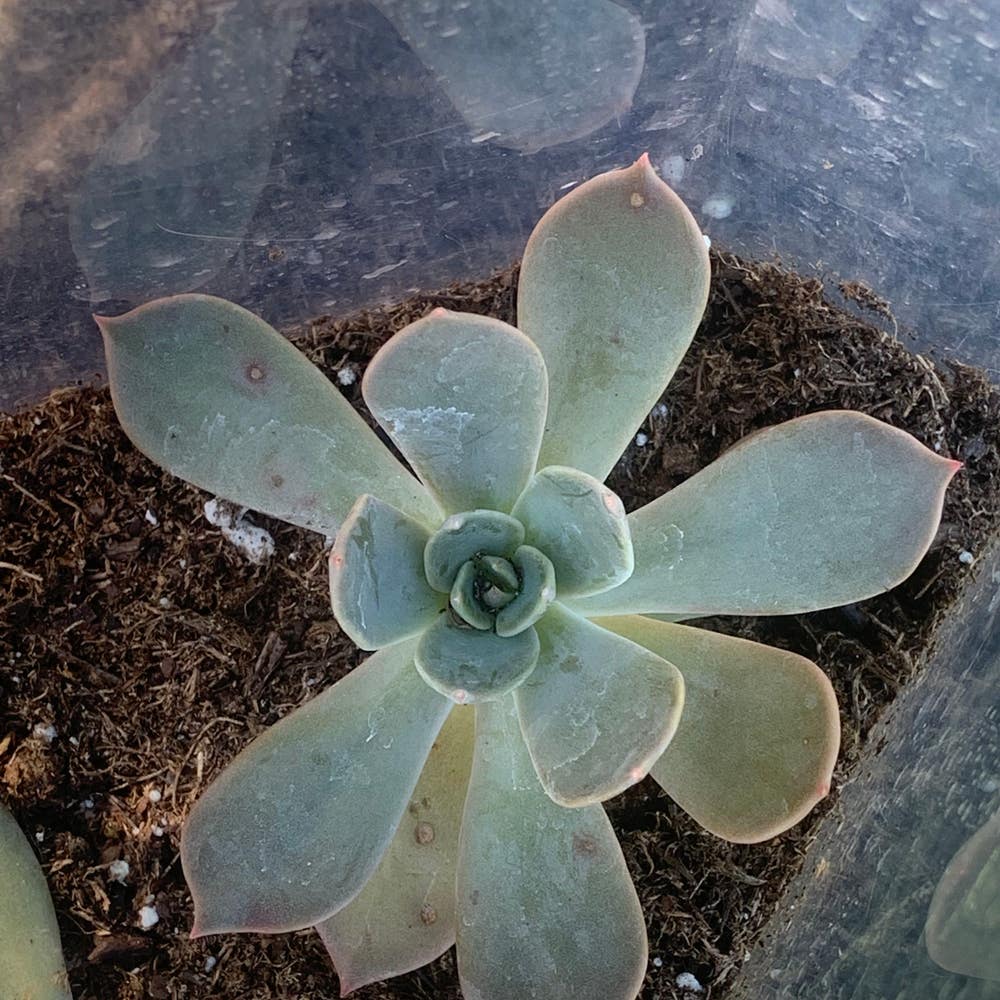
Echeveria prolifica
By the Greg Editorial Team
Sep 30, 2024•7 min read
This article was created with the help of AI so we can cover more plants for you. May contain errors. See one? Report it here.
Master essential care tips 🌱 to keep your Echeveria thriving and prevent frustrating leaf drop!
- 💧 Overwatering and underwatering both cause Echeveria leaves to drop; balance is key.
- 🌱 Well-draining soil prevents root rot, essential for Echeveria health.
- 🌞 Bright, indirect sunlight for 6-8 hours daily promotes optimal growth and stability.
Causes of Leaf Drop
💧 Overwatering and Its Effects
Overwatering is a common culprit behind Echeveria leaf drop. Symptoms include yellowing leaves, a mushy texture, and, ultimately, leaf drop.
Root rot often follows excess moisture, as the roots decay in soggy conditions. This decay can severely impact the plant's health, leading to further leaf loss.
🚰 Underwatering and Dehydration
On the flip side, underwatering can also cause leaves to fall. Look for signs like wrinkled, shriveled leaves that may eventually drop off.
Maintaining consistent moisture levels is crucial for leaf health. A well-watered Echeveria thrives, while neglect can lead to distress.
🌱 Poor Soil Drainage
Soil plays a vital role in your plant's well-being. Echeveria requires well-draining soil to prevent water accumulation.
Signs of poor drainage include water pooling on the surface and slow drying times. If you notice these issues, it’s time to reassess your soil mix.
🐛 Pest Infestations
🦠 Common Pests
Pests can wreak havoc on your Echeveria. Mealybugs appear as white, cotton-like masses on leaves, while aphids are small, green insects that suck sap from the plant.
Both types of pests can weaken leaves, leading to drop and overall plant stress. Regular inspections can help catch these pests early.
⚠️ Effects on Echeveria
The damage from pests can be significant. Weakening leaves not only drop but also stress the entire plant, making it more susceptible to other issues.
🌡️ Environmental Stress
🌡️ Temperature Tolerance
Echeveria thrives in a specific temperature range of 65°F to 80°F (18°C to 27°C). Extreme temperatures can cause leaf drop due to stress from heat or cold.
Keeping your plant within this range is essential for its health. Sudden temperature changes can be particularly harmful.
💨 Humidity Levels
Echeveria prefers low humidity, as high humidity can lead to fungal issues. Signs of humidity stress include leaf drop and discoloration.
Monitoring humidity levels can help maintain a healthy environment for your plant. Adjusting conditions can prevent these stress-related issues.
Understanding these causes of leaf drop is crucial for keeping your Echeveria healthy. Next, we’ll explore how to diagnose the specific problems affecting your plant.
Diagnosing the Problem
🌊 Signs of Overwatering vs. Underwatering
Identifying whether your Echeveria is suffering from overwatering or underwatering is crucial for its health. Overwatering typically presents with yellowing leaves, a mushy texture, and a foul smell emanating from the soil.
In contrast, underwatering manifests as wrinkled leaves, dry tips, and eventual leaf drop. Recognizing these signs early can help you take corrective action before significant damage occurs.
🐛 Identifying Pest Damage
Pest infestations can also lead to leaf drop, so regular visual inspections are essential. Look closely at the leaves and stems for any signs of pests.
Common indicators of pest damage include yellowing leaves, sticky residue, or webbing. If you notice these symptoms, it’s time to investigate further and take action.
🏺 Assessing Soil Conditions
The condition of your soil plays a vital role in your Echeveria's health. A gritty, well-draining mix is essential to prevent water accumulation and root rot.
To check drainage, you can perform simple tests. Stick your finger into the soil; if it feels soggy or retains moisture for too long, it’s time to reconsider your soil mix or watering practices.
By diagnosing these issues early, you can ensure your Echeveria thrives and continues to bring beauty to your space. Next, let’s explore preventive measures to keep your plant healthy and vibrant.
Preventive Measures
Proper Watering Techniques 🌊
Watering your Echeveria correctly is crucial for its health. Aim to allow the soil to dry out completely between waterings to prevent overwatering.
Consider using the soaking method, where you thoroughly water the plant and let excess moisture drain away. Alternatively, top watering can be effective, but ensure it doesn’t lead to soggy soil.
Ideal Soil Mix for Echeveria 🌱
Choosing the right soil mix is essential for Echeveria's growth. A combination of cactus mix, perlite, and sand promotes excellent drainage.
Maintaining a slightly acidic to neutral soil pH (between 6.0 and 7.0) is vital for optimal nutrient absorption. This balance helps keep your plant thriving.
Optimal Light Conditions ☀️
Echeveria thrives in bright, indirect sunlight for about 6-8 hours daily. This light exposure encourages healthy growth and vibrant colors.
If you notice your plant's leaves stretching or becoming pale, it may be a sign of inadequate light. Adjusting its position can make a significant difference.
Regular Pest Inspections 🔍
Conducting weekly inspections for pests can save your Echeveria from potential damage. Early detection is key to preventing infestations.
Keep your plants clean and dust-free to minimize pest attraction. A little maintenance goes a long way in ensuring your plant remains healthy and vibrant.
By implementing these preventive measures, you can significantly reduce the risk of leaf drop and keep your Echeveria flourishing. Next, let’s explore how to diagnose any issues that may arise.
Treatment Solutions
Adjusting Watering Practices 🌊
To correct overwatering, start by reducing the frequency of your watering sessions. Improving drainage is crucial; consider using pots with drainage holes to allow excess water to escape.
Watch for signs of recovery in your Echeveria, such as the return of leaf firmness. Healthy leaves should feel plump and resilient, indicating that your adjustments are working.
Soil Amendments for Better Drainage 🏞️
If your soil retains too much moisture, consider adding perlite or coarse sand. These amendments enhance drainage, preventing root rot and promoting healthier growth.
When re-potting, choose a pot that’s slightly larger than the current one. Ensure it has adequate drainage holes to support your plant's health.
Pest Control Methods 🐛
For pest control, start with organic solutions like neem oil or insecticidal soap. These options are effective and less harmful to beneficial insects in your garden.
If infestations persist, you may need to consider chemical treatments. Use these as a last resort, ensuring you follow the manufacturer's instructions carefully.
Re-potting Techniques for Stressed Plants 🌱
Recognize when your Echeveria needs re-potting, especially if it appears root-bound or drainage is poor. Signs include roots growing out of the pot or water pooling on the surface.
When re-potting, select a pot that allows for growth and use a well-draining soil mix. This will provide your plant with the best chance of thriving in its new environment.
With these treatment solutions, your Echeveria can bounce back from stress and flourish. Next, let’s explore long-term care tips to keep your plant healthy and vibrant.
Long-term Care Tips
🌦️ Seasonal Care Adjustments
Adjusting your watering and light exposure is crucial as the seasons change. During warmer months, your Echeveria may need more water and sunlight, while cooler months require less.
Monitoring temperature changes is equally important. Sudden shifts can stress your plant, leading to leaf drop or other issues.
🔍 Monitoring Plant Health
Regular checks for signs of stress or disease can save your Echeveria from serious problems. Look for yellowing leaves, unusual spots, or any changes in growth patterns.
Keeping a care journal is a great way to track changes and improvements. Documenting your plant's health can help you identify what works and what doesn't over time.
🌱 Propagation Methods to Rejuvenate Plants
Leaf propagation is an effective way to rejuvenate your Echeveria. Simply remove a healthy leaf, let it callous over for a day, and then place it on well-draining soil.
Timing is key for successful propagation. Spring and summer are the best times to propagate, as your plant is in its active growth phase.
By following these long-term care tips, you can ensure your Echeveria thrives for years to come. Next, let’s explore treatment solutions to address any immediate concerns you might have.
⚠️ Safety First
This content is for general information and may contain errors, omissions, or outdated details. It is not medical, veterinary advice, or an endorsement of therapeutic claims.
Always consult a qualified healthcare professional before using any plant as food, medicine, or supplement.
Never eat any plant (or feed one to pets) without confirming its identity with at least two trusted sources.
If you suspect poisoning, call Poison Control (800) 222-1222, the Pet Poison Helpline (800) 213-6680, or your local emergency service immediately.
Spotted an error? Please report it here.
Keep your Echeveria thriving 🌿 by mastering watering and pest control with Greg's tailored reminders and expert tips to prevent leaf drop and ensure vibrant growth!