Propagating My Echeveria prolifica: Step-by-Step Guide
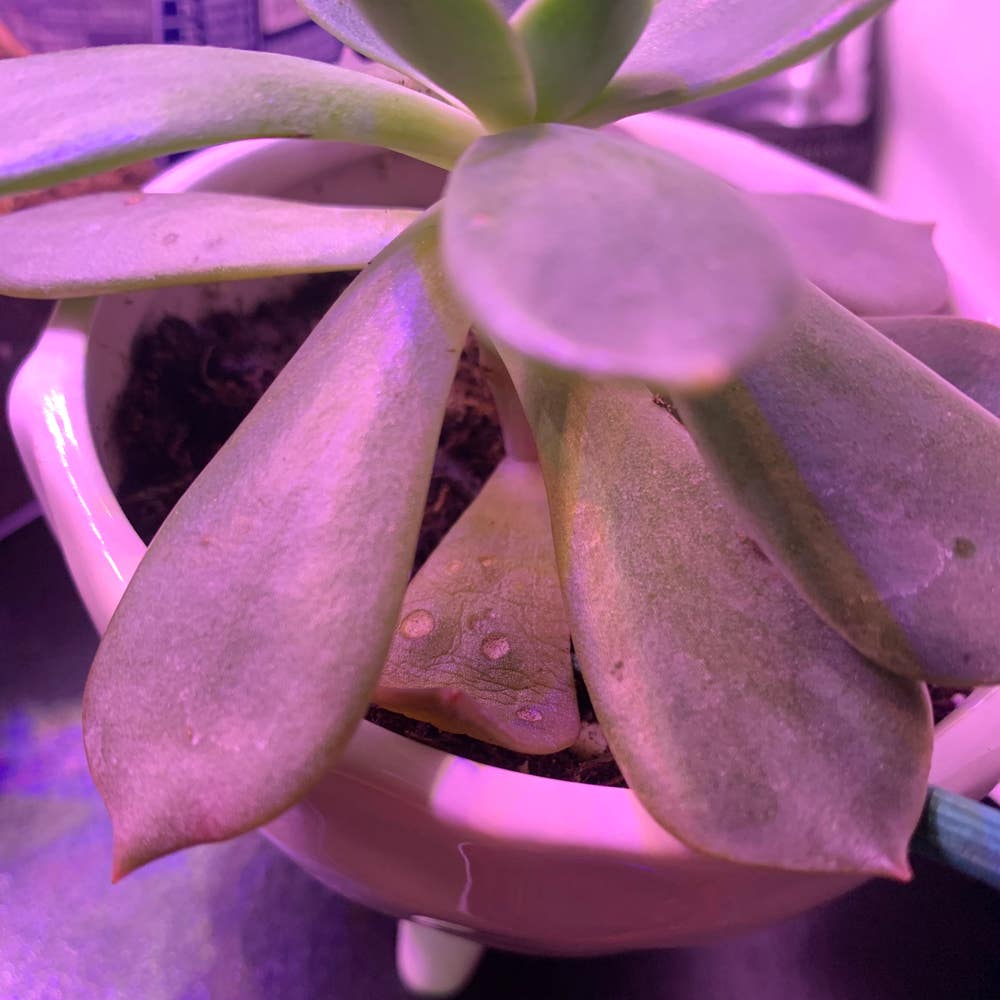
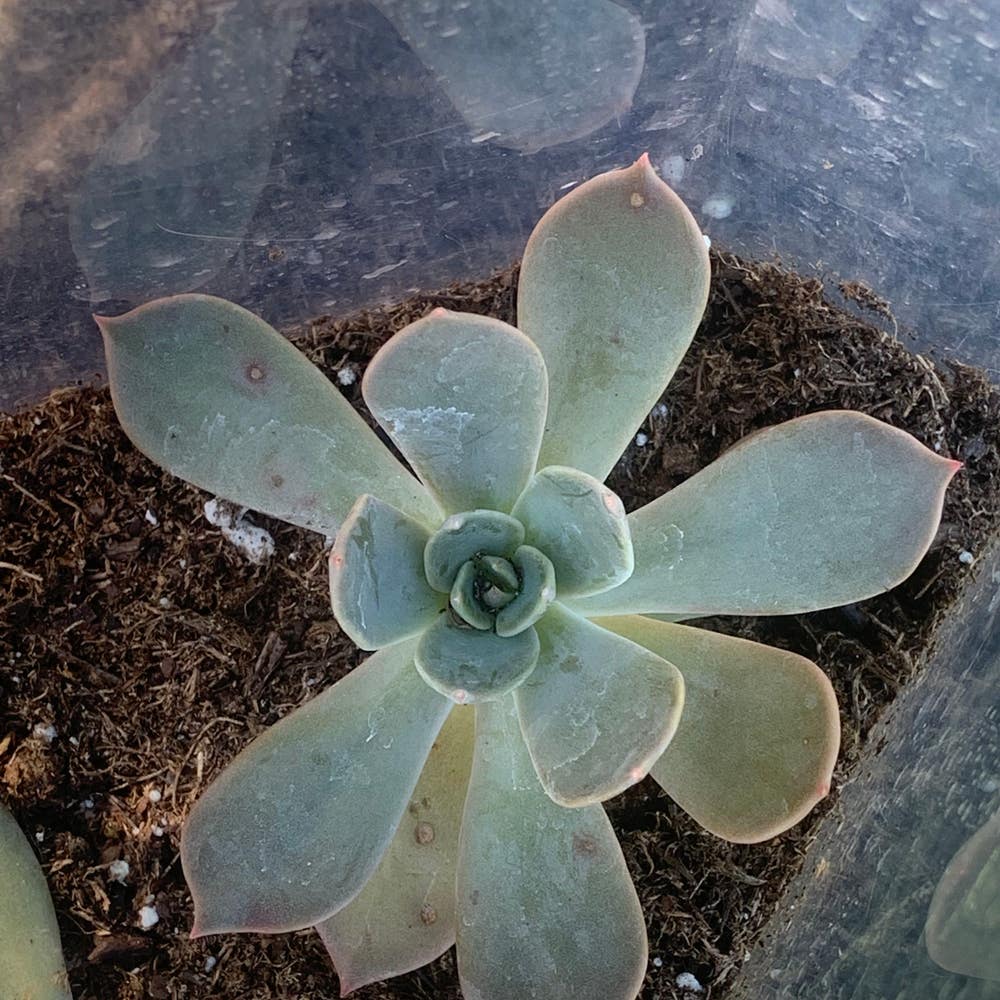
Echeveria prolifica
By the Greg Editorial Team
Jun 18, 2024•6 min read
This article was created with the help of AI so we can cover more plants for you. May contain errors. See one? Report it here.
Propagate your Echeveria prolifica effortlessly 🌱 with this fail-proof, step-by-step guide!
- Leaf, offset, stem cuttings: Three methods to propagate Echeveria prolifica.
- Ideal environment is key: Consistent temperature, indirect light, proper humidity.
- Soil and care matter: Use well-draining soil, moderate watering, and monitor growth.
Choosing Your Propagation Adventure
🍃 Leaf Propagation
To select the right leaf, eye those that are plump and healthy, free of distress or disease. Spots or blemishes? Skip them. They're not the heroes you're looking for.
Prep your chosen leaf by gently twisting it from the stem, ensuring a clean break. Let it callous over for a few days to prevent rot, then lay it atop a well-draining soil mix. Patience is key; roots and rosettes will eventually follow.
🌱 Offsets Propagation
Your Echeveria prolifica will signal readiness for offsets propagation by sprouting pups. These are your future mini-me's.
Separate these babies with care, using a clean, sharp tool to avoid damage. Let them dry for a day or two, then pot them up in succulent-friendly soil. Water sparingly, just enough to dampen the soil without making it soggy.
✂️ Stem Cutting Propagation
Stem cuttings are like taking a snapshot of your plant's best moment. Look for a healthy, bug-free stem and make your move with sterilized scissors.
After cutting, let the stem callous over to prevent any unwanted microbial gatecrashers. Once it's ready, plant it in a gritty, well-draining mix and water with the precision of a bomb defuser—too much and it's game over.

Setting the Stage for Propagation Success
Creating the ideal environment for your Echeveria prolifica's propagation is crucial. Let's dive into the specifics.
🌱 Crafting the Ideal Propagation Environment
Light, temperature, and humidity are the trifecta of successful propagation. Aim for a warm spot with temperatures consistently between 65-75°F. Your propagules need stability; fluctuations are their nemesis. Bright, indirect light is the sweet spot—like a gentle pat on the back, it encourages growth without scorching. Humidity-wise, think tropical—moist, but not a rainforest. A humidity dome or regular misting can help maintain this delicate balance.
🌱 Selecting the Best Soil Mix
The right soil mix is like a comfortable bed for your propagules. Opt for a well-draining mix, perhaps a blend of potting soil with added perlite or sand. It should be just right—not too dense, not too loose. This ensures your Echeveria babies have enough support to stand tall and enough space to let their roots breathe. Remember, waterlogged soil is a silent killer; drainage holes in your containers are non-negotiable.
🌱 Propagation Equipment and Materials
Equip yourself with sharp shears for clean cuts, rooting hormone to boost success, and containers that let roots stretch without drowning. If you're a gadget lover, a heat mat and grow light can be your allies, especially during those cooler months. Keep your tools pristine—dirty equipment is a one-way ticket to disease town.
Remember, propagation isn't a sprint; it's a marathon. Patience and observation are your best friends. Adjust one variable at a time and watch how your plant responds. If you're facing a propagation puzzle, don't panic. Just tweak, wait, and learn.

Nurturing Your Propagating Echeveria prolifica
💧 Watering Wisdom
Moderation is key when it comes to watering your Echeveria prolifica propagules. Embrace the "soak and dry" method; water thoroughly, then let the soil completely dry out before the next watering. Overwatering invites root rot, so keep those saucers empty and your watering can at bay during the plant's dormant winter phase.
👀 The Watchful Eye
Regular check-ins are non-negotiable. Peek at your propagating plants every couple of days, looking for signs of growth or distress. Adjustments might be needed—perhaps a splash more sunlight or a bit less H2O. Remember, you're not just growing plants; you're cultivating resilience.
🌱 Fertilization: Less is More
While Echeveria prolifica isn't a glutton for nutrients, a little bit of fertilizer can go a long way. Opt for a slow-release type in the spring or a diluted liquid fertilizer, but use it sparingly. Think of it as a light seasoning rather than a main course.
🐜 Pest Patrol
Keep an eye out for uninvited guests like mealybugs. Remove dead leaves to prevent pests and fungal diseases from crashing the propagation party. Cleanliness is crucial—sterilize your tools and keep your plant's environment tidy to avoid issues.
📈 Growth Monitoring
As your Echeveria prolifica begins to take root, celebrate every new leaf and rootlet. But stay vigilant; too much enthusiasm with watering or fertilizing can lead to setbacks. Like a good coach, know when to push and when to hold back for the best performance.

Overcoming Propagation Pitfalls
🚰 Spotting Trouble: Early Signs of Propagation Problems
In the world of Echeveria prolifica propagation, vigilance is key. Yellowing leaves or a base that feels like a squishy peach are your first hints that something's amiss. These symptoms often point to overwatering or poor drainage, leading to the dreaded root rot. If your propagules are more stationary than a sloth, consider lighting issues. They need that sweet spot of bright, indirect sunlight—too little and they're lethargic, too much and they're toast.
🛠 Quick Fixes for Common Echeveria prolifica Propagation Issues
Now, let's talk solutions for when your propagation feels like a sinking ship. First off, drainage is your best friend. Ensure your pots have drainage holes to let excess water escape—think of it as an emergency exit for H2O. If pests are partying on your plants, show them the door with insecticidal soap or neem oil. And cleanliness? Non-negotiable. Sterilize your tools like a surgeon to prevent spreading any plant pathogens.
Remember, if you're seeing mushy, brown roots, it's time to ease up on watering. Overwatering is like throwing a pool party for root rot, and nobody wants that. Keep the soil moist, not waterlogged, and let it dry out between waterings. Airflow is your ally, so make sure your propagation station isn't as stuffy as a crowded elevator.
And if you're dealing with slow growers, check your setup. Is it a shade too shady, or is your plant getting a sunburn? Adjust your light levels accordingly. Lastly, if you spot any signs of disease, act with the precision of a ninja—remove affected areas and consider a fungicide if things look grim.
Propagation isn't a walk in the park, but with these tips, you'll be more prepared to tackle those bumps along the road. Keep an eye out, adjust as needed, and remember: every challenge is a chance to grow your green thumb.
⚠️ Safety First
This content is for general information and may contain errors, omissions, or outdated details. It is not medical, veterinary advice, or an endorsement of therapeutic claims.
Always consult a qualified healthcare professional before using any plant as food, medicine, or supplement.
Never eat any plant (or feed one to pets) without confirming its identity with at least two trusted sources.
If you suspect poisoning, call Poison Control (800) 222-1222, the Pet Poison Helpline (800) 213-6680, or your local emergency service immediately.
Spotted an error? Please report it here.
Turn your Echeveria prolifica propagation into a success story 🌟 with Greg's personalized reminders for watering and care checks from this step-by-step guide!