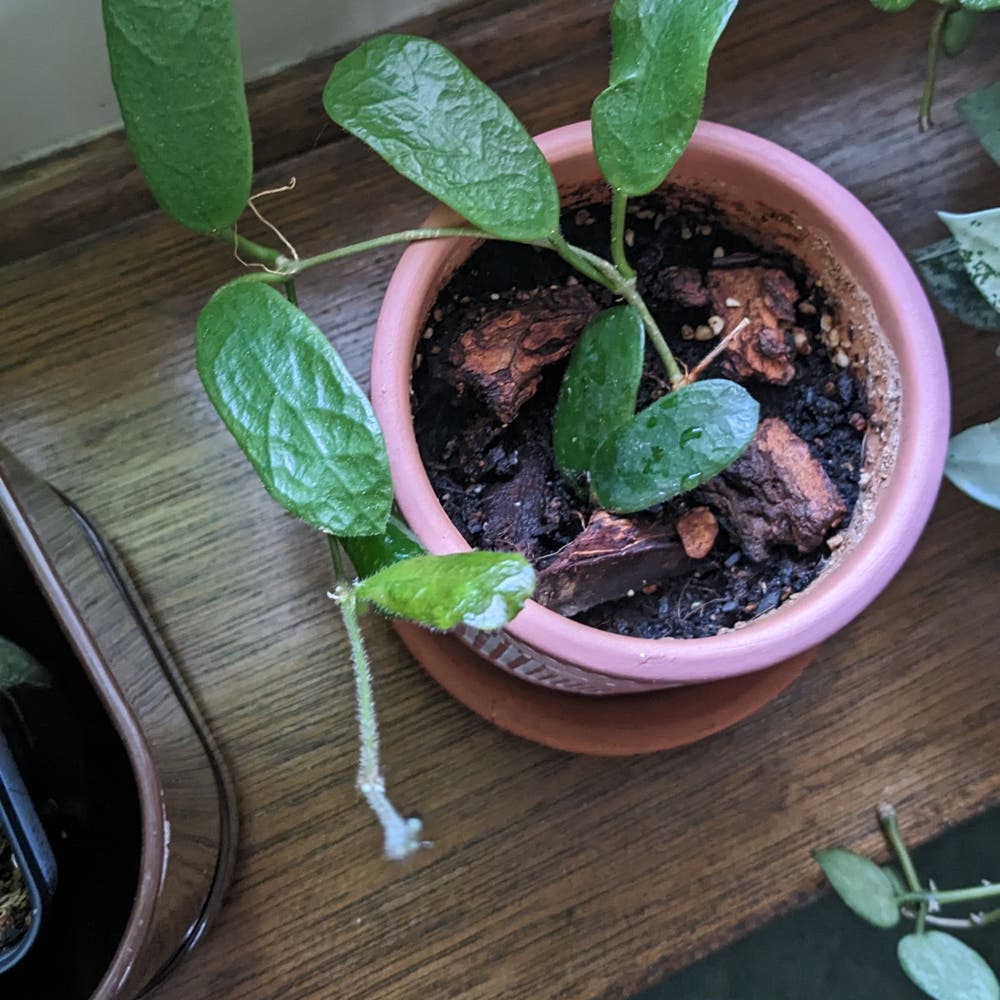
Should I Repot My Hoya rotundiflora?
Hoya rotundiflora
By the Greg Editorial Team
Jun 18, 2024•4 min read
This article was created with the help of AI so we can cover more plants for you. May contain errors. See one? Report it here.
Spot when your Hoya 🌿 needs a new home to keep it thriving and happy – repotting can be a game-changer!
- Roots taking over? Time to repot for better health.
- 🌱 Choose terracotta or ceramic pots for breathability and moisture control.
- Post-repotting tip: Wait a few days before watering.
Spotting the Tell-Tale Signs for Repotting
🌱 Roots Taking Over
Roots circling the pot like they're in a derby? Time to repot. Your Hoya rotundiflora's roots should have room to stretch, not strangle each other in a confined space. Overcrowded roots can't absorb nutrients effectively, which is a one-way ticket to lackluster plant health.
💧 Water Woes
If your watering routine feels like a race against the clock with soil drying out too fast, it's a red flag. Poor drainage can lead to a host of problems, including root rot. A pot that feels as heavy as your conscience after skipping the gym is a sign that water isn't escaping as it should.
🌱 Growth Grinding to a Halt
When your Hoya's growth hits a wall, it's not just being stubborn; it's cramped. Stunted growth often screams for more space. If your plant's putting out the vibe of a sullen teenager in a too-small bedroom, it's probably time for a change.

The Repotting Rundown: A Step-by-Step Guide
🌱 Pre-Repotting Prep
Before you dive into the repotting process, assemble your tools. You'll need a clean pot—preferably one that's 1-2 inches larger than the current one, with drainage holes. Grab a fresh bag of well-draining soil, sterilized scissors or pruning shears, and some gloves to keep your hands clean. Lay out some newspapers to catch any mess.
🌿 The Gentle Unpotting
Now, the moment of truth. Tilt the pot and coax your Hoya rotundiflora out with love and care. If it's stubborn, give the pot a gentle squeeze or tap to help loosen the roots. No yanking allowed! Once free, give the roots a tender massage to shake off the old soil and ease them into the idea of a new home.
🌱 Root TLC
Inspect the roots closely. If you spot any that are damaged or show signs of rot, it's snip-snip time. Be gentle but thorough—healthy roots mean a happy Hoya. If the roots are tangled like last year's Christmas lights, untangle them carefully to prevent damage.
🌿 Settling into a New Abode
Place a layer of your premium soil mix in the bottom of the new pot. Set your Hoya in the center, making sure it's sitting at the same depth as before. Fill in around the roots with more soil, tapping the pot to settle the mix without compacting it. Water thoroughly, but not excessively, to welcome your plant to its upscale new living quarters.

Choosing the Right Pot for Your Hoya
🌱 The Best Fit
Terracotta and ceramic pots are like the VIP section for your Hoya rotundiflora. Terracotta is all about that breathable lifestyle, letting soil moisture evaporate to prevent overwatering mishaps. It's a match if you're a bit heavy-handed with the watering can. Ceramic pots, meanwhile, are terracotta's glammed-up cousins. They hold moisture a tad longer, thanks to their glaze, but don't forget those drainage holes. They're non-negotiable unless you're aiming for a miniature swamp.
🚫 What to Avoid
Steer clear of pots that are all looks and no brains. Plastic pots might be easy on the wallet, but they cling to moisture like a stage-5 clinger. If you're living in a humid climate, they're not doing you any favors. And let's not even talk about pots that are wider in the middle—unless you're into the "smash with a hammer" method of repotting. Choose wisely; your Hoya's home should be a sanctuary, not a trap.

Aftercare: Helping Your Hoya Thrive Post-Repotting
🌱 The First Few Days
After the repotting shuffle, your Hoya rotundiflora needs a moment. Hold off on watering for a few days to let any damaged roots heal. It's like a spa day, but for plants. Place it in a spot with bright, indirect light and keep your watering can at bay. This is the chill phase where it's all about letting your plant breathe and settle.
🌿 Long-term Love
Long-term care is like a slow dance with your Hoya. Consistency is key. Stick to a watering routine that keeps the soil evenly moist without turning your pot into a swamp. If your Hoya starts throwing a fit with droopy leaves, don't freak out. Adjust your care, maybe it's thirsty, or perhaps it's had too much to drink. And remember, no fertilizer for the first month; let's not overwhelm the guest. Keep an eye on the light and temperature—no drastic changes unless you're looking for drama. Your Hoya's comfort zone is a steady environment where it can thrive without stress.
⚠️ Safety First
This content is for general information and may contain errors, omissions, or outdated details. It is not medical, veterinary advice, or an endorsement of therapeutic claims.
Always consult a qualified healthcare professional before using any plant as food, medicine, or supplement.
Never eat any plant (or feed one to pets) without confirming its identity with at least two trusted sources.
If you suspect poisoning, call Poison Control (800) 222-1222, the Pet Poison Helpline (800) 213-6680, or your local emergency service immediately.
Spotted an error? Please report it here.
Repot your Hoya rotundiflora for unstoppable growth 🌿 and let Greg's custom reminders ensure it thrives in its new pot with the perfect post-repot care.