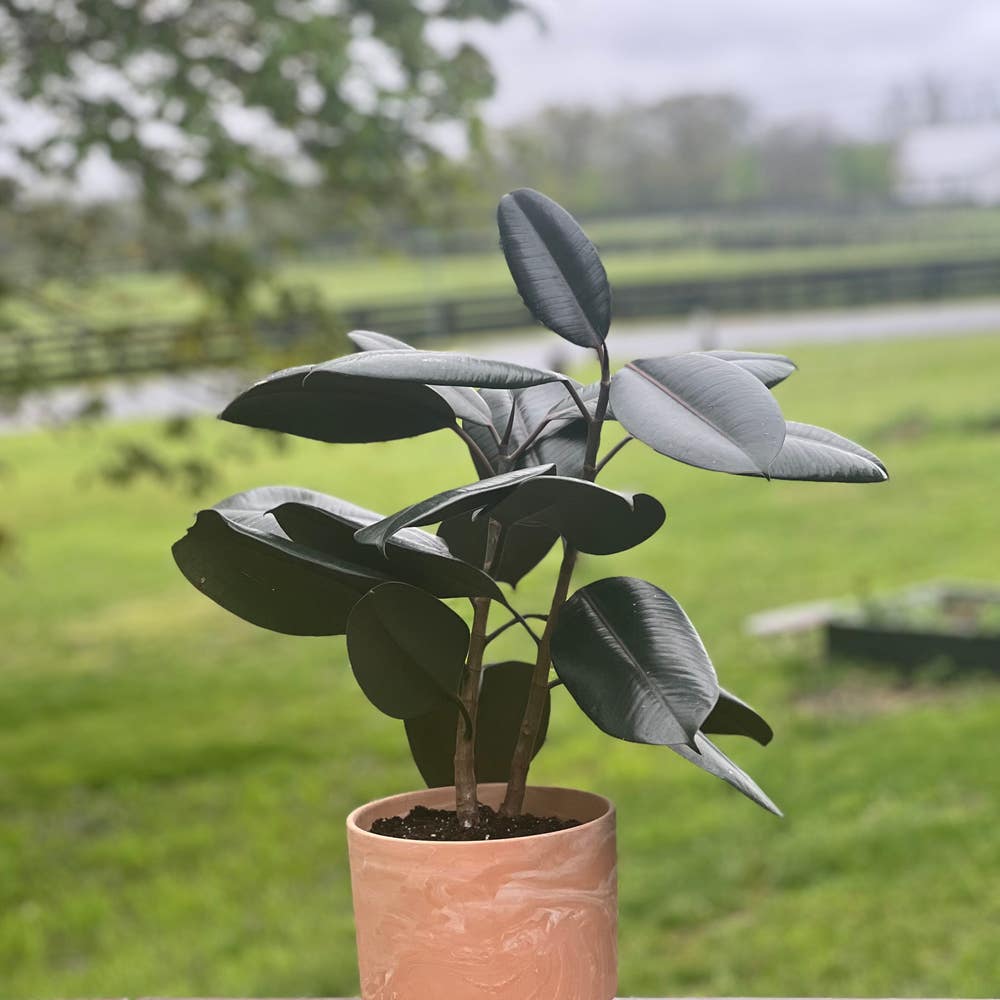
Should I Repot My Burgundy Rubber Tree And If So, How?
Ficus elastica 'Burgundy'
By the Greg Editorial Team
Jun 18, 2024•6 min read
This article was created with the help of AI so we can cover more plants for you. May contain errors. See one? Report it here.
Discover the secret to a thriving Rubber Tree with this essential guide to timely repotting. 🌿🔄
- Root-bound signs? Time to repot, typically every 2-3 years.
- Choose the right pot: 1-2 inches wider, with good drainage.
- Post-repot care: Water correctly and monitor for distress.
When Your Rubber Tree Begs for a New Home
Spotting the tell-tale signs of a root-bound Rubber Tree is like decoding a silent cry for help. Cramped roots making a break for it out of drainage holes or circling the topsoil are your first clue. A growth plateau or water that races through the pot, barely touching the sides, are your plant's way of saying, "I need more room!"
⏰ Timing is Everything: Gauging Repotting Frequency
Timing your repotting right is key. If you're seeing these signs, it's not just quirky behavior—it's a distress signal. Rubber Trees typically need a new pot every two to three years. But watch out for the subtle hints: if your plant is more top-heavy than a bobblehead or if it's thirstier than a marathon runner yet still wilting, it's time to act.
🌱 Root-Bound: The Telltale Heart of Plant Distress
A dense web of roots, resembling a tangled ball of yarn, is your undeniable SOS. It's not just uncomfortable for your plant; it's downright restrictive. And if your green buddy isn't thriving despite your best feeding efforts, consider giving it a new dining room.
💧 Water Behavior: A Liquid Clue
When water zips through the pot, barely moistening the soil, or if your plant wilts despite regular watering, these are signs of a cramped environment. The soil should be a cozy bed, not a rocky cliff that repels water.

Picking the Perfect Pot
📏 Size Matters: Finding the Right Fit for Your Rubber Tree
Size is a big deal when it comes to pots. Get this: your Rubber Tree doesn't care about swimming in space. A pot just 1-2 inches wider than its current home is the goldilocks zone. Too snug, and those roots will throw a fit. Too roomy, and you're inviting root rot to the party.
✨ Material Magic: Weighing the Benefits of Terracotta vs. Plastic vs. Ceramic
Material choice is like picking the right pair of shoes—it's got to be a good fit for the occasion. Terracotta is the breathable sneaker of pots, letting soil and roots breathe easy. Plastic is the rain boot, keeping moisture in check. And ceramic? That's your stylish yet practical choice, less porous but still with some airflow. Choose based on your plant's thirst level and your desire to water more or less.
🚰 Drainage Dilemmas: Ensuring Your Pot Choice Helps, Not Hinders
Drainage isn't just a good idea; it's the law in Plantville. Every pot needs holes, period. No holes, no glory—just a soggy mess and a sad Rubber Tree. And if you're feeling extra, go for a pot that's got its drainage game on point, like terracotta. It's the dynamic duo with your well-draining soil, making sure your Rubber Tree's feet stay dry.

The Repotting Rundown
🛠️ Prepping Your Space and Gathering Your Tools
Before diving into the repotting process, clear a workspace and lay out your tools. You'll need a new pot, fresh potting mix, a trowel, and something to cover the drainage holes—think plastic netting or gauze. Don't forget the watering can for the grand finale.
🌿 The Gentle Uproot: Easing Your Rubber Tree Out
Now, for the main event. Tilt the pot and coax your Rubber Tree out with the tenderness of a bomb defusal expert. If the plant resists, employ a chopstick to persuade the root ball through the drainage holes. In extreme cases, you might have to sacrifice the pot for the greater good.
🌱 Root Review: What to Look For and How to Handle
With the plant out, it's time for a root health check-up. Look for a girdled rootball—a sure sign your plant's been straining at the seams. Tease apart tangled roots with the finesse of a hairdresser to avoid damage. If you encounter any dead or rotting roots, snip them off with clean, sharp shears. Remember, roots are the heartstrings of your plant; handle with care.

Soil Matters: Laying the Foundation
🌱 Mixing it up: creating the ideal potting blend
Your Burgundy Rubber Tree deserves a soil mix that's less like a concrete jungle and more like a plush forest floor. Start with a base of all-purpose potting soil for structure and nutrients. To prevent your plant from choking on its own hydration, add perlite—those popcorn-like bits that keep the soil breathing easy. Coarse sand is your grit factor, ensuring water flows through like a good conversation, not a monologue. And for the moisture-hugging component, peat moss has your back, helping to maintain that just-right pH balance.
🏗️ Layering for success: the importance of proper soil structure
Layering isn't just for fashion; it's vital for your plant's living quarters too. Think of it as setting up a good mattress for your plant's roots. A bottom layer of gravel or broken terracotta shards will act like a mini drainage system, keeping root rot at bay. Above that, your custom soil mix lays the groundwork for growth, with a top dressing of mulch to keep it all snug and protected from the harsh realities of evaporation. Remember, your plant's roots need room to stretch out and a soil structure that doesn't compact over time like a bad habit. Keep it loose, keep it fertile, and your Rubber Tree will be the epitome of indoor jungle chic.
After the Move: Ensuring a Smooth Transition
💦 The First Watering: When and How Much
Watering your Burgundy Rubber Tree post-repot is like hitting the reset button. Give it a thorough soak to help it settle, then back off. Wait until the top inch of soil dries out before you even think about watering again. Overzealous watering is the fast track to root rot city.
🌞 Settling In: Light, Temperature, and the First Few Weeks Post-Repot
Light and temperature are the VIPs of the post-repotting party. Keep your plant in a spot with indirect sunlight to avoid the leafy equivalent of a sunburn. No extremes—think room temperature, the plant equivalent of a comfy sweater.
During the first few weeks, your Rubber Tree is acclimating, not unlike a hermit crab to a new shell. Keep the environment consistent. No dramatic temperature swings or impromptu sunbathing sessions.
Monitor your plant like it's the newest member of your family. Look for signs of distress: drooping, yellowing, or a general aura of unhappiness. Adjust care as needed, but remember, this is a marathon, not a sprint. Patience is your new best friend.
Lastly, resist the urge to fertilize. It's like offering a five-course meal to someone who's just had their wisdom teeth out. Give it time to settle before you introduce any growth boosters.
⚠️ Safety First
This content is for general information and may contain errors, omissions, or outdated details. It is not medical, veterinary advice, or an endorsement of therapeutic claims.
Always consult a qualified healthcare professional before using any plant as food, medicine, or supplement.
Never eat any plant (or feed one to pets) without confirming its identity with at least two trusted sources.
If you suspect poisoning, call Poison Control (800) 222-1222, the Pet Poison Helpline (800) 213-6680, or your local emergency service immediately.
Spotted an error? Please report it here.
Ensure your Rubber Tree grows in comfort 🌿 by using Greg to measure pot size and monitor your home's conditions, making repotting decisions easy and stress-free.