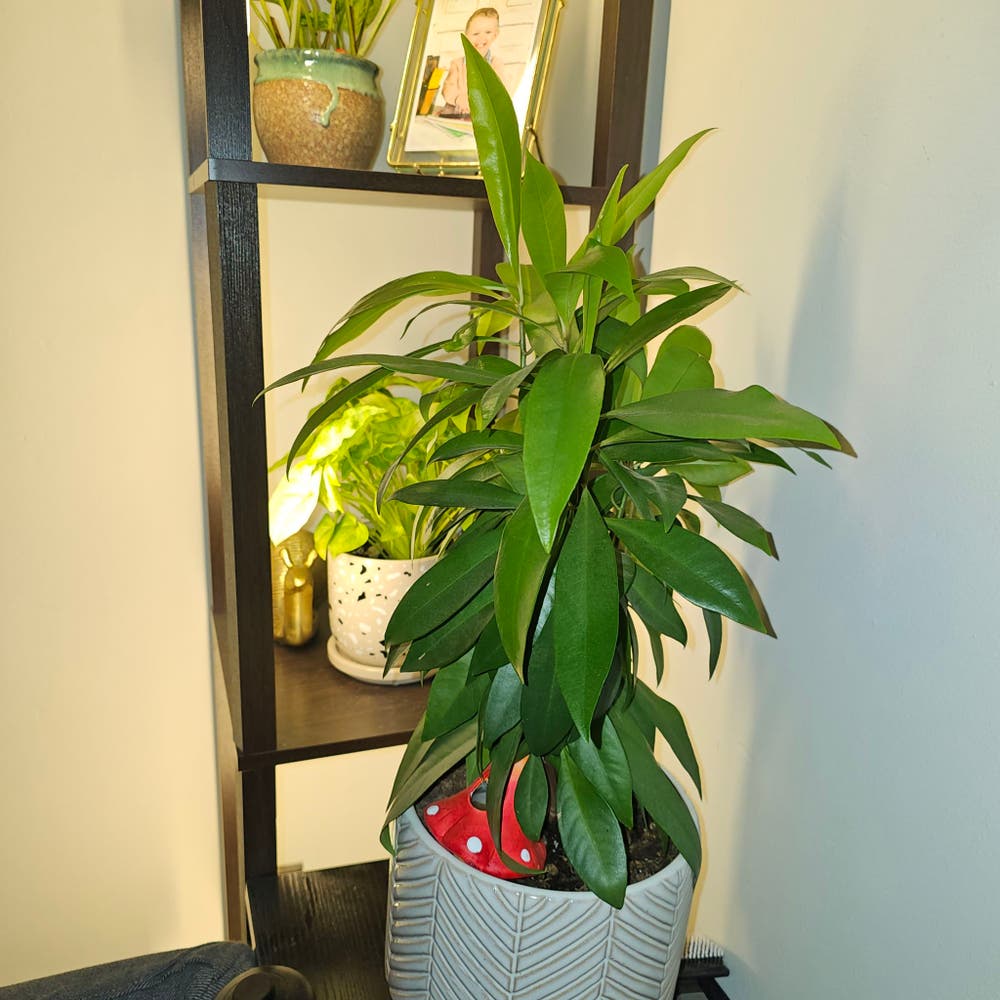
10 Perfect Spots to Grow Island Marlberry 🍓
Ardisia escallonioides
By the Greg Editorial Team
Sep 30, 2024•5 min read
This article was created with the help of AI so we can cover more plants for you. May contain errors. See one? Report it here.
Unlock the secret to thriving Island Marlberry plants with these essential site selection tips! 🌿
- ☀️ Island Marlberry needs 6-8 hours of sunlight for optimal growth.
- 🌱 Well-drained, loamy soils with pH 6.0-7.0 are essential for healthy development.
- 🌿 Companion planting and proper spacing enhance growth and pest resistance.
Ideal Locations for Island Marlberry
🌞 Sunlight Exposure Requirements
Island Marlberry thrives best in full sun to partial shade. Ideally, it needs 6-8 hours of direct sunlight daily to flourish.
This plant shows remarkable tolerance for varying light conditions. However, insufficient sunlight can lead to stunted growth and reduced fruit production.
🌱 Soil Type Preferences
For optimal growth, Island Marlberry requires well-drained soils. This is crucial to prevent root rot, which can be detrimental to the plant's health.
The ideal soil pH is slightly acidic to neutral, ranging from 6.0 to 7.0. Loamy or sandy soils are preferred for their excellent drainage capabilities, while fertile soil enriched with organic matter supports healthy growth.
🌿 Proximity to Other Plants or Structures
Companion planting can significantly benefit Island Marlberry. Positioning it near other native plants enhances growth and pest resistance.
It's essential to avoid overcrowding, ensuring adequate space for its bushy growth habit. Additionally, maintaining a buffer zone from structures prevents shading and competition for resources, allowing the plant to thrive.
This understanding of ideal locations sets the stage for assessing the best spot for your Island Marlberry. Next, we’ll explore how to evaluate sunlight and shade effectively.
Assessing the Best Spot
🌞 Evaluating Sunlight and Shade
To find the perfect spot for your Island Marlberry, start by assessing sunlight exposure. Use sunlight meters or simple observation techniques to gauge how much light different areas receive.
Identify shaded areas by noting shadows cast by trees or buildings throughout the day. Remember, seasonal changes can affect sunlight patterns, so keep an eye on how light shifts with the seasons.
🏞️ Analyzing Soil Conditions
Next, it's crucial to analyze the soil conditions. Soil testing kits are invaluable for determining pH and nutrient levels, ensuring your plants thrive.
Conduct a visual inspection to check for soil texture and drainage capabilities. If the soil falls short, consider amendments like compost to enhance its quality.
🚰 Considering Drainage and Watering Needs
Drainage is a key factor in preventing waterlogging and root diseases. Assess drainage by digging a hole to observe how quickly water is retained.
Adjust your watering frequency based on soil drainage and rainfall patterns. This ensures your Island Marlberry receives just the right amount of moisture for optimal growth.
By carefully evaluating sunlight, soil, and drainage, you can create the ideal environment for your Island Marlberry to flourish. Next, let’s explore microclimates and environmental factors that can further enhance your growing conditions.
Microclimates and Environmental Factors
🌬️ Wind Protection Strategies
Wind can be a silent enemy for your Island Marlberry. Protecting these plants from strong gusts is crucial to prevent damage to their bushy growth.
Natural barriers, like hedges or fences, can effectively shield your plants. Positioning your Island Marlberry strategically can also minimize wind exposure, ensuring they thrive in a more stable environment.
🌡️ Temperature Variations and Their Impact
Island Marlberry flourishes in tropical and subtropical climates, making temperature a key factor in their growth. They thrive best within a specific temperature range, so understanding local conditions is essential.
Seasonal temperature fluctuations can affect both growth and fruiting. Be prepared with frost protection strategies to safeguard your plants during unexpected cold snaps, ensuring they remain healthy and productive.
As you consider these environmental factors, remember that a little foresight can lead to a flourishing garden. Next, we’ll explore practical tips for selecting the ideal site for your Island Marlberry.
Practical Tips for Site Selection
🛠️ Tools for Assessing Soil Quality
To ensure your Island Marlberry thrives, start with the right tools. Soil testing kits are essential for analyzing pH and nutrient levels, giving you a clear picture of your soil's health.
A moisture meter helps gauge soil moisture levels, ensuring your plants get just the right amount of water. Don't forget your trowels and spades for digging and examining soil texture; these tools are invaluable for hands-on assessments.
☀️ How to Test Sunlight Exposure
Understanding sunlight exposure is crucial for optimal growth. Use simple observation techniques to monitor sunlight patterns throughout the day, noting how light shifts in your garden.
For a more precise measurement, a sunlight meter can quantify light intensity in different areas. Document your findings over a week to identify the best spots for your Island Marlberry.
🌱 Companion Planting Considerations
Companion planting can significantly enhance your gardening success. It promotes growth and pest resistance, creating a healthier ecosystem for your plants.
Consider pairing Island Marlberry with native plants that thrive in similar conditions. Make sure to follow spacing guidelines to provide adequate room for each plant's growth, preventing overcrowding and competition for resources.
These practical tips will set you on the right path for selecting the perfect site for your Island Marlberry. With the right tools and knowledge, you'll create an environment where your plants can flourish. Next, let’s dive into common mistakes to avoid during site selection.
Common Mistakes in Site Selection
🚰 Overlooking Drainage Issues
Poor drainage can be a silent killer for your Island Marlberry. Look out for signs like water pooling or soggy soil, which indicate that your plants might be sitting in a puddle.
If you notice these issues, consider amending the soil with organic matter or even relocating your plants to a better-draining area. A little proactive effort can save you from future headaches.
🌞 Ignoring Sunlight Patterns
Inadequate sunlight can lead to poor growth and disappointing fruit production. If your plants aren’t getting enough light, they’ll struggle to thrive.
Make it a habit to observe sunlight patterns throughout the seasons. This way, you can adjust your site selection based on how light shifts over time.
🏢 Misjudging Proximity to Structures
Planting too close to buildings can create competition for resources and lead to unwanted shading. This can stunt your Island Marlberry's growth and reduce its fruit yield.
To avoid this, maintain a recommended buffer zone around your plants. Giving them enough space will ensure they have room to flourish without interference.
By steering clear of these common pitfalls, you’ll set your Island Marlberry up for success. Next, let’s explore practical tips for site selection to further enhance your planting strategy.
⚠️ Safety First
This content is for general information and may contain errors, omissions, or outdated details. It is not medical, veterinary advice, or an endorsement of therapeutic claims.
Always consult a qualified healthcare professional before using any plant as food, medicine, or supplement.
Never eat any plant (or feed one to pets) without confirming its identity with at least two trusted sources.
If you suspect poisoning, call Poison Control (800) 222-1222, the Pet Poison Helpline (800) 213-6680, or your local emergency service immediately.
Spotted an error? Please report it here.
Maximize your Island Marlberry's growth potential with Greg's tailored tips 🌞 for perfect sunlight and soil conditions, ensuring a flourishing garden!