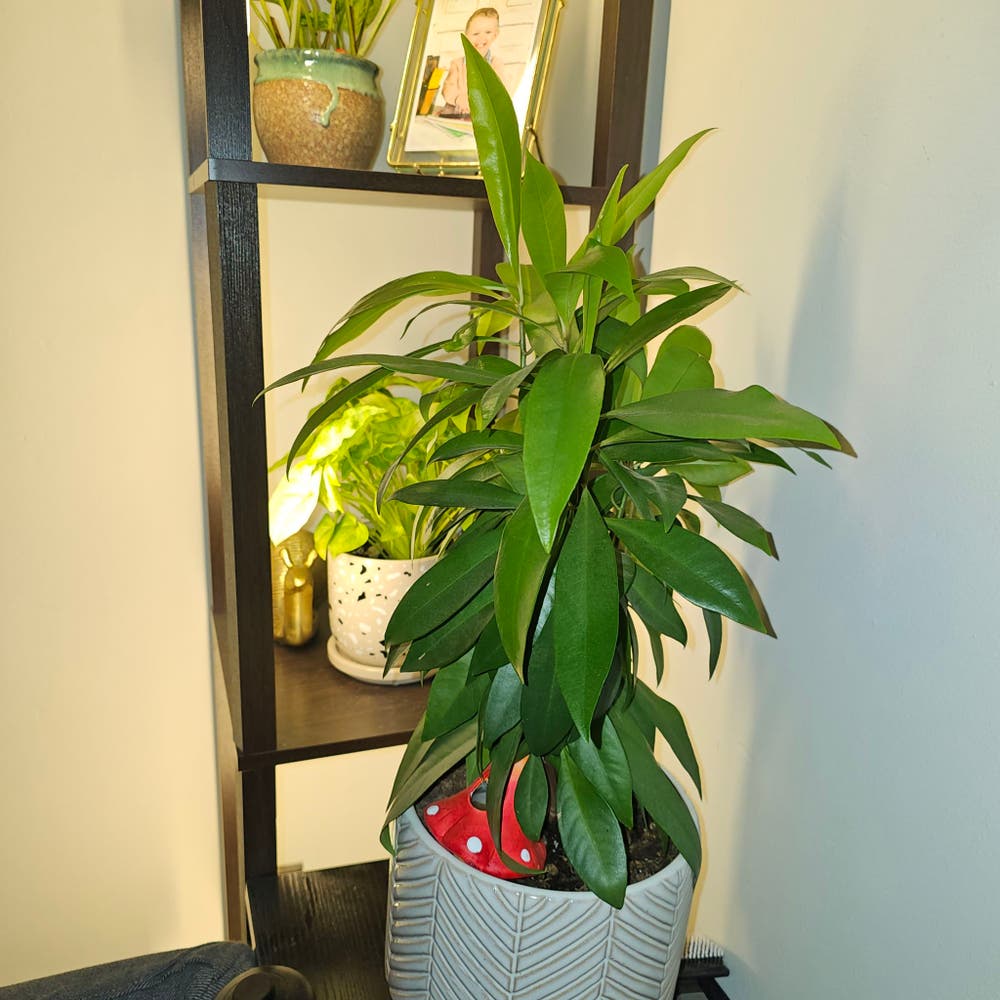
How Do I Propagate My Island Marlberry?
Ardisia escallonioides
By the Greg Editorial Team
Mar 05, 2024•5 min read
This article was created with the help of AI so we can cover more plants for you. May contain errors. See one? Report it here.
Discover the joy of growing lush Island Marlberry at home 🏡 with our foolproof propagation guide! 🌿
- 🌱 Choose healthy seeds and stems, and use rooting hormone for cuttings.
- Spring propagation aligns with the plant's growth phase for better success.
- Monitor and adjust care post-propagation to prevent and address issues.
Choosing Your Propagation Adventure
🌱 Seed Propagation: From Tiny Seeds to Lush Shrubs
Harvesting Island Marlberry seeds is a delicate affair. Look for mature, healthy fruits and extract the seeds with care. Shiny, plump seeds are your best bet for a successful start.
🌱 Prepping the Seeds
Clean the seeds gently, removing any clinging fruit matter. A well-draining propagation mix is crucial—think equal parts coarse sand, ground pine bark, and peat moss. Moisten the mix, but don't drown it.
🌱 Sowing the Seeds
Plant seeds at a shallow depth. They're not fans of the deep dive. Consistent moisture is key, but avoid waterlogging. Think of it as a spa day, not a swim meet.
🌿 Stem Cuttings: Cloning Your Favorite Plant
Selecting stems for cuttings is like casting for a blockbuster—choose the healthiest, most robust stars. A node should be present because that's where the magic happens.
🌿 Rooting Hormone and Planting
Dip the cut end in rooting hormone to boost your chances. It's like a pep talk for roots. Plant the cutting in moist soil and maintain tropical humidity levels. Patience is your co-pilot here.
🌱 Air Layering: Aerial Roots for New Growth
Air layering is like a high-wire act for plants. Choose a healthy stem and make a slit through a leaf bud. This is where roots will sprout.
🌱 Moisture and Support
Wrap the wound with moist sphagnum moss and secure it with plastic to create a mini greenhouse. Check moisture levels regularly; it's a fine line between a root spa and a root swamp.
Timing is Everything: When to Propagate
🌱 Seasonal Considerations for Propagation Methods
Spring is your ally when propagating Island Marlberry. This season offers the perfect cocktail of increasing temperatures and longer days, which are like a wake-up call for plants to get growing. For seed propagation, synchronize with nature's rhythm; sow seeds as winter says its goodbyes. Stem cuttings and air layering also thrive in spring's embrace, benefiting from the full growing season ahead.
Understanding the Island Marlberry Growth Cycle
The Island Marlberry has its own growth cycle that you'll need to buddy up with for propagation success. It's not just about picking a sunny day to start snipping away. You need to catch the plant when it's in its active growth phase. This is when the plant is expanding its green empire and is more likely to forgive you for taking a piece of it to start a new regime. Keep an eye on the plant's lifecycle; timing your propagation with this cycle is like catching the right wave to surf – do it right, and you'll ride smoothly to shore.
Nurturing New Life: Post-Propagation Care
🌱 From Seedling to Sapling: The Early Days
After the initial thrill of germination, seedlings demand your undivided attention. Light is their lifeblood, so provide a warm, bright spot away from the harshness of direct sunlight. Watering is like a spa for roots; keep the soil moist but not waterlogged to avoid the dreaded root rot. As for temperature, think cozy sweater weather for your green babies.
🌿 Rooted and Ready: Transplanting Cuttings
When roots peek out like curious children, it's transplant time. Start with a drainage layer to prevent soggy feet. A nutrient-rich, pre-fertilized potting mix is like a welcome mat for new roots. Acclimating your cuttings to brighter conditions should be as gradual as easing into a hot bath. Keep the humidity up and the soil moist to encourage growth without the shock.
🌱 Branching Out: Aftercare for Air Layering
Patience is key for air-layered offspring. Once roots are visible, it's time for the big snip. Treat the new plant and the mother with the care of a surgeon post-operation. High humidity and a potting mix similar to the cuttings' will keep the new plant happy. For the mother, strong light encourages recovery, like a well-deserved vacation after a marathon.
Overcoming Propagation Pitfalls
🌬️ Identifying Common Issues
Good airflow is crucial in preventing fungal diseases during propagation. Ensure your space isn't as still as a museum exhibit. For cuttings reluctant to root, inspect your technique. Nodes are critical for root development; always cut near them. Sterilize your tools to avoid introducing pathogens, like an operating room for plants.
🌱 Addressing Poor Rooting and Disease
If roots are more elusive than a good parking spot during rush hour, consider a rooting hormone. Lighting and temperature are the stage managers for growth, so keep them in check. Root rot is a sign of overwatering or poor drainage; keep soil moist, not soggy. Use pots with drainage holes to avoid waterlogging.
🌿 Environmental Stressors
Propagation can feel like a high-stakes game of patience. Leaf curling or yellowing indicates stress; adjust your care routine accordingly. If your plant's leaves look more defeated than a sunken soufflé, check your watering habits and light conditions. Too much love in the form of water can be just as harmful as neglect.
🕵️ Monitoring and Adjusting
Keep a vigilant eye on your propagations, like a hawk on the hunt. Early detection of issues can save your plants from a downward spiral. If you spot roots that resemble overcooked spaghetti, it's intervention time. Adjust one variable at a time and monitor the plant's response. Remember, it's a marathon, not a sprint.
🚫 Preventing Future Issues
Prevention is the best defense. Like a good sunscreen, it stops problems before they start. Ensure your propagation area has adequate airflow and isn't a humidity haven. Be ready with a fungicide if fungal infections crash your plant party. And always, always keep an eye out for the early signs of trouble.
⚠️ Safety First
This content is for general information and may contain errors, omissions, or outdated details. It is not medical, veterinary advice, or an endorsement of therapeutic claims.
Always consult a qualified healthcare professional before using any plant as food, medicine, or supplement.
Never eat any plant (or feed one to pets) without confirming its identity with at least two trusted sources.
If you suspect poisoning, call Poison Control (800) 222-1222, the Pet Poison Helpline (800) 213-6680, or your local emergency service immediately.
Spotted an error? Please report it here.
Ensure your Island Marlberry cuttings thrive 🌿 with Greg's custom care reminders and a community ready to support your propagation journey.