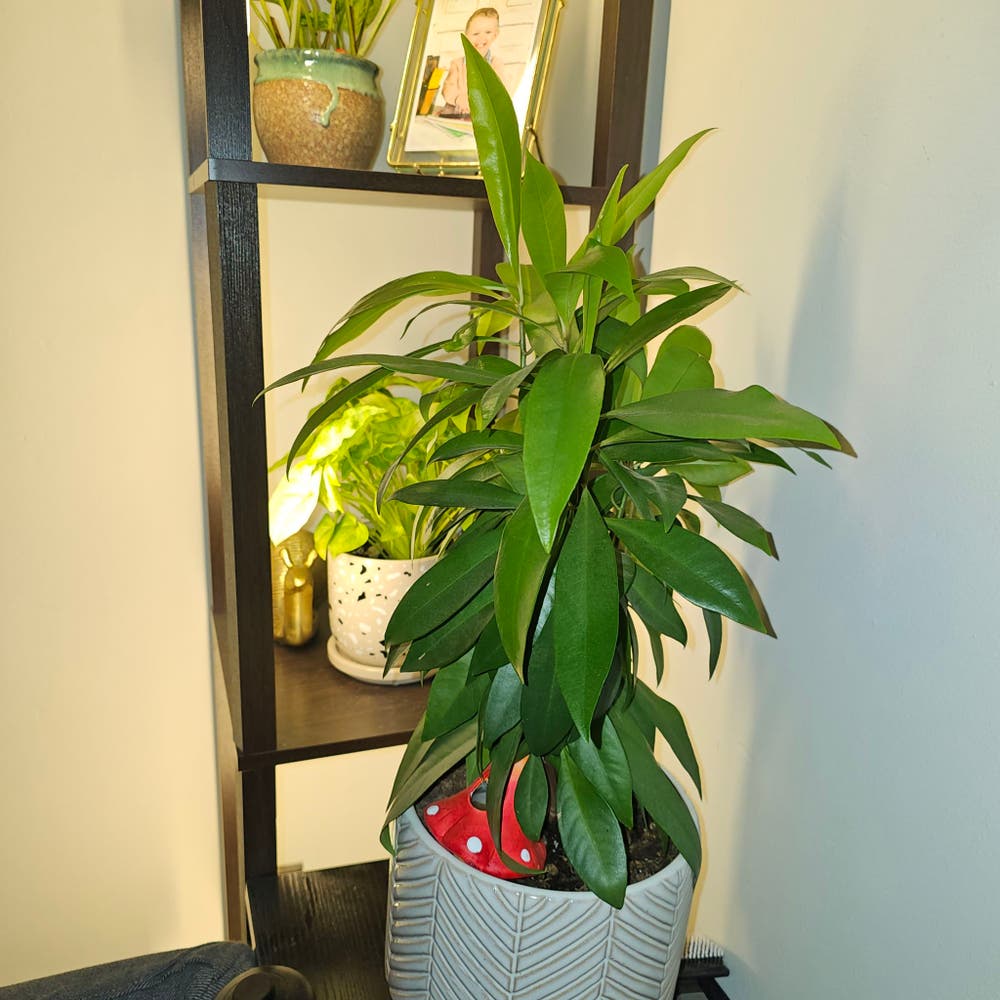
🍹 3 Indoor Marlberry Care Hacks
Ardisia escallonioides
By the Greg Editorial Team
Sep 30, 2024•6 min read
This article was created with the help of AI so we can cover more plants for you. May contain errors. See one? Report it here.
Unlock the secret to a thriving indoor island marlberry with essential care tips! 🌱
- 💡 Bright, indirect light is crucial; avoid direct sunlight to prevent leaf scorch.
- 🌡️ Maintain 65°F to 80°F temperatures and 50%-70% humidity for optimal marlberry health.
- 🌱 Feed every 4-6 weeks with balanced fertilizer to prevent nutrient deficiencies.
Light Requirements
Ideal Indoor Light Levels 🌞
Bright, indirect light is the sweet spot for your indoor island marlberry. Direct sunlight can scorch those delicate leaves, while low light conditions may lead to stunted growth and leaf drop.
Role of Grow Lights 💡
When natural light falls short, grow lights come to the rescue. They’re especially useful in low-light conditions, and you have options: LED, fluorescent, and incandescent.
Choosing the Best Grow Light
LED lights are the champions here. They’re energy-efficient and emit the right spectrum for growth, making them a top choice. For small to medium plants, aim for a wattage between 20-40 watts.
Placement and Duration of Grow Light Exposure 🚀
Position your grow lights 12-24 inches above the plant for optimal results. Aim for 12-14 hours of light exposure each day to keep your marlberry thriving.
With the right light setup, your indoor island marlberry will flourish beautifully. Next, let’s dive into temperature and humidity control to create the perfect environment for your plant.
Temperature and Humidity Control
Temperature Requirements 🌡️
Maintaining the right temperature is crucial for your Indoor Island Marlberry. Aim for a cozy range between 65°F to 80°F (18°C to 27°C) to keep your plant thriving.
Avoid sudden temperature changes and cold drafts, as these can stress your plant and hinder its growth.
Humidity Needs 💧
Humidity plays a vital role in the health of your Marlberry. This plant thrives in high humidity levels, ideally between 50% to 70%.
If you notice leaf browning or curling, it’s a sign that the humidity might be too low for comfort.
Humidity Control Strategies 🌬️
To create a humid environment, consider using a humidifier. This is especially effective in dry indoor conditions.
Grouping your plants together can also help, as they create a microclimate that retains moisture.
Another simple trick is to place a tray filled with water and pebbles under your pot. This not only boosts humidity but also adds a decorative touch to your plant setup.
With the right temperature and humidity, your Indoor Island Marlberry will flourish, setting the stage for healthy growth and vibrant leaves. Next, let’s explore the ideal soil and fertilization practices to keep your plant nourished.
Soil and Fertilization
Ideal Soil Type 🌱
For your Indoor Island Marlberry, the right soil is crucial. Aim for a well-draining mix rich in organic matter to keep your plant thriving.
Recommended Soil Mix 🧪
A great formula to follow is 50% potting soil, 30% perlite, and 20% peat moss. This combination ensures proper aeration and moisture retention.
Fertilization Tips 💧
Fertilization is key to robust growth. Use a balanced, water-soluble fertilizer with an NPK ratio of 10-10-10.
Frequency of Fertilization 📅
Feed your plant every 4-6 weeks during the growing season, which typically spans spring and summer. This routine helps replenish nutrients as your plant actively grows.
Signs of Nutrient Deficiency 🚨
Keep an eye on your plant's leaves. Yellowing leaves often indicate a nitrogen deficiency, while stunted growth can signal a lack of essential nutrients.
Quick Reference for Nutrient Issues 📊
| Issue | Symptoms | Solution |
|---|---|---|
| Nitrogen Deficiency | Yellowing leaves | Apply nitrogen-rich fertilizer |
| Nutrient Deficiency | Stunted growth | Use a balanced fertilizer |
By ensuring your Indoor Island Marlberry has the right soil and nutrients, you set the stage for a healthy, vibrant plant.
Next, let’s dive into the watering needs to keep your plant hydrated and happy.
Watering Needs
🌊 How to Determine When to Water
To keep your Indoor Island Marlberry thriving, check the top inch of soil regularly. Water the plant when it feels dry to the touch, ensuring you’re not drowning it.
For added precision, consider using the finger test or a moisture meter. These tools can help you gauge the moisture levels accurately, preventing over or under-watering.
🚨 Signs of Overwatering and Underwatering
Overwatering can lead to yellowing leaves, root rot, and mushy stems. If you notice these signs, it’s time to reassess your watering routine.
On the flip side, underwatering manifests as wilting, dry leaves, and crispy edges. Keeping an eye on these indicators will help you maintain a healthy plant.
Understanding your Indoor Island Marlberry's watering needs is crucial for its overall health. With the right care, your plant will flourish, setting the stage for the next topic: common issues and maintenance.
Common Issues and Maintenance
🐞 Pest Prevention Strategies
Pests can be a real headache for indoor island marlberry plants. Common culprits include spider mites, aphids, and mealybugs.
To keep these pests at bay, conduct regular inspections of your plants. Maintaining humidity levels can also deter pests, as they thrive in dry conditions. If you spot any unwanted guests, using insecticidal soap can be an effective treatment.
🦠 Common Diseases and How to Treat Them
Overwatering is a leading cause of root rot, which can devastate your plant. To combat this, improve drainage and reduce watering frequency.
Leaf spot, often caused by fungal infections, can also plague your marlberry. Treat it with fungicides and ensure good air circulation around the plant to minimize the risk.
✨ Tips for Maintaining Appearance and Health
Keeping your plant looking its best is easier than you might think. Regularly wipe the leaves to remove dust, enhancing photosynthesis and overall health.
Don't forget to prune dead or yellowing leaves. This encourages new growth and keeps your plant vibrant.
🌱 Best Locations for Optimal Growth
Finding the right spot for your marlberry is crucial. Ideally, place it near east or west-facing windows where it can receive filtered light.
Avoid locations near heating vents or drafty windows, as these can create an unstable environment that your plant won't appreciate.
Transitioning from pest control to proper watering techniques can further enhance your indoor gardening experience.
⚠️ Safety First
This content is for general information and may contain errors, omissions, or outdated details. It is not medical, veterinary advice, or an endorsement of therapeutic claims.
Always consult a qualified healthcare professional before using any plant as food, medicine, or supplement.
Never eat any plant (or feed one to pets) without confirming its identity with at least two trusted sources.
If you suspect poisoning, call Poison Control (800) 222-1222, the Pet Poison Helpline (800) 213-6680, or your local emergency service immediately.
Spotted an error? Please report it here.
Transform your indoor island marlberry into a lush paradise 🌿 with Greg's tailored light and watering reminders that ensure your plant thrives in its perfect environment!