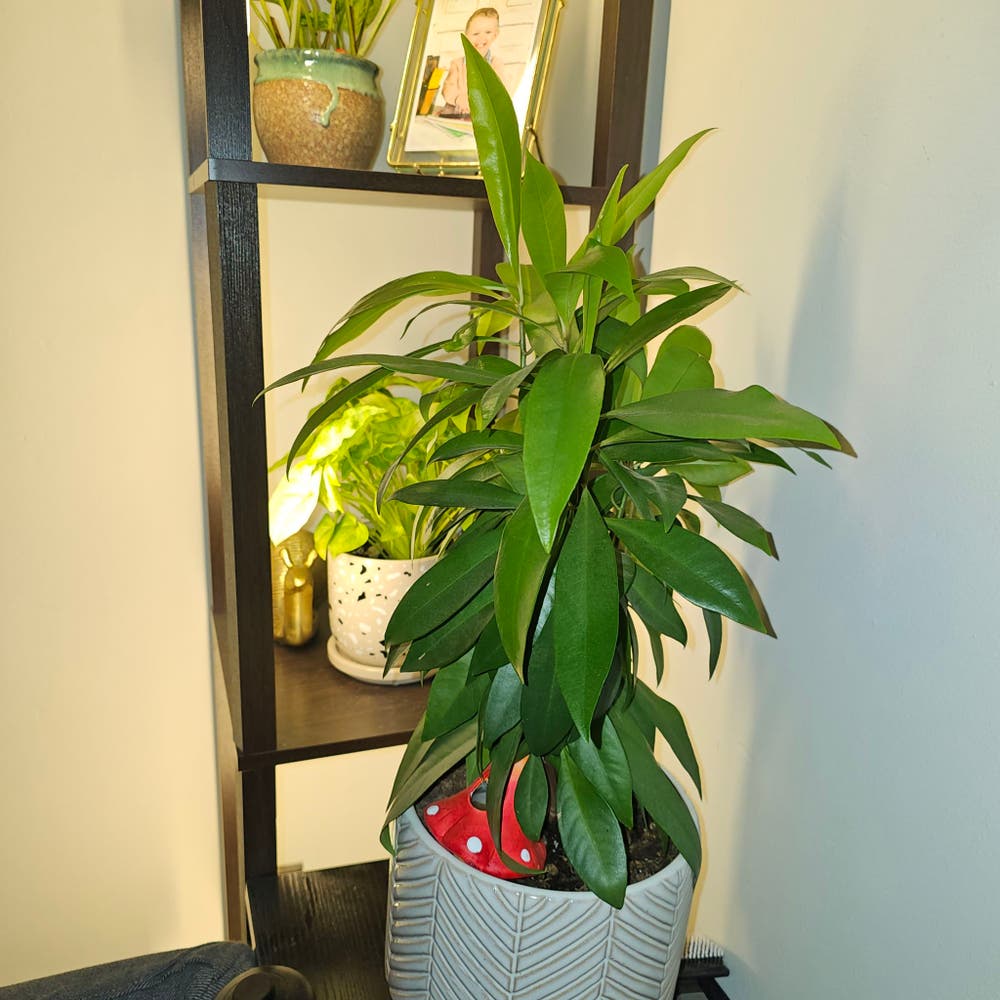
Why Are My Island Marlberry Leaves Curling?
Ardisia escallonioides
By the Greg Editorial Team
Mar 05, 2024•5 min read
This article was created with the help of AI so we can cover more plants for you. May contain errors. See one? Report it here.
Unravel the mystery of curling Island Marlberry leaves 🌿 and reclaim their natural splendor!
- Curling indicates stress in Island Marlberry, often due to environmental factors or pests.
- 🌡️🌿 Consistent temperature, humidity (40-60%), and light prevent leaf curling.
- Early detection and treatment of pests, diseases, and watering issues are key.
Spot the Signs: Recognizing Leaf Curling in Island Marlberry
🍃 Visual Symptoms
Island Marlberry leaves should be lush and flat, not resembling a crumpled piece of paper. Sharp bends or spirals in the foliage are your first clue that something's amiss. If your plant's leaves are starting to look like they're prepping for gymnastics with twists and inwards folds, it's time to sound the alarm. Discoloration often tags along with curling, turning a healthy green into a worrisome yellow or brown. Leaves that feel thinner or softer than usual are also a sign that your plant is calling out for help.
🕰 Timing and Progression
Leaf curling doesn't like to wait for an invitation; it often shows up unannounced and early in the growing season. If you're not vigilant, what starts as a slight curl can quickly escalate into a full-blown plant crisis. Keep an eye out during seasonal shifts, as these are prime times for your Island Marlberry to throw a fit. Remember, leaf curling is more of a slow burn than a wildfire, taking its sweet time to reveal the full extent of your plant's displeasure.
Environmental Culprits: What's Stressing Your Plant?
🌞 Too Much Sun or Too Little?
Island Marlberry plants have a Goldilocks zone for sunlight. Too much direct sun, and the leaves curl up like they're avoiding a tan. Bright, indirect light is their jam. It's like the difference between a sunburn and a healthy glow.
🌡️ Temperature Tantrums
These plants are no fans of the thermometer's roller coaster. Consistency is key. Leaves curling up in the heat or huddling against the cold is the plant's non-verbal way of saying, "Help, I'm not comfortable!" Aim for a steady, predictable temperature to keep your plant from throwing a fit.
💦 Humidity: Finding the Sweet Spot
Humidity for Island Marlberry is like the right level of crunchy in your peanut butter—too much or too little, and it's just not right. Leaves curling in dry air are a cry for a more tropical vibe. Think 40-60% humidity to hit that sweet spot, where the air is as refreshing as a spring morning.
Unwanted Guests: Pests and Diseases that Cause Curling
🐛 Common Pests
Spider mites and aphids are the usual suspects when Island Marlberry leaves start curling. These pests are tiny but troublesome, often leaving behind sticky residue or fine webbing as evidence of their presence. Inspect the undersides of leaves for these signs. If you spot them, it's time for action.
🕷️ Spider Mites and Aphids: Spotting the Signs
- Look for fine webbing, especially on the underside of leaves.
- Check for sticky honeydew residue, which can also attract ants.
- Notice any yellowing or stippling on leaves, which indicates feeding damage.
Insecticidal soap or neem oil can be effective treatments. Apply carefully, targeting infested areas to avoid harming the plant. For an eco-friendly approach, consider introducing natural predators like ladybugs to your garden.
🍄 Fungal Foes
Fungal infections can be more insidious, often starting unnoticed before leading to leaf curling. Black spots or a powdery white coat are telltale signs of fungal issues. These fungi thrive in moist environments, so keeping leaves dry and ensuring good air circulation is crucial.
🍄 Recognizing Symptoms of Fungal Infections
- Watch for unusual spotting or mildew on leaves.
- Keep an eye out for any areas with a dusty or powdery appearance.
- Be alert to any sections of the plant that appear to be rotting or decaying.
If you detect fungal problems, isolate the affected area and remove any infected foliage with sterilized shears. Treat with a fungicide, but follow label instructions closely to avoid additional stress on the plant. Remember, prevention is key—maintain dry leaves and good air flow to keep fungi at bay.
Water Woes: Getting to the Root of the Problem
💧 The Balancing Act of Watering
Dive into the soil's top inch; dry means your Island Marlberry is thirsty. If it's damp, hold off—overwatering is like throwing a pool party for your plant's roots, and they're not fans. A moisture meter can be your secret weapon, giving you the inside scoop on when to water.
🌱 Soil and Drainage: The Foundation of Plant Health
Drainage holes are non-negotiable; they're the escape route for excess water. Opt for a soil mix that's the life of the party—well-aerated and quick to drain, like a good guest who knows not to overstay their welcome. If your plant's roots are swimming, it's time for a soil intervention.
Prevention and Recovery: Caring for Curled Leaves
💡 Adjusting the Environment
To prevent future curling, start with the environment. Ensure your Island Marlberry is not playing the Icarus, flirting too close to the sun, or lurking in the shadows like a brooding teen. Light levels should be just right. Check your plant's humidity vibe; it shouldn't feel like a desert or a steam room. Use a hygrometer to keep tabs and adjust with a humidifier or dehumidifier if necessary.
🛡️ Treating Pests and Disease
When it comes to pests and diseases, think of yourself as a plant detective. Regular check-ups are your stakeouts. Spot the early signs of trouble—discoloration, odd spots, or the dreaded curl. If pests are the culprits, show them the door with soapy water or introduce their natural enemies. For fungal infections, remove affected leaves and apply a fungicide, but remember, the best offense is a good defense—keep things clean to avoid the problem in the first place.
🚰 Watering and Soil Best Practices
Watering is a ritual, not a chore. Island Marlberry doesn't need a flood; it craves consistency. Check the soil's mood—an inch down should feel like a wrung-out sponge, moist but not wet. When it's time to water, aim for the roots, not a leafy shower. Soil should be well-draining yet supportive, like a good sports bra. A mix of peat, pine bark, and perlite usually does the trick. Remember, your plant's roots need to breathe, not swim.
⚠️ Safety First
This content is for general information and may contain errors, omissions, or outdated details. It is not medical, veterinary advice, or an endorsement of therapeutic claims.
Always consult a qualified healthcare professional before using any plant as food, medicine, or supplement.
Never eat any plant (or feed one to pets) without confirming its identity with at least two trusted sources.
If you suspect poisoning, call Poison Control (800) 222-1222, the Pet Poison Helpline (800) 213-6680, or your local emergency service immediately.
Spotted an error? Please report it here.
Keep your Island Marlberry's leaves unfurled and fabulous 🍃 with Greg's tailored reminders for the right light, humidity, and watering schedule, ensuring early detection and prevention of those curl-inducing stresses!