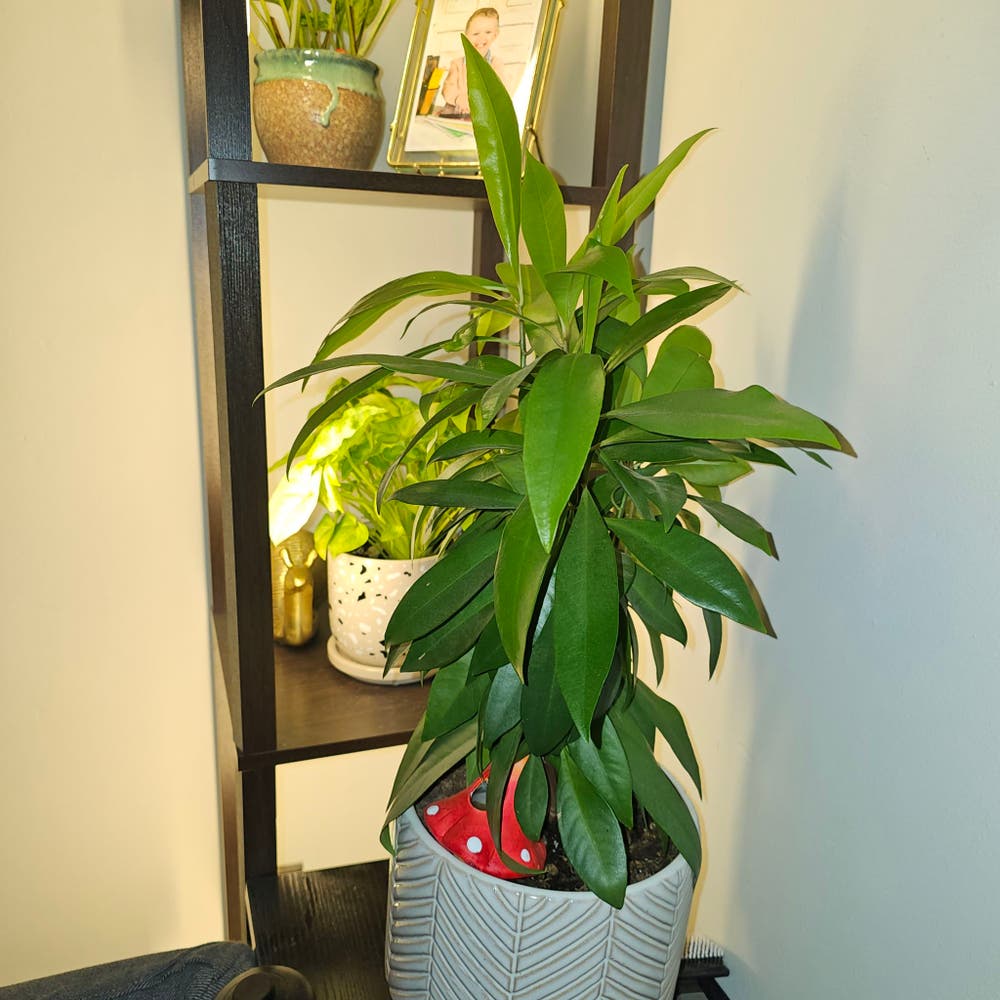
How and When Should I Cut Back My Island Marlberry?
Ardisia escallonioides
By the Greg Editorial Team
Mar 05, 2024•4 min read
This article was created with the help of AI so we can cover more plants for you. May contain errors. See one? Report it here.
Shape a breathtaking garden by pruning your Island Marlberry at the right time—spring's the charm! 🌿✨
- Spring/early summer pruning promotes growth and bloom in Island Marlberry.
- Use correct tools and techniques for shaping and plant health.
- Sterilize tools; monitor growth post-pruning for a healthy Marlberry.
Timing Your Pruning Perfectly
🌸 When to Get Snippy
Spring and early summer are the sweet spots for pruning your Island Marlberry. This is when the plant is in its active growth phase, ready to heal and flourish after you've made your cuts. Prune too late, and you risk a lackluster bloom next season.
🔍 Reading the Signs
Keep an eye out for new buds; they're your green light to start pruning. Crossing branches? They're out. They stifle airflow and invite disease. And if you spot any diseased material, act fast—remove it immediately, but keep it out of your compost to avoid a garden-wide health crisis.
The Right Cut
✂️ Pruning Techniques
Pruning your Island Marlberry isn't just about snipping away; it's about strategic shaping. Here's how to do it right:
- Assess the Plant: Look at your Marlberry. Identify which branches are out of place or overgrown.
- Plan Your Approach: Decide on the desired shape. Keep it natural or go for something more formal.
- Make the Cut: Always cut just above a leaf node or lateral branch. This encourages new growth.
- Selective Thinning: Remove branches selectively to improve air circulation and light penetration.
- Deadheading: Get rid of dead or diseased branches to maintain plant health.
- Stagger Your Cuts: Don't rush. Trim a branch, wait, then trim another. This prevents shock.
Remember, each cut can change how your plant grows, so think before you snip.
🌳 Shaping Your Marlberry
To mold your Marlberry into a living masterpiece, follow these steps:
- Start at the Top: Trim the tips of branches to encourage a bushier form.
- Control the Height: Use reduction cuts to shorten branches without altering the plant's natural shape.
- Encourage Bushiness: Make cuts above buds facing the outside to promote a fuller plant.
- Visual Balance: Step back often to check symmetry. Trim any lateral growth that throws off the balance.
With each strategic snip, you're not just pruning; you're sculpting a vision. Keep your tools sharp, your eyes keen, and your Marlberry will thank you with lush, vibrant growth.
Tools of the Trade
🛠️ Choosing Your Arsenal
Selecting the right tools for pruning your Island Marlberry isn't just about getting the job done; it's about doing it with surgical precision. For the fine work of snipping smaller stems, hand pruners are your go-to instrument. When you're up against the thicker branches, lopping shears step in to give you that extra cutting power without turning the task into an upper-body workout.
Remember, a clean cut is a happy cut. A sharp pair of pruning shears is non-negotiable—it's the difference between a swift, clean snip and a jagged tear that leaves your plant vulnerable to pests and diseases.
🧼 Keeping It Clean
Sterilization isn't just for the OR; it's a critical practice in the garden too. Before you make your first incision, give your tools a good wipe down with rubbing alcohol or a bleach solution. This isn't just about cleanliness; it's a full-on assault on any microbial invaders looking to hitch a ride on your shears.
After each cut, especially when moving between plants, sterilize again. Think of it as the hand sanitizer of the plant world. It's a simple step, but it's your best defense against turning your pruning session into an accidental disease-spreading spree.
And once you've finished playing the role of garden surgeon, don't just toss your tools back into the shed. Clean and oil them to prevent rust and keep them in top condition for the next pruning operation. Because let's face it, nobody likes a blunt instrument, least of all your Island Marlberry.
Post-Pruning Care
🌱 Encouraging Recovery
After you've given your Island Marlberry a trim, it's time to nurture its recovery. Watering is crucial; think of it as the plant equivalent of a restorative spa day. Keep the soil consistently moist but not drenched. Overwatering is as welcome as socks in a swimming pool.
Fertilizing isn't usually necessary if you repot annually with fresh soil. However, if you've skipped the repot, a mild dose of fertilizer can act like a vitamin boost after the plant's haircut. Just don't overdo it—too much and you're in the realm of a nutrient hangover.
🌱 Monitoring New Growth
Keep an eye out for new shoots like a hawk on the hunt. This is your green signal that the Marlberry is on the mend. If you spot new growth, you're on the right track. No new sprouts? Time to play detective and reassess your care routine.
Regular monitoring is key. Watch for signs of stress or disease with the intensity of a final exam proctor. Any signs of distress should be addressed faster than a teenager cleaning their room when guests are five minutes away. Remember, consistent care is the secret sauce for a thriving Island Marlberry.
⚠️ Safety First
This content is for general information and may contain errors, omissions, or outdated details. It is not medical, veterinary advice, or an endorsement of therapeutic claims.
Always consult a qualified healthcare professional before using any plant as food, medicine, or supplement.
Never eat any plant (or feed one to pets) without confirming its identity with at least two trusted sources.
If you suspect poisoning, call Poison Control (800) 222-1222, the Pet Poison Helpline (800) 213-6680, or your local emergency service immediately.
Spotted an error? Please report it here.
Prune your Island Marlberry at just the right time 🌳 with Greg's tailored reminders and expert care tips for a flourishing and balanced plant.