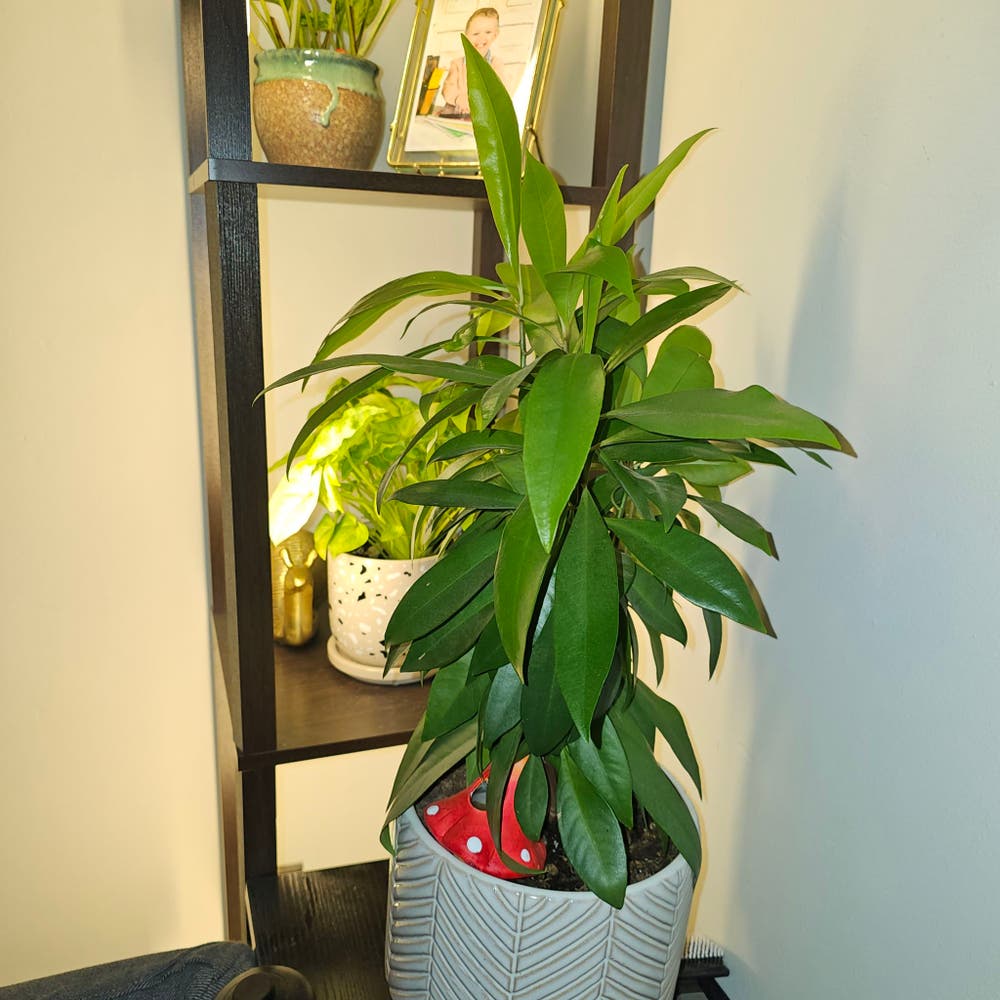
8 Tips for How to Plant Island Marlberry ⛏️
Ardisia escallonioides
By the Greg Editorial Team
Sep 30, 2024•6 min read
This article was created with the help of AI so we can cover more plants for you. May contain errors. See one? Report it here.
Unlock vibrant growth for your Island Marlberry 🌱 with essential planting techniques that ensure thriving plants in your garden!
- 🌱 Proper planting techniques ensure healthy growth of Island Marlberry plants.
- ☀️ Plant in spring or early summer for optimal establishment and growth.
- 💧 Consistent moisture without waterlogging is crucial to prevent root rot.
Importance of Proper Planting Techniques
Proper planting techniques are crucial for the growth and establishment of Island Marlberry. When done right, these methods can significantly enhance the plant's ability to thrive in its new environment.
🌱 Impact on Growth and Establishment
Using the right techniques ensures that the plant establishes a strong root system. This foundation is vital for nutrient uptake and overall health.
🌿 Influence on Plant Health and Longevity
Well-planted Island Marlberry not only grows better but also lives longer. Healthy plants are more resilient to pests and diseases, leading to a vibrant landscape.
By understanding the importance of these techniques, you set the stage for successful planting. Next, let’s explore the optimal timing for planting Island Marlberry.
Planting New Island Marlberry
🌱 Optimal Timing for Planting
The best time to plant Island Marlberry is during spring or early summer. This timing ensures that temperatures are consistently warm, promoting healthy growth.
Consider your local climate and the plant's growth cycle when planning your planting. Adjusting to these factors can significantly enhance your success.
🏺 Selecting the Right Soil Mix and Containers
For optimal growth, use a well-draining soil mix enriched with organic matter like peat moss or compost. This combination provides essential nutrients and supports healthy root development.
When choosing containers, opt for sizes of at least 1-2 gallons for young plants. This size allows ample room for roots to expand and thrive.
📏 Proper Depth and Spacing for Planting
When planting, ensure the root ball is level with the soil line in the container. This positioning helps the plant establish itself more effectively.
Maintain spacing of 3-5 feet between each plant. This distance promotes optimal growth and airflow, reducing the risk of disease.
☀️ Maintaining Ideal Growing Conditions
Island Marlberry thrives in full sun to partial shade, requiring at least 6 hours of sunlight daily. Proper light exposure is crucial for robust growth.
Soil moisture should be consistent but not waterlogged. Regularly check for drainage to prevent root rot and other moisture-related issues.
🌳 Hardening Off Before Outdoor Planting
Hardening off is the process of gradually acclimating your plants to outdoor conditions. This step is vital for ensuring a smooth transition.
To harden off your plants, start indoors for 1-2 weeks. Gradually expose them to outdoor conditions for a few hours each day, increasing the exposure time while reducing indoor time.
This careful acclimatization helps your Island Marlberry adapt and thrive in its new environment.
With these planting tips in mind, you're well on your way to cultivating a healthy Island Marlberry. Next, let’s explore how to transplant established plants for even greater success.
Transplanting Established Island Marlberry
🌱 Optimal Timing for Transplanting
Transplanting Island Marlberry is best done in early spring or fall. These seasons offer milder temperatures, which help reduce stress on the plant and promote successful establishment.
🛠️ Step-by-Step Instructions for Transplanting
Removing the Plant from Its Current Location
- Water the plant thoroughly a day before transplanting to hydrate the roots.
- Carefully dig around the root zone, ensuring you keep as much soil attached as possible.
- Lift the plant gently to avoid damaging the roots during the process.
Preparing the New Planting Site
- Select a location with well-drained soil and plenty of sunlight.
- If needed, amend the soil with organic matter to enhance fertility.
- Dig a hole that is twice the width of the root ball and the same depth to accommodate the roots.
Ensuring Proper Placement and Spacing
Position the plant in the center of the hole, making sure the top of the root ball is level with the surrounding soil. Maintain a spacing of 3-5 feet between plants to allow for optimal growth and airflow.
💧 Tips for Watering, Mulching, and Support
After transplanting, thoroughly water the plant to help settle the soil around the roots.
- Mulching: Apply a 2-3 inch layer of mulch to retain moisture and suppress weeds.
- Support: Use stakes if necessary for taller plants to prevent wind damage.
With these steps, your Island Marlberry will have the best chance to thrive in its new home. Next, we’ll explore the differences between planting new and established Island Marlberry.
Comparing Planting vs. Transplanting
🌱 Benefits of Planting New Island Marlberry
Planting new Island Marlberry is often more cost-effective, requiring a lower initial investment. Additionally, these young plants tend to adapt better to local conditions, establishing a strong connection with the soil and environment.
⚠️ Drawbacks of Planting New Island Marlberry
However, patience is key; newly planted Marlberry takes longer to mature compared to their established counterparts. They are also more vulnerable to pests and diseases during their early growth stages.
🌳 Benefits of Transplanting Established Plants
Transplanting established plants offers an immediate visual impact in your landscape. With their developed root systems, these plants can adapt quickly to new environments if handled properly.
😬 Drawbacks of Transplanting Established Plants
On the flip side, transplanting comes with risks. If not managed carefully, plants can experience transplant shock, which can hinder their growth. Additionally, there’s a chance of root damage during the process, which can affect their overall health.
Understanding these pros and cons will help you make an informed decision on whether to plant new Island Marlberry or transplant established ones. Next, let’s dive into troubleshooting common issues that may arise during these processes.
Troubleshooting Common Issues
🌱 Understanding Transplant Shock
Transplant shock is the stress plants experience after being moved from one location to another. Symptoms include wilting, yellowing leaves, and stunted growth, signaling that your plant is struggling to adjust.
🏡 Addressing Establishment Problems
Monitoring soil moisture and sunlight exposure is crucial for your plant's establishment. Signs of establishment issues include poor growth and leaf drop, indicating that your plant may not be thriving in its new environment.
🔧 Solutions for Common Planting/Transplanting Issues
To mitigate transplant shock, gradual acclimatization and proper watering are key strategies. Regular monitoring and care adjustments can significantly improve establishment, ensuring your Island Marlberry thrives in its new home.
With these troubleshooting tips, you'll be well-equipped to nurture your plants through their transition, setting the stage for healthy growth and vibrant blooms. Next, let’s explore the differences between planting new Island Marlberry and transplanting established ones.
⚠️ Safety First
This content is for general information and may contain errors, omissions, or outdated details. It is not medical, veterinary advice, or an endorsement of therapeutic claims.
Always consult a qualified healthcare professional before using any plant as food, medicine, or supplement.
Never eat any plant (or feed one to pets) without confirming its identity with at least two trusted sources.
If you suspect poisoning, call Poison Control (800) 222-1222, the Pet Poison Helpline (800) 213-6680, or your local emergency service immediately.
Spotted an error? Please report it here.
Plant your Island Marlberry with confidence 🌱—Greg's tailored watering alerts and expert tips will help you nurture strong roots for a flourishing garden!