🌵 How to Propagate Your Matucana
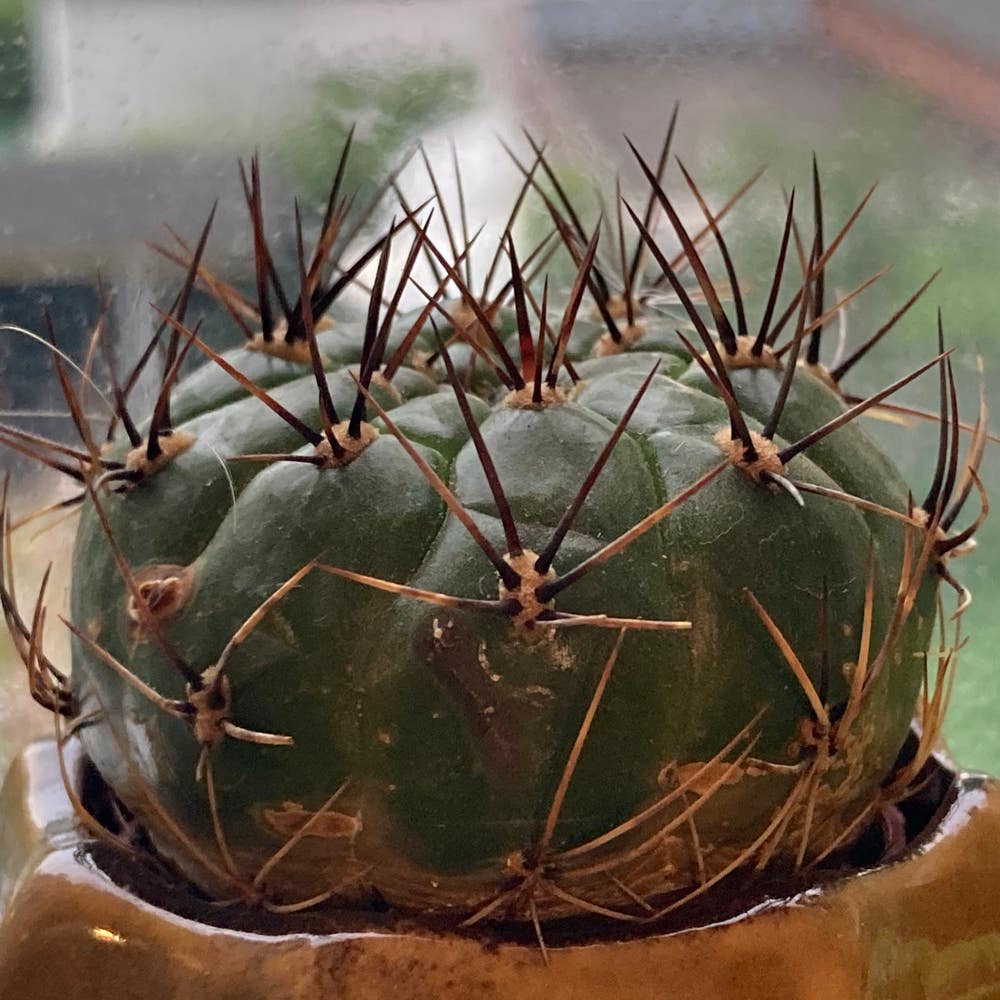
Matucana spp.
By the Greg Editorial Team
Nov 08, 2024•5 min read
This article was created with the help of AI so we can cover more plants for you. May contain errors. See one? Report it here.
- 🌵 Choose a healthy 4-6 inch stem for successful Matucana propagation.
- 💧 Allow cut ends to dry for 1-2 days to prevent rot before planting.
- ☀️ Provide warm, indirect sunlight and maintain humidity for optimal growth.
Propagating from Stem Cuttings
Step-by-step instructions
1. Selecting a healthy stem
Start by choosing a mature stem segment that is 4-6 inches long from a healthy Matucana cactus. This ensures you have a robust cutting that is more likely to thrive.
2. Preparing the cutting
After cutting, allow the end to dry and callous for 1-2 days. This step is crucial as it helps prevent rot when you plant the cutting.
3. Planting the cutting
Use well-draining soil specifically formulated for cacti. Plant the cutting upright in the soil, burying about 1-2 inches to provide stability.
4. Watering the cutting
Water lightly after planting, ensuring the soil is moist but not soggy. Overwatering can lead to rot, so it's important to strike the right balance.
5. Monitoring the cutting
Place the cutting in a warm, bright location with indirect sunlight. This environment will encourage healthy growth and rooting.
🌱 Ideal conditions for rooting
Temperature
Maintain a temperature range of 70°F to 85°F (21°C to 29°C). This warmth is essential for stimulating root development.
Humidity
Aim for moderate humidity levels. This helps encourage root growth without creating a damp environment that could lead to rot.
🌿 Use of rooting hormone
Benefits of using rooting hormone
Using rooting hormone can significantly enhance root development and reduce the risk of rot. It acts as a booster for your cutting, giving it a better chance of survival.
Application method
Simply dip the cut end of the stem in rooting hormone before planting. This small step can make a big difference in the success of your propagation efforts.
By following these steps, you'll be well on your way to successfully propagating your Matucana from stem cuttings. Next, let’s explore how to propagate from offsets, which is another straightforward method for expanding your cactus collection.
Propagating from Offsets
🌱 Identifying offsets
Offsets are small plants that sprout at the base of the parent Matucana cactus. Look for offsets that have a firm texture and vibrant color, indicating they are healthy and ready for propagation.
✂️ Step-by-step removal and planting
Remove the offset: Gently twist or cut the offset from the parent plant, being careful not to damage either.
Callous the offset: Allow the offset to dry and callous for 1-2 days. This step is crucial to prevent rot when planted.
Plant the offset: Use well-draining cactus soil and bury the offset slightly. Ensure it stands upright for stability.
Water and position: Water lightly after planting, keeping the soil moist but not soggy. Place the new plant in a warm, bright location to encourage growth.
Offsets are one of the easiest ways to propagate your Matucana, making them a great choice for beginners. With a little patience and care, you'll soon have new plants thriving alongside their parent.
Next, let’s explore how to propagate your Matucana from seeds, which offers a different yet rewarding challenge.
Propagation from Seeds
🌱 Seed sourcing and preparation
When it comes to sourcing seeds for your Matucana, opt for reputable online retailers or local plant nurseries. These sources typically offer high-quality seeds that are more likely to germinate successfully.
To prepare your seeds for germination, soak them in water for 24 hours. This simple step can significantly enhance germination rates, giving your seeds the best chance to sprout.
🌱 Germination process
- Start by filling a shallow tray with a well-draining soil mix. This will provide the ideal environment for your seeds.
- Scatter the seeds evenly across the surface and lightly cover them with soil. A thin layer is all you need to protect them.
- Water the tray gently to moisten the soil without displacing the seeds. This ensures they stay in place while absorbing moisture.
- Finally, cover the tray with plastic wrap or a humidity dome. This helps maintain moisture levels, which is crucial for successful germination.
🌱 Ideal growing conditions for seedlings
For optimal germination, keep the temperature between 70°F to 80°F (21°C to 27°C). This warm environment encourages your seeds to sprout.
Light is also essential. Provide bright, indirect light to prevent your seedlings from becoming leggy. This balance will help them grow strong and healthy.
As you embark on this propagation journey, remember that patience is key. With the right conditions and care, your Matucana seeds will thrive, setting the stage for a flourishing cactus collection. Next, let’s explore common challenges you might face during propagation and how to overcome them.
Common Challenges in Matucana Propagation
🪴 Issues with Rotting Cuttings
Rotting cuttings can be a frustrating setback when propagating Matucana cacti. The primary culprits are overwatering and poor drainage, which create an environment ripe for rot.
To prevent this issue, ensure that your cuttings are allowed to callous properly before planting. Additionally, using well-draining soil specifically designed for cacti is crucial for keeping your cuttings healthy.
⏳ Slow Rooting Solutions
If your cuttings are taking longer than expected to root, several factors could be at play. Temperature, humidity, and soil moisture all significantly influence the rooting speed of your Matucana.
To speed up the process, consider increasing the warmth and humidity around your cuttings. Maintaining optimal soil moisture levels will also help encourage faster root development.
🐛 Pest Management for New Growth
As your Matucana begins to thrive, be vigilant about potential pests. Common nuisances include mealybugs and spider mites, which can quickly undermine your propagation efforts.
Regular inspections are essential for early detection. If you spot any pests, using insecticidal soap can be an effective control method. Keeping your plants healthy through proper care will also help prevent infestations.
By addressing these common challenges, you can enhance your success in propagating Matucana cacti. With the right strategies in place, you’ll be well on your way to cultivating a thriving collection. Next, let’s explore the exciting process of propagating from seeds!
⚠️ Safety First
This content is for general information and may contain errors, omissions, or outdated details. It is not medical, veterinary advice, or an endorsement of therapeutic claims.
Always consult a qualified healthcare professional before using any plant as food, medicine, or supplement.
Never eat any plant (or feed one to pets) without confirming its identity with at least two trusted sources.
If you suspect poisoning, call Poison Control (800) 222-1222, the Pet Poison Helpline (800) 213-6680, or your local emergency service immediately.
Spotted an error? Please report it here.
Propagate your Matucana cactus successfully 🌱 with Greg's tailored reminders and expert tips that ensure your cuttings thrive from day one!