🌵 Top 8 Pot Features Your Matucana Will Love
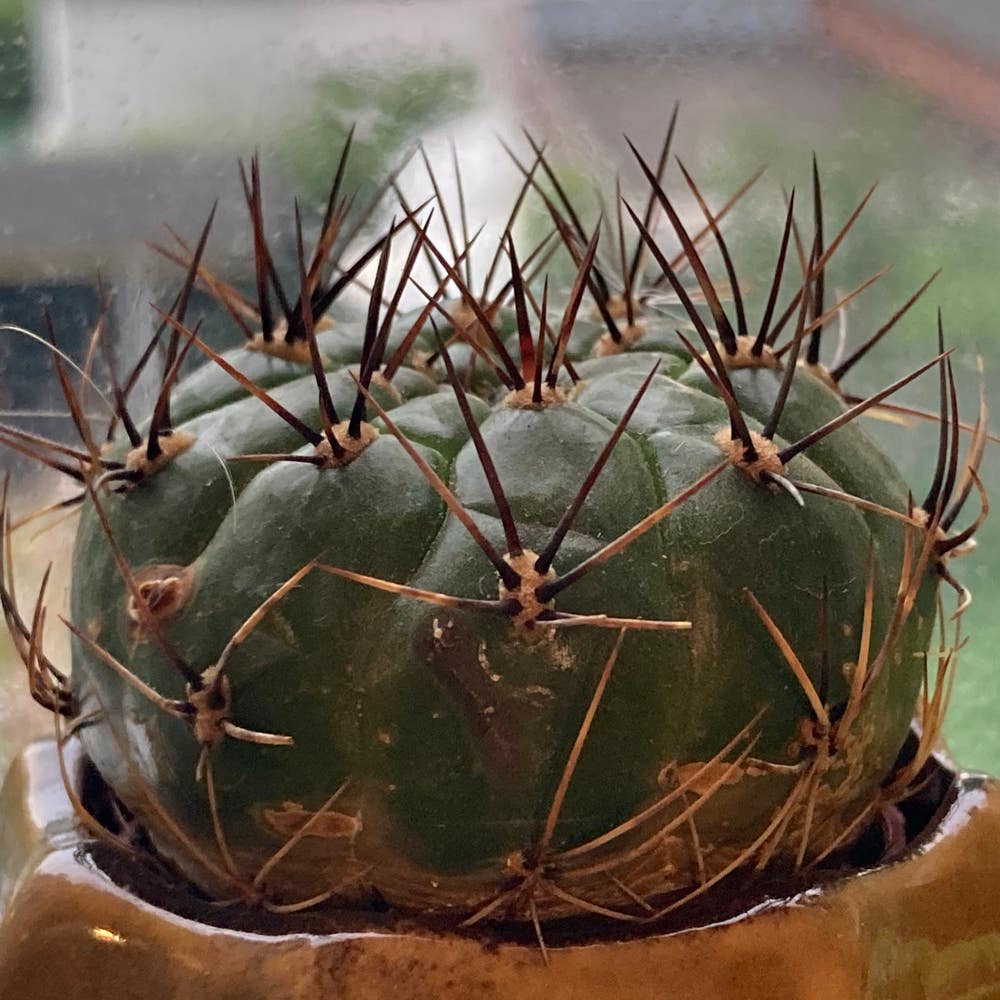
Matucana spp.
By the Greg Editorial Team
Nov 08, 2024•6 min read
This article was created with the help of AI so we can cover more plants for you. May contain errors. See one? Report it here.
- 🌱 Small pots (3-4 inches) are ideal for Matucana seedlings to prevent overwatering.
- 🏺 Choose pot materials wisely; clay, plastic, and ceramic each have unique benefits.
- 🔄 Repot every 2-3 years or when roots outgrow drainage holes for optimal growth.
Importance of Pot Size for Growth Stages
Seedling Stage 🌱
For your Matucana seedlings, small pots measuring 3-4 inches in diameter are ideal. These smaller pots promote robust root development and help prevent the common issue of overwatering.
Juvenile Stage 🌿
As your plants transition into the juvenile stage, it's time to move them into medium pots, ideally 5-7 inches in diameter. Gradually increasing pot size is crucial; it allows the roots to expand without overwhelming the plant.
Mature Stage 🌳
When your Matucana reaches maturity, opt for larger pots ranging from 8-10 inches in diameter. Mature plants often have shallow root systems, so consider the pot's depth to ensure adequate space for growth.
Understanding the right pot size at each growth stage is essential for nurturing healthy Matucana plants. This knowledge sets the foundation for their thriving journey, leading us to explore ideal pot materials next.
Ideal Pot Materials
Choosing the right pot material is crucial for the health of your Matucana. Each option has its unique benefits and drawbacks, impacting your plant's growth and care.
🏺 Clay Pots
Clay pots are a favorite among many plant enthusiasts. They offer excellent breathability and moisture regulation, which helps prevent overwatering.
However, they come with some downsides. Clay pots are heavier than other materials and can break easily, making them less ideal for those who frequently rearrange their plants.
🪴 Plastic Pots
Plastic pots are a practical choice for many gardeners. They are lightweight, durable, and available in various sizes, making them easy to handle and transport.
On the flip side, plastic pots are less breathable than clay. This can lead to potential moisture retention, which might not be ideal for all plants.
🎨 Other Materials
Ceramic and terracotta pots add aesthetic appeal to your plant collection. They can enhance the visual aspect of your space while providing decent moisture retention.
Yet, they share similar drawbacks with clay pots, including weight and fragility. It's essential to consider how each material affects temperature and moisture retention when selecting pots for your Matucana.
⚖️ Material Comparison
| Material | Breathability | Weight | Aesthetic Appeal |
|---|---|---|---|
| Clay | High | Heavy | Classic |
| Plastic | Moderate | Light | Functional |
| Ceramic/Terracotta | Moderate | Medium | Decorative |
Understanding these differences will help you make an informed decision. The right pot material can significantly impact your Matucana's growth and overall health.
Next, let’s explore how drainage plays a vital role in keeping your plant thriving.
How Drainage Affects Health
🛠️ Importance of Drainage Holes
Drainage holes are crucial for the health of your Matucana. They prevent root rot and overwatering, which can be detrimental to your plant's growth.
For optimal performance, aim for at least four drainage holes, each about half an inch in diameter. This ensures excess water can escape, keeping the roots healthy and happy.
🚰 Ensuring Proper Drainage in Pots
To enhance drainage, consider adding materials like gravel or perlite to the bottom of your pots. These additions create a barrier that allows water to flow freely while preventing soil from clogging the holes.
When selecting pots, choose those with built-in drainage features whenever possible. Pots without drainage can lead to waterlogged soil, which is a recipe for disaster for your Matucana.
In summary, proper drainage is non-negotiable for maintaining a thriving plant. By ensuring your pots have adequate drainage holes and using techniques to enhance drainage, you set your Matucana up for success.
Next, let’s explore the signs that indicate it’s time to repot your beloved cactus.
Signs That It's Time to Repot
📏 Indicators of Repotting Needs
Recognizing when your Matucana needs repotting is crucial for its health. Look for signs like roots growing out of the drainage holes or circling the pot, which indicate that the plant is root-bound.
Another telltale sign is stunted growth. If your cactus isn't producing new growth despite proper care, it may be time to give it a larger home.
⏰ Timing for Repotting
The best time to repot your Matucana is early spring, just before the growing season kicks off. This timing allows the plant to adjust and thrive in its new pot.
As for frequency, aim to repot every 2-3 years or whenever you notice significant growth. Keeping an eye on these signs will ensure your cactus remains healthy and vibrant.
With these indicators in mind, you can confidently assess when it's time to repot, setting the stage for a successful transition to a new pot. Next, let’s explore the step-by-step guide to repotting your Matucana effectively.
Step-by-Step Guide to Repotting
Repotting your Matucana cactus can seem daunting, but with the right approach, it’s a straightforward process. Follow these steps to ensure your plant thrives in its new home.
1. Gather Your Materials 🛠️
Before you start, collect everything you need: a new pot, fresh cactus soil, and essential tools like a trowel and gloves. Having everything on hand will make the process smoother.
2. Remove the Cactus from Its Current Pot 🌵
Carefully loosen the soil around the cactus. Gently lift the plant out, taking care not to damage the roots.
3. Inspect the Roots 🔍
Once removed, check the roots for any damage or rot. Trim away any unhealthy sections to promote better growth.
4. Prepare the New Pot 🥣
Add a layer of drainage material, such as gravel or perlite, to the bottom of your new pot. Then, fill it with fresh cactus soil, leaving enough space for the plant.
5. Position the Cactus 📍
Place the cactus in the center of the new pot. Fill in around the roots with soil, ensuring it’s secure but not overly packed.
6. Water Lightly 💧
After repotting, give your cactus a light watering. This helps it settle into its new environment without the risk of overwatering.
Repotting can rejuvenate your Matucana, allowing it to grow stronger and healthier. With these steps, you’re well on your way to providing the best care for your cactus. Next, let’s explore the signs that indicate it’s time to repot again.
⚠️ Safety First
This content is for general information and may contain errors, omissions, or outdated details. It is not medical, veterinary advice, or an endorsement of therapeutic claims.
Always consult a qualified healthcare professional before using any plant as food, medicine, or supplement.
Never eat any plant (or feed one to pets) without confirming its identity with at least two trusted sources.
If you suspect poisoning, call Poison Control (800) 222-1222, the Pet Poison Helpline (800) 213-6680, or your local emergency service immediately.
Spotted an error? Please report it here.
Give your Matucana the perfect potting environment 🌱 with Greg's tailored tips for pot size, material, and drainage to ensure it thrives beautifully!