🌵 All About Your Matucana's Roots
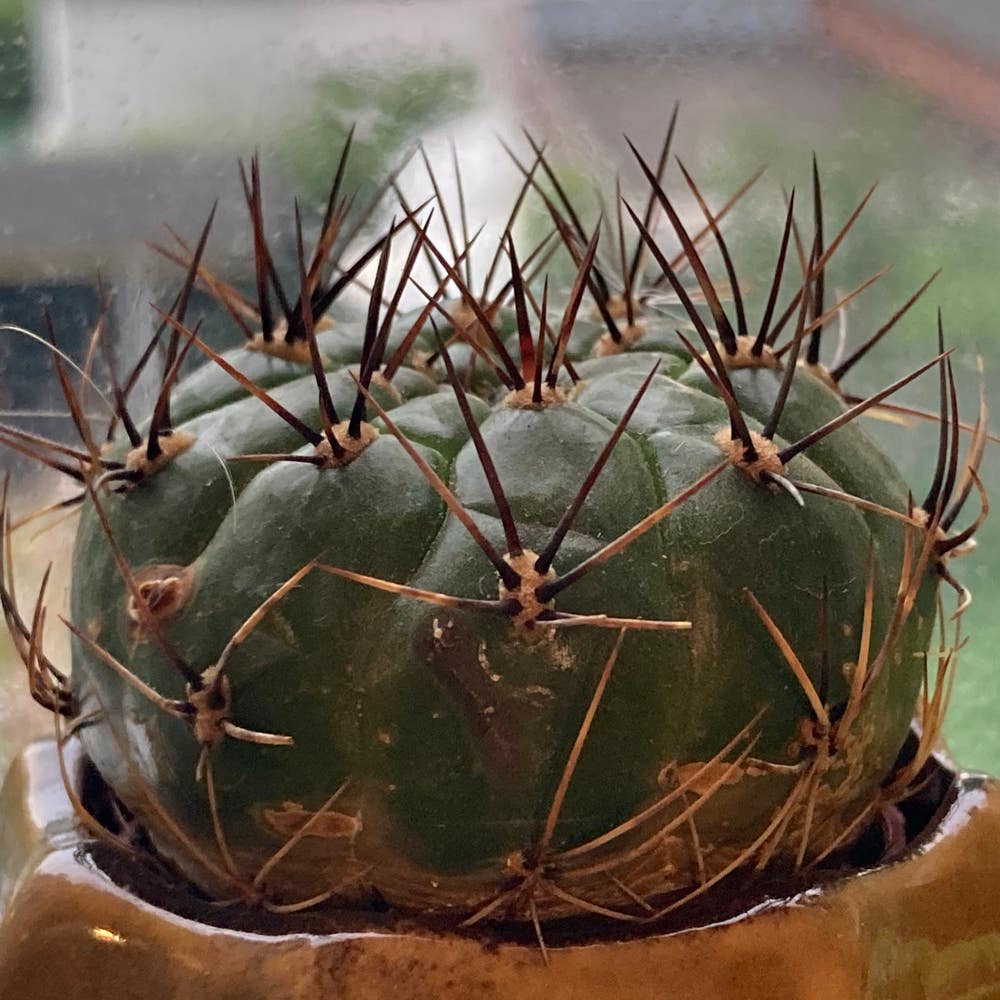
Matucana spp.
By the Greg Editorial Team
Nov 08, 2024•7 min read
This article was created with the help of AI so we can cover more plants for you. May contain errors. See one? Report it here.
- 🌱 Matucana roots absorb water efficiently, crucial for survival in arid conditions.
- 🚫💧 Overwatering causes root rot; watch for yellow leaves and mushy stems.
- 🌿 Healthy roots are firm and light-colored; inspect regularly to ensure vitality.
Root System Characteristics
Type of Root System 🌱
Matucana plants boast a fibrous root system characterized by fine, extensive roots. This structure is crucial for enhancing water absorption, allowing the plant to thrive in its native arid environments.
In comparison to other root types, such as taproots and rhizomatous systems, the fibrous roots of Matucana spread out more horizontally. This adaptation maximizes the plant's ability to capture moisture from the soil surface, which is vital for survival in dry conditions.
Specific Characteristics 🌵
Matucana's roots have evolved unique adaptations for arid environments. They feature efficient water uptake mechanisms that allow the plant to absorb moisture quickly when it becomes available.
Additionally, these roots exhibit remarkable resilience to drought conditions. This capability ensures that Matucana can endure prolonged periods without water, making it a robust choice for gardeners in similar climates.
With a solid understanding of Matucana's root system, we can now explore how these characteristics influence root depth, spread, and growth patterns.
Root Depth, Spread, and Growth Patterns
🌱 Typical Root Depth and Spread
Matucana plants typically develop a root depth of 12 to 24 inches (30 to 60 cm), depending on the specific species. Their roots can spread impressively, extending 2 to 3 feet (60 to 90 cm) wide, which allows them to efficiently absorb water and nutrients from the surrounding soil.
📈 Growth Patterns and Their Effects on Care
The growth patterns of Matucana roots significantly influence the plant's stability and nutrient uptake. As roots expand, they anchor the plant securely, ensuring it can withstand environmental stresses.
Understanding seasonal growth patterns is crucial for effective care. During active growth periods, typically in spring and summer, the plant requires more water and nutrients to support its expanding root system. Conversely, in the dormant months, watering should be reduced to prevent root rot and maintain optimal health.
By recognizing these growth patterns, you can tailor your watering and fertilization strategies to meet the plant's needs. This proactive approach fosters a thriving Matucana, ensuring it remains healthy and vibrant throughout the year.
With a solid grasp of root depth, spread, and growth patterns, you're well-equipped to care for your Matucana. Next, let’s explore how the root system influences watering, fertilizing, and transplanting practices.
Watering, Fertilizing, and Transplanting
🌱 How Root System Influences Watering Needs
Understanding how your Matucana's root system affects its watering needs is crucial for maintaining plant health. The frequency of watering should align with root health and soil moisture levels, ensuring the roots receive adequate hydration without becoming waterlogged.
Watch for signs of overwatering, such as yellowing leaves or a mushy stem, which indicate root rot. Conversely, underwatering may lead to wilting or shriveling, signaling that your plant is thirsty and needs more water.
🌿 Fertilization Techniques Tailored to Root Health
Fertilizing your Matucana properly supports robust root growth. Recommended fertilizers typically have an NPK ratio of 10-10-10 or 5-10-5, providing a balanced nutrient supply.
Timing is key; fertilize during the growing season, ideally every 4-6 weeks, to promote healthy root development. Adjust frequency based on the plant's growth response and the nutrient content of your soil.
🌍 Best Practices for Transplanting
Transplanting can rejuvenate your Matucana, but timing and technique matter. The best time to transplant is in spring or early summer when the plant is actively growing.
Follow these steps for a successful transplant:
- Prepare a new pot with well-draining soil to prevent root rot.
- Gently remove the plant from its current pot, taking care not to damage the roots.
- Inspect and prune any damaged roots to encourage healthy growth.
- Place the plant in the new pot, filling it with soil to ensure stability.
By following these practices, you can help your Matucana thrive in its new environment. Next, let’s explore common root-related issues that can affect your plant's health.
Common Root-Related Issues
Identifying Common Problems 🌱
Root health is crucial for the overall vitality of your Matucana. One of the most common issues is root rot, which typically arises from overwatering or poor drainage.
Symptoms include wilting, yellowing leaves, and a foul smell emanating from the soil. If you notice these signs, it’s essential to act quickly to prevent further damage.
Another concern is pests that affect roots, such as nematodes and root mealybugs. These pests can weaken your plant, leading to stunted growth and nutrient deficiencies.
Prevention and Solutions 🛠️
To prevent root rot, adopt best practices for watering and soil selection. Ensure your pot has adequate drainage holes and use a well-draining soil mix to promote healthy root systems.
Water only when the top inch of soil feels dry to the touch. This approach helps maintain optimal moisture levels without drowning your roots.
For pest control, consider organic methods like introducing beneficial nematodes or using insecticidal soap. Regularly inspect your plants for signs of pests, and act swiftly to mitigate any infestations.
By staying proactive about root health, you can ensure your Matucana thrives. This vigilance not only prevents issues but also fosters a robust root system that supports overall plant growth.
As we move forward, let’s explore how to identify indicators of root health to keep your Matucana flourishing.
Indicators of Root Health
🌱 Visual Cues for Healthy Roots
Healthy roots are a vital sign of a thriving Matucana. Look for roots that are firm and exhibit a white or light tan color, indicating they are well-oxygenated and actively growing.
A well-developed and branching root structure is another positive indicator. This means the plant is effectively exploring its soil environment for nutrients and water.
⚠️ Signs of Unhealthy Roots and Corrective Measures
Unhealthy roots can spell trouble for your plant. Watch for dark, mushy roots or any foul smells, which are clear signs of rot or decay.
If you notice these symptoms, take immediate action:
- Remove the plant from the pot.
- Trim away any damaged roots to prevent further issues.
- Repot the plant in fresh, well-draining soil to encourage recovery.
By keeping an eye on these indicators, you can ensure your Matucana remains healthy and vibrant. This proactive approach not only enhances root health but also supports overall plant vitality.
Managing Rootbound Plants
📖 Definition and Implications
A plant is considered rootbound when its roots have filled the pot and begin to grow in circles around the edges. This condition can lead to stunted growth, nutrient deficiencies, and overall poor health for your Matucana.
🔍 Signs and Intervention Strategies
Look for clear indicators that your plant is rootbound. If you see roots growing out of the drainage holes or notice stunted growth, it’s time to take action.
To remedy rootbound conditions, follow these steps:
- Gently remove the plant from its pot.
- Loosen the roots and prune if necessary.
- Repot into a larger container with fresh soil.
By addressing rootbound issues promptly, you can help your Matucana thrive and ensure it has the space it needs to grow. This proactive approach not only enhances plant health but also boosts your gardening confidence.
Next, we’ll explore the importance of root health in propagation, ensuring your Matucana continues to flourish.
Importance of Root Health in Propagation
Techniques for Dividing and Propagating Effectively 🌱
Propagating your Matucana can be a rewarding experience, especially when you focus on root health. Healthy roots are essential for successful propagation, ensuring that new plants thrive.
Select a Healthy Parent Plant: Start with a robust Matucana that shows no signs of stress or disease. This will be the source of your offsets or pups.
Carefully Remove Offsets or Pups: Gently detach the offsets from the parent plant. Use clean, sharp tools to minimize damage and ensure a clean cut.
Allow Cuttings to Callous Before Planting: Place the cuttings in a dry, shaded area for a few days. This helps the cut ends to callous over, reducing the risk of rot when planted.
Water Sparingly Until Roots Establish: Once planted, keep the soil slightly moist but not soggy. Overwatering can lead to root rot, especially in young plants.
By following these steps, you can effectively propagate your Matucana while maintaining the health of its roots. This not only supports the new plants but also enhances your gardening skills.
Transitioning from propagation, let’s explore how to identify and manage root health issues in your Matucana.
⚠️ Safety First
This content is for general information and may contain errors, omissions, or outdated details. It is not medical, veterinary advice, or an endorsement of therapeutic claims.
Always consult a qualified healthcare professional before using any plant as food, medicine, or supplement.
Never eat any plant (or feed one to pets) without confirming its identity with at least two trusted sources.
If you suspect poisoning, call Poison Control (800) 222-1222, the Pet Poison Helpline (800) 213-6680, or your local emergency service immediately.
Spotted an error? Please report it here.
Nurture your Matucana's roots for thriving growth 🌱 with Greg's tailored watering reminders and expert care tips to keep root rot at bay!