3 Tips for Propagating Your Heath
Erica spp.
By the Greg Editorial Team
Nov 07, 2024•6 min read
This article was created with the help of AI so we can cover more plants for you. May contain errors. See one? Report it here.
Grow your garden effortlessly 🌱 with expert tips on propagating heath plants from cuttings, seeds, and layering!
- 🌱 Choose healthy, non-flowering stems for optimal propagation success.
- 💧 Maintain 70-80% humidity to encourage rooting in cuttings.
- 🌼 Transplant seedlings after two true leaves for best growth.
Propagating Heath from Cuttings
🌱 Step-by-Step Guide for Taking Cuttings
To start prheathting your heath, select healthy, non-flowering stems that are about 4-6 inches long. Using clean, sharp pruning shears, make a cut just below a leafprepareo ensure a good rooting surface.
Next, remove the lower leaveGerminationcuttings to expose the stem. This step is crucial as it prepares the cutting for planting and helps prevent rot.
⏰ Ideal Time for Taking Cuttings
The best time to take cuttings is during late spring to early summer when the plant is activepeatrowing. For optimal results, choose a cloudy day or late afternoon to minimize stress on the cuttings.
🌿 Soil and Potting Mix Recommendations
For your cuttings, a potting mix of equal parts peat moss and perlite is recommended. This combination provides excellent drainage, which is essential for healthy root development.
Aim for a slightly acidic pH level between 5.5 and 6.5 to create the best environment for your cuttings to thrive.
💧 Watering and Humidity Requirements
After planting your cuttings, lightly mist them to maintain humidity. This initial watering helps creaoverwateringnvironment that encourages rooting.
Keep the cuttings in a humid environment, ideally around 70-80% relative humidity. You can achieve this by covering them with a plastic bag or using a humidity dome.
👀 Signs of Successful Rooting
Watch for signs of successful rooting, such as new growth on the cuttings and resistance when you gently tug on them. Additionally, visible roots through the drainage holes indicate that your cuttings are ready to thrive.
Typically, you can expect root development within 4-6 weeks. Patience is key, but the reward of new plants is well worth the wait.
By following these steps, you’ll be well on your way to successfully propagating your heath from cuttings. Next, let’s explore how to propagate heath from seeds for even more gardening possibilities.
Propagating Heath from Seeds
🌱 Seed Collection and Preparation
To start propagating heath from seeds, you need to collect them from mature flower heads in late summer. After harvesting, clean the seeds and let them dry for a few days to prepare them for planting.
🌼 Gewell-drainingcess and Conditions
Germination typically takes 2-4 weeks under optimal conditions. It's crucial to maintain a consistent temperature of 65-70°F (18-21°C) to encouraroot rothy growth.
🌿 Best Soil Mix for Seed Propagation
For seed propagation, a well-draining mix of 50% peat and 50% sand is recommended. Aim for a slightly acidic soil pH, ideally between 5.5 and 6.5, to create the best environment for your seeds.
🌳 Transplanting Seedlings
Transplant your seedlings once they heathat least two sets of true leaves. Ensure you space them 6-12 inches apart to give each plant room to grow and thrive.
⚠️ Common Challenges and Solutions
Be aware of common challenges like poor germination rates, which can often be improved by ensuring your seeds are fresh and adequatelLightst. Additionally, to prevent damping off, always use sterilized soil and avoid overwatering your seedlings.
With thTemperature mind, you're well on your way to successfully propagating heath from seeds. Next, let’s explore how to propagate heath through layering, another effective method to expand your garden.
Propagating Heath through Layering
🌱 Explanation of Layering T70-80%ue
Layering is a straightforward propagation method that involves bending a branch down to the ground and covering it with soil. This technique encourages thesoilnch to develop rooHeathile still attached to the parent plant, making it a reliable way to peat-based plants.
🕒 Best Time for Layering
The ideal time for layering is duringwaterlogging to early summer when the plant is in its active growth phase. This timing ensures that the branch has the best chance of rooting successfully.
🌿 fertilization the Right Branch
When selecting a branch for layering, look for a healthy, flexible one that is at least one year old and close to the ground. This choice increases the likelihood of successful root development.
🌍 Soil and Care for Layered Branches
Use a well-pestsing soil mix, similar to what you would use for cuttings. Regularly water the layereroot roto maintain moisture, but be careful not to waterlog it, as this can lead to root rot.
✂️ Timing for Separation from Parent Plant
Once the roots are established, which typically takes about 6-12 months, you can gently cut the new plant from the yellowing leavesparation, transplant it to its new home, ensuring it continues to thrivunderwateringring techniquewiltingantastic way to expand your heath collection while nurturing the parent plant. Next, let’s explore the factors that influence propagation success, ensuring you have all the tools for a flourishing garden.
Factors Influencing Propagation Success
🌤temperaturental Conditions
Importance of Light and Temperature
Light plays a crucial role in the propagation of Heath. Aim for full sun to partial shade to ensure your plants thrive.
Temperature consistency is equally important. Keeping your Heath in a stable environment encourages robust growth and successful propagation.
Humidity Levels for Successful Propagation
Humidity is key for both cuttings and seedlings. Aim for an optimal range of 70-80% relative humidity to create the perfect environment for rooting.
🌱 Soil and Nutrient Requirements
Best Soil Types for Heath Propagation
The right soil is essential for Heath success. Well-draining, acidic soils are a must, so consider using peat-based mixes that promote good aeration.
These soil characteristics help prevent waterlogging, which can be detrimental to young plants.
Nutrient Considerations During Propagation
Once your roots are established, it's time to think about fertilization. Use a diluted, balanced fertilizer to give your Heath the nutrients it needs to flourish.
This step is vital for supporting healthy growth as your plants develop.
🐛 Common Problems in Heath Propagation
Pests and Diseases to Watch For
Be vigilant about pests like aphids and spider mites, which can wreak havoc on young plants. Additionally, root rot from overwatering is a significant concern that can derail your propagation efforts.
Regular monitoring can help you catch these issues early.
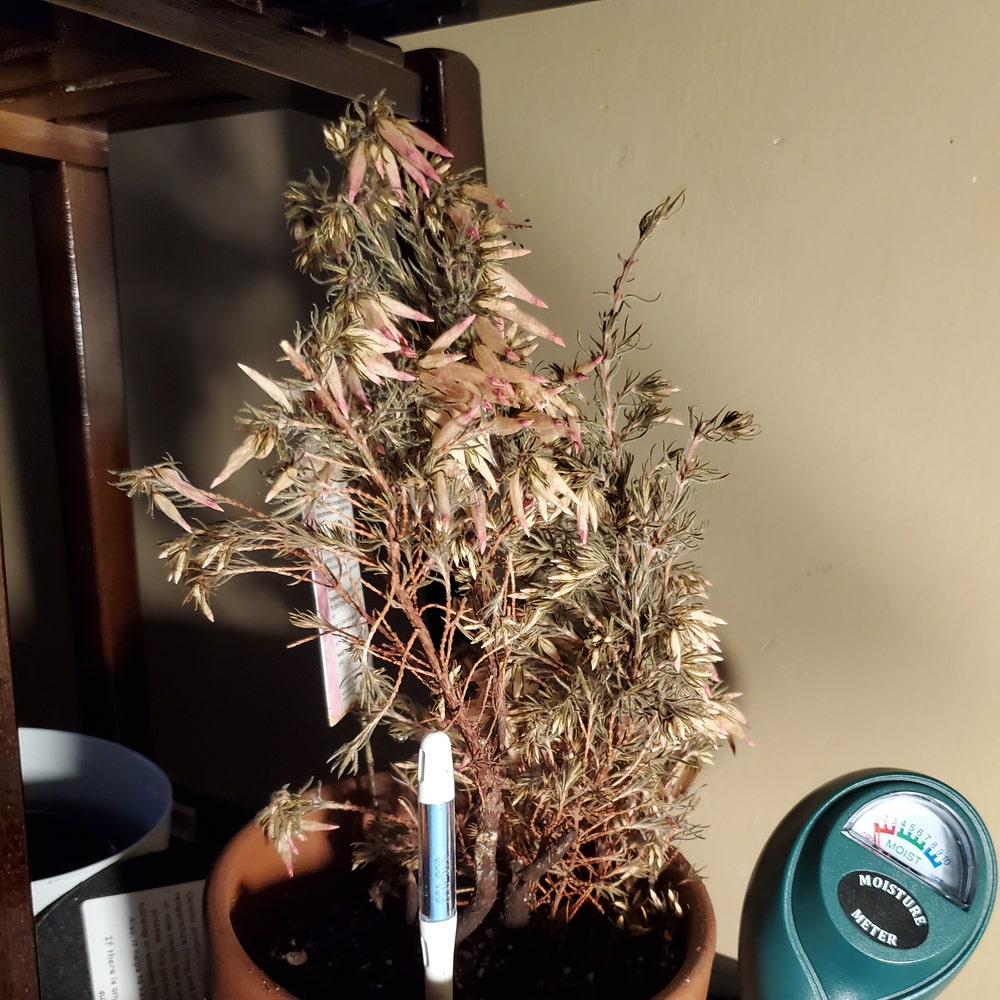
Signs of Overwatering or Underwatering
Recognizing the signs of overwatering is crucial. Look for yellowing leaves and mushy stems, which indicate too much moisture.
On the flip side, underwatering manifests as wilting and dry leaf edges. Both extremes can hinder your propagation success.
Troubleshooting Poor Germination Rates
If you're facing poor germination rates, don’t panic. Start by checking seed viability and adjusting moisture levels.
Ensuring the right temperature conditions can also make a significant difference in your propagation outcomes.
With these insights, you're better equipped to navigate the challenges of propagating Heath. Next, let’s explore the various methods of propagation in detail.
⚠️ Safety First
This content is for general information and may contain errors, omissions, or outdated details. It is not medical, veterinary advice, or an endorsement of therapeutic claims.
Always consult a qualified healthcare professional before using any plant as food, medicine, or supplement.
Never eat any plant (or feed one to pets) without confirming its identity with at least two trusted sources.
If you suspect poisoning, call Poison Control (800) 222-1222, the Pet Poison Helpline (800) 213-6680, or your local emergency service immediately.
Spotted an error? Please report it here.
Propagate your heath like a pro 🌱 with Greg's tailored reminders and expert tips, ensuring your cuttings thrive and flourish into stunning plants!