Step-by-Step Guide to Treating Root Rot in Heath 💧
Erica spp.
By the Greg Editorial Team
Oct 04, 2024•6 min read
This article was created with the help of AI so we can cover more plants for you. May contain errors. See one? Report it here.
Protect your Heath from root rot and ensure its vibrant growth with these essential tips! 🌱✨
- 🌱 Identify symptoms early: Look for discoloration and mushy roots to catch root rot.
- 🧼 Trim and rinse affected roots: Remove damaged roots and clean healthy ones for recovery.
- 🌿 Use well-draining soil: Repot in fresh soil and maintain consistent watering to prevent rot.
Identifying Root Rot Symptoms
🧐 Visual Signs of Root Rot
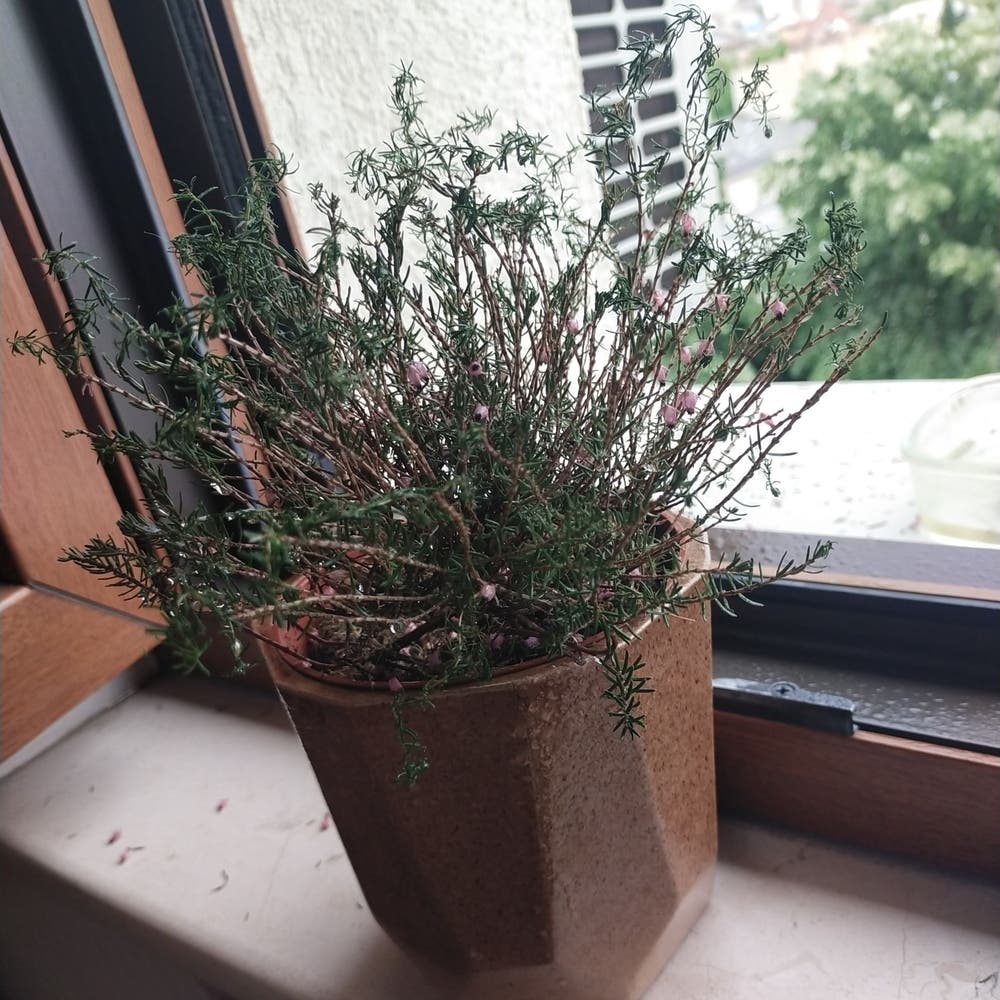
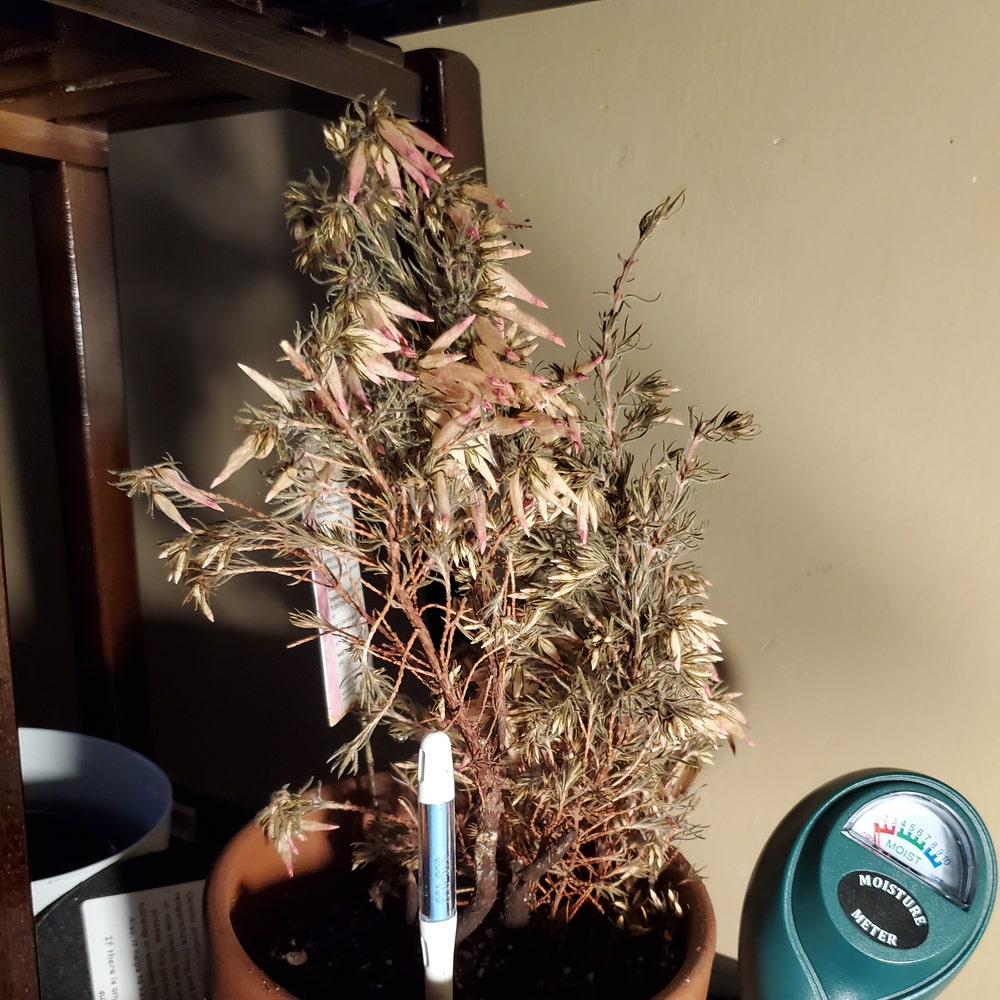
Root rot can be a sneaky foe for your Heath. Look out for leaf discoloration, where leaves turn yellow or brown, signaling distress.
Another telltale sign is wilting. If your plant's leaves droop despite regular watering, it might be time to investigate further.
Finally, check the roots. Root discoloration—dark, mushy roots—indicates that rot has set in.
🔍 How to Check for Root Rot in the Soil
To confirm root rot, follow these simple steps:
- Gently remove the plant from its pot. This allows you to inspect the roots closely.
- Inspect the root system for color and texture. Healthy roots should be firm and white.
- Smell the roots. A foul odor is a strong indicator of rot.
- Check soil moisture levels. If the soil feels consistently wet, overwatering may be the culprit.
⚖️ Distinguishing Root Rot from Other Issues
It's crucial to differentiate root rot from other plant problems.
Start by comparing symptoms. Nutrient deficiencies often show different signs, like yellowing leaves without wilting.
Next, look for pest damage. Signs of insects, such as holes in leaves, can be mistaken for rot.
Lastly, consider the importance of soil testing. Assessing pH and drainage capabilities can help pinpoint the issue more accurately.
Understanding these symptoms and differences will empower you to take action before it's too late. Now that you can identify root rot, let’s move on to treating it effectively.
Treating Root Rot
Step-by-Step Treatment Process 🌱
Treating root rot requires a careful approach to ensure your Heath can recover. Start by gently removing the plant from its pot and inspecting the roots for any signs of damage.
Next, trim away all affected roots using sterilized scissors. This step is crucial to prevent the spread of rot.
Once you've removed the unhealthy roots, rinse the healthy ones gently. This helps eliminate any lingering soil and pathogens that could cause further issues.
Now, prepare a new pot with a fresh, well-draining soil mix. This will provide a healthy environment for your plant to thrive.
Repot the Heath, making sure the roots have proper contact with the new soil. This helps the plant establish itself in its new home.
Finally, water the plant lightly and place it in a suitable environment. Avoid direct sunlight until it shows signs of recovery.
Recommended Fungicides and Treatments 🧪
Choosing the right fungicide can significantly impact your plant's recovery. There are two main types: systemic and contact fungicides.
Systemic fungicides work from within the plant, while contact fungicides act on the surface. Both can be effective, but application methods vary.
When applying fungicides, follow the instructions carefully for the best results. Ensure even coverage to maximize effectiveness.
If you prefer organic alternatives, consider using neem oil or other natural treatments. These options can be gentler on your plant while still combating root rot.
How to Repot a Heath with Root Rot 🌍
Repotting is a critical step in treating root rot. Start by choosing the right pot, ensuring it has adequate drainage holes.
The best soil for Heath is acidic and well-draining. This type of soil helps prevent future rot issues.
When repotting, use a technique that minimizes stress to the plant. Handle the roots gently and avoid compacting the new soil around them.
By following these steps, you can give your Heath the best chance at recovery. With proper care, your plant can bounce back and thrive once again.
Preventing Root Rot
Best Practices for Watering Heath 🌧️
Watering your Heath correctly is crucial to prevent root rot. Aim to keep the soil consistently moist but not soggy; typically, watering once a week is sufficient.
Watch for signs of overwatering, such as yellowing leaves or a musty smell from the soil. If you notice these symptoms, it’s time to adjust your watering habits.
Consider using the Greg plant care app for reminders tailored to your plant's needs. This tool can help you maintain a consistent watering schedule.
Importance of Soil Drainage and Aeration 🌱
Soil composition plays a vital role in preventing root rot. A well-draining mix, ideally containing peat, pine bark, and perlite, helps maintain the right moisture levels.
To improve drainage, you can add perlite or sand to your soil mix. These materials create air pockets, allowing excess water to escape and preventing root suffocation.
Aeration is equally important. Loosening compacted soil encourages healthy root growth and enhances water absorption.
Choosing the Right Pot and Soil Mix 🪴
Selecting the right pot is essential for your Heath's health. Choose a pot with drainage holes to allow excess water to escape, preventing water accumulation at the bottom.
For the soil mix, opt for components that promote optimal drainage, such as a blend of peat, perlite, and compost. This combination ensures your plant receives the nutrients it needs without the risk of rot.
Lastly, consider elevating your pot slightly. This simple step can help prevent water from pooling around the roots, further reducing the risk of root rot.
By following these preventive measures, you can keep your Heath thriving and healthy. Next, let’s explore how to monitor recovery after treatment to ensure your plant bounces back effectively.
Post-Treatment Care
Monitoring Recovery After Treatment 🌱
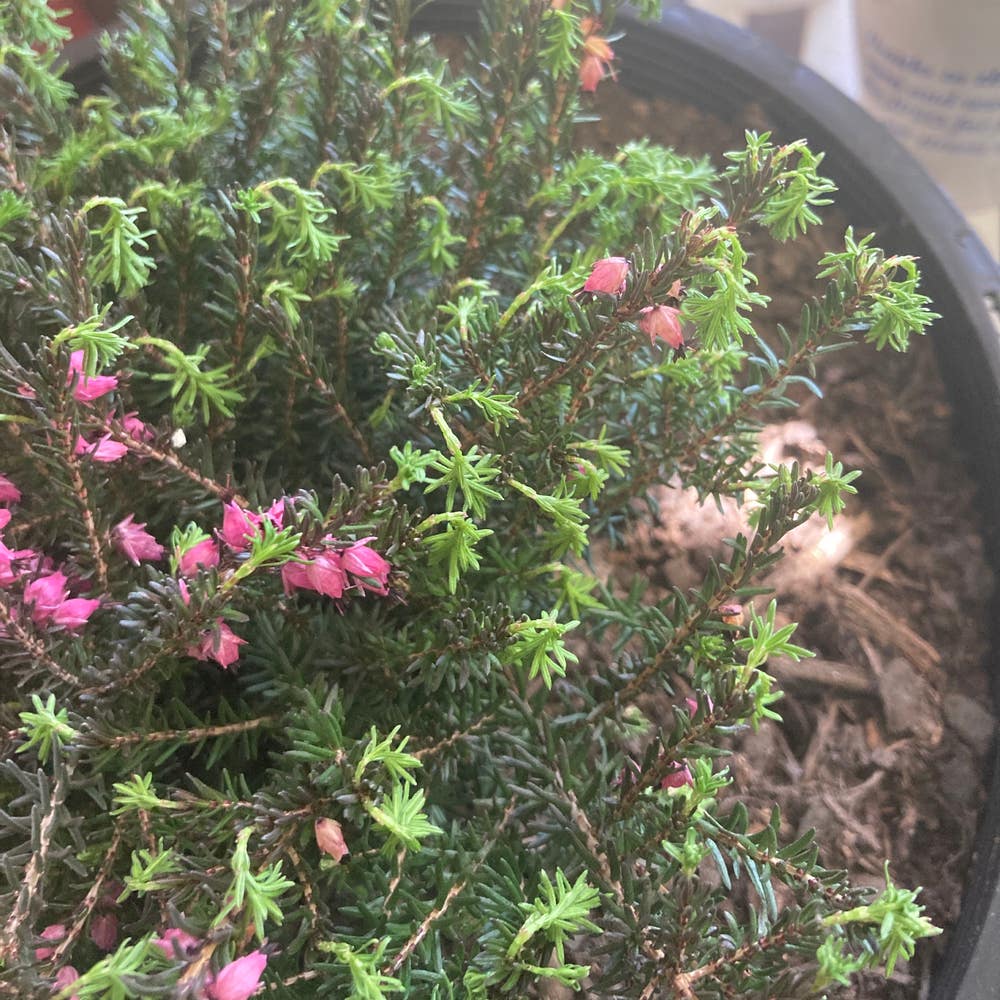
After treating root rot, it's crucial to monitor your Heath's recovery closely. Look for signs of new growth, such as fresh leaves or shoots, which indicate that your plant is bouncing back.
Regular inspections are essential during this phase. Check for healthy foliage and ensure the plant is adapting well to its new environment.
What to Look For 🔍
- New Growth: Fresh leaves sprouting from the stem signal recovery.
- Healthy Color: Vibrant green leaves indicate the plant is thriving.
- Stable Soil Moisture: Ensure the soil is neither too dry nor overly saturated.
Keeping an Eye on Conditions 👀
Keep an eye on the overall conditions of your Heath. Ensure it's receiving adequate light and the right temperature to support its recovery.
If you notice any setbacks, such as wilting or discoloration, reassess your care routine. Adjust watering habits and check for any lingering issues that could hinder recovery.
Transitioning to Long-Term Care 🔄
Once your Heath shows consistent signs of improvement, you can transition to a regular care routine. This includes maintaining proper watering practices and ensuring the soil remains well-draining.
With attentive care, your Heath can thrive and flourish, turning a challenging situation into a success story. Now, let’s explore how to prevent root rot in the future.
⚠️ Safety First
This content is for general information and may contain errors, omissions, or outdated details. It is not medical, veterinary advice, or an endorsement of therapeutic claims.
Always consult a qualified healthcare professional before using any plant as food, medicine, or supplement.
Never eat any plant (or feed one to pets) without confirming its identity with at least two trusted sources.
If you suspect poisoning, call Poison Control (800) 222-1222, the Pet Poison Helpline (800) 213-6680, or your local emergency service immediately.
Spotted an error? Please report it here.
Revive your Heath from root rot with consistent care and patience 🌱, and let Greg guide you with tailored reminders and expert tips to keep your plant thriving for the long haul!