🌊 Step-by-Step Guide to Propagating Coral Plant
Jatropha multifida
By the Greg Editorial Team
Nov 08, 2024•7 min read
This article was created with the help of AI so we can cover more plants for you. May contain errors. See one? Report it here.
Master coral plant propagation 🌱 with expert tips for cuttings, seeds, and division to grow your garden effortlessly!
- 🌱 Select healthy stems with nodes for successful coral plant propagation.
- 💧 Choose water or soil methods based on your conditions and preferences.
- 🌞 Maintain warmth and humidity for optimal rooting success in coral plants.
Propagation by Cuttings
🌱 Selecting Healthy Stems for Cuttings
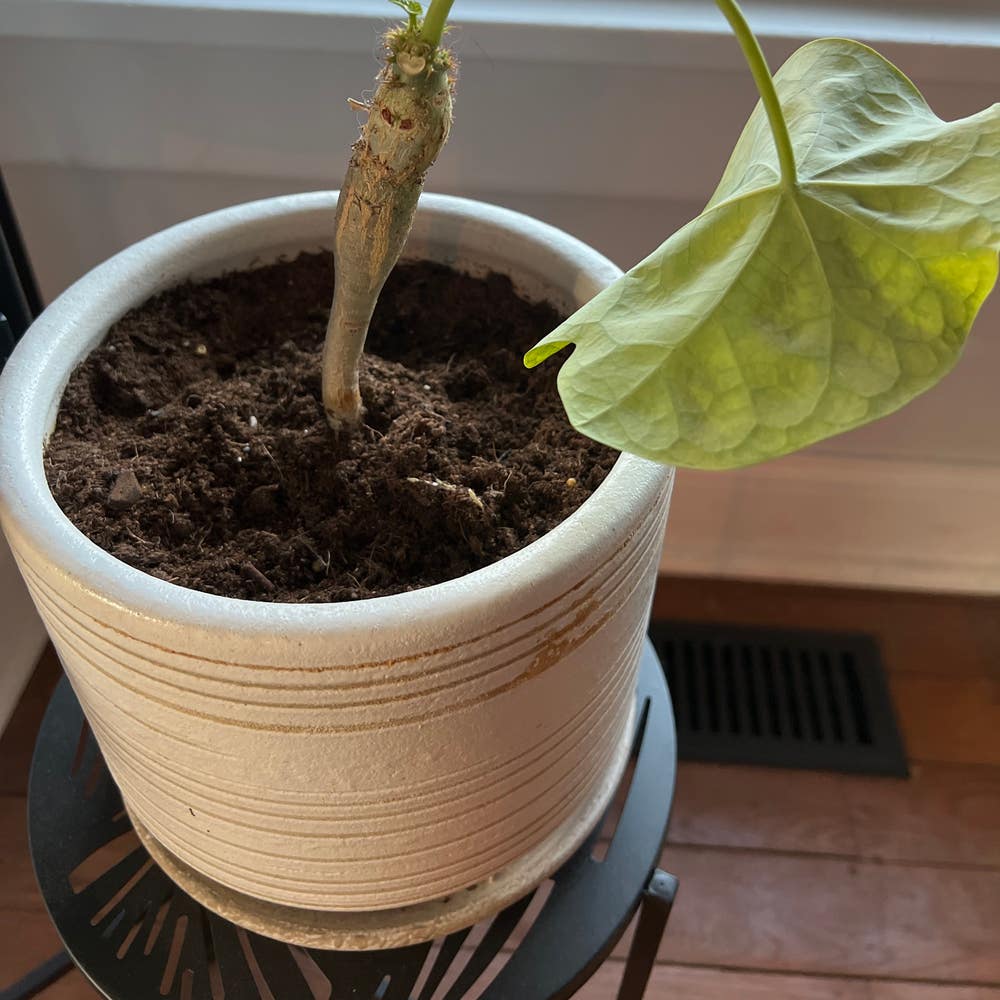
When propagating coral plants, start by selecting firm, healthy stems. Look for stems that are 4-6 inches long and free from any signs of disease or pests, ensuring they have at least two nodes for optimal growth.
✂️ Preparing Cuttings for Propagation
To prepare your cuttings, follow these simple steps:
- Use clean, sharp scissors or pruning shears to make your cut.
- Remove the lower leaves to expose the nodes, which are crucial for rooting.
- For an extra boost, dip the cut ends in rooting hormone to enhance your success rate.
💧 Rooting Cuttings in Water vs. Soil
You can choose between two effective methods for rooting your cuttings: water or soil.
Water Propagation
For water propagation, place your cuttings in a glass of water, ensuring the nodes are submerged. Remember to change the water every few days to prevent stagnation and keep your cuttings healthy.
Soil Propagation
If you prefer soil propagation, use a well-draining potting mix. Insert the cuttings into the soil, making sure to firm the mix around the base for stability.
🌡️ Ideal Conditions for Rooting Cuttings
Creating the right environment is key to successful rooting.
Temperature
Maintain a warm environment, ideally between 70°F to 80°F (21°C to 27°C), to encourage growth.
Humidity
High humidity levels, around 70%, can significantly enhance rooting success. Consider using a humidity dome or misting your cuttings regularly.
Light
Provide indirect sunlight to prevent scorching while still promoting healthy growth. Too much direct light can hinder your cuttings' progress.
With these steps and conditions in place, you’ll be well on your way to successfully propagating coral plants through cuttings. Next, let’s explore how to propagate coral plants using seeds.
Propagation by Seeds
🌱 Collecting Seeds from Coral Plant
Timing is crucial when collecting seeds from your coral plant. Wait until the seed pods turn brown and dry, indicating they are ripe for harvesting.
To release the seeds, gently shake the pods or cut them open. This method ensures you gather as many seeds as possible without damaging them.
💧 Preparing Seeds for Germination
Before planting, enhance germination by soaking the seeds in water for 24 hours. This pre-treatment helps to soften the seed coat, promoting quicker sprouting.
Next, prepare a sterile, well-draining seed starting mix. This type of soil provides the ideal environment for your seeds to thrive.
🌼 Germination Process and Conditions
When sowing, plant the seeds about 1/4 inch deep in the soil. This depth allows them to receive adequate moisture while still being close to the surface.
Expect germination to take 2-4 weeks under optimal conditions. Aim for warm temperatures between 75°F to 85°F (24°C to 29°C) and maintain consistent moisture for the best results.
🌳 Transplanting Seedlings
Transplant your seedlings once they develop 2-3 true leaves. This stage indicates they are strong enough to handle the transition to a larger space.
Space the seedlings 6-12 inches apart in well-draining soil to allow for growth. Gradually acclimate them to outdoor conditions over 7-10 days, a process known as hardening off, to ensure they adapt well to their new environment.
With these steps, you’ll be well on your way to successfully propagating your coral plant from seeds. Next, let’s explore how to propagate coral plants through division, another effective method for expanding your garden.
Propagation by Division
🌱 Identifying When to Divide Coral Plant
Recognizing when to divide your coral plant is crucial for its health. Look for signs like crowded roots, reduced flowering, or a noticeable decline in plant health.
If your plant seems stunted or isn't thriving, it might be time for a division. This process can rejuvenate your coral plant and encourage new growth.
✂️ Step-by-Step Division Process
Dividing your coral plant can be straightforward if you follow these steps:
Water the Plant: Thoroughly water the plant a day before you plan to divide it. This helps to keep the root ball intact during the process.
Remove the Plant: Carefully take the plant out of its pot, ensuring the root ball remains whole. This minimizes stress on the roots.
Divide the Root Ball: Use a clean knife to cut the root ball into sections. Each section should have both roots and foliage for the best chance of survival.
Replant the Divisions: Place the divided sections into well-draining soil, spacing them appropriately to allow for future growth.
🌿 Post-Division Care for Coral Plant
After dividing, your coral plant will need some extra attention to thrive.
Watering: Keep the soil consistently moist, but avoid overwatering to prevent root rot.
Light: Provide indirect sunlight to help the plants recover without scorching their leaves.
Monitoring: Keep an eye out for signs of stress or transplant shock, such as wilting or yellowing leaves.
By following these steps, you can ensure your coral plant not only survives the division process but flourishes afterward. This sets the stage for a healthy, vibrant plant that can thrive in your garden or home.
As you continue your propagation journey, the next section will delve into common challenges you might face and how to overcome them.
Common Challenges in Propagation
🕵️♂️ Troubleshooting Poor Rooting Success
Propagation can sometimes feel like a game of chance, especially when cuttings fail to root. The most common culprits include overwatering, which can lead to root rot, and insufficient humidity or temperature fluctuations that hinder growth.
To combat these issues, adjust your watering frequency and ensure your cuttings have proper drainage. Consider using a humidity dome or a plastic bag to maintain moisture levels, creating a mini greenhouse effect that encourages rooting.
🐛 Dealing with Pests During Propagation
Pests can be a real headache during propagation, with aphids, spider mites, and mealybugs being the usual suspects. Regular inspection is key; catching these pests early can save your plants from significant damage.
For control, remove pests by hand whenever possible. If the infestation is severe, using insecticidal soap or neem oil can help keep them at bay without harming your plants.
🦠 Recognizing and Addressing Diseases
Diseases like root rot and fungal infections can derail your propagation efforts. To prevent these issues, ensure you’re using well-draining soil and avoid overwatering, which creates a perfect environment for pathogens.
Additionally, always use sterilized tools and pots to prevent contamination. A little precaution goes a long way in keeping your plants healthy and thriving.
By staying vigilant and proactive, you can navigate these challenges and enjoy a successful propagation journey. Next, let’s explore some tips for successful propagation that will set you up for success.
Tips for Successful Propagation
🌱 Best Practices for Each Propagation Method
When propagating coral plants, each method has its nuances.
- Cuttings: Always use rooting hormone to boost your success rate, and maintain high humidity to encourage root development.
- Seeds: Proper pre-treatment is crucial; soak seeds before planting to enhance germination. Consistent moisture is key during this phase.
- Division: Handle the roots gently to avoid damage, and provide adequate post-care to help the plant recover quickly.
🛠️ Tools and Materials Needed for Propagation
Having the right tools can make all the difference in your propagation journey.
- Clean scissors or pruning shears: Essential for making precise cuts without damaging the plant.
- Seed starting trays or pots: These help manage your seedlings and ensure they have enough space to grow.
- Well-draining potting mix and rooting hormone: Both are vital for creating an optimal environment for your cuttings and seeds.
⏰ Timing and Seasonal Considerations for Propagation
Timing your propagation efforts can significantly impact your success.
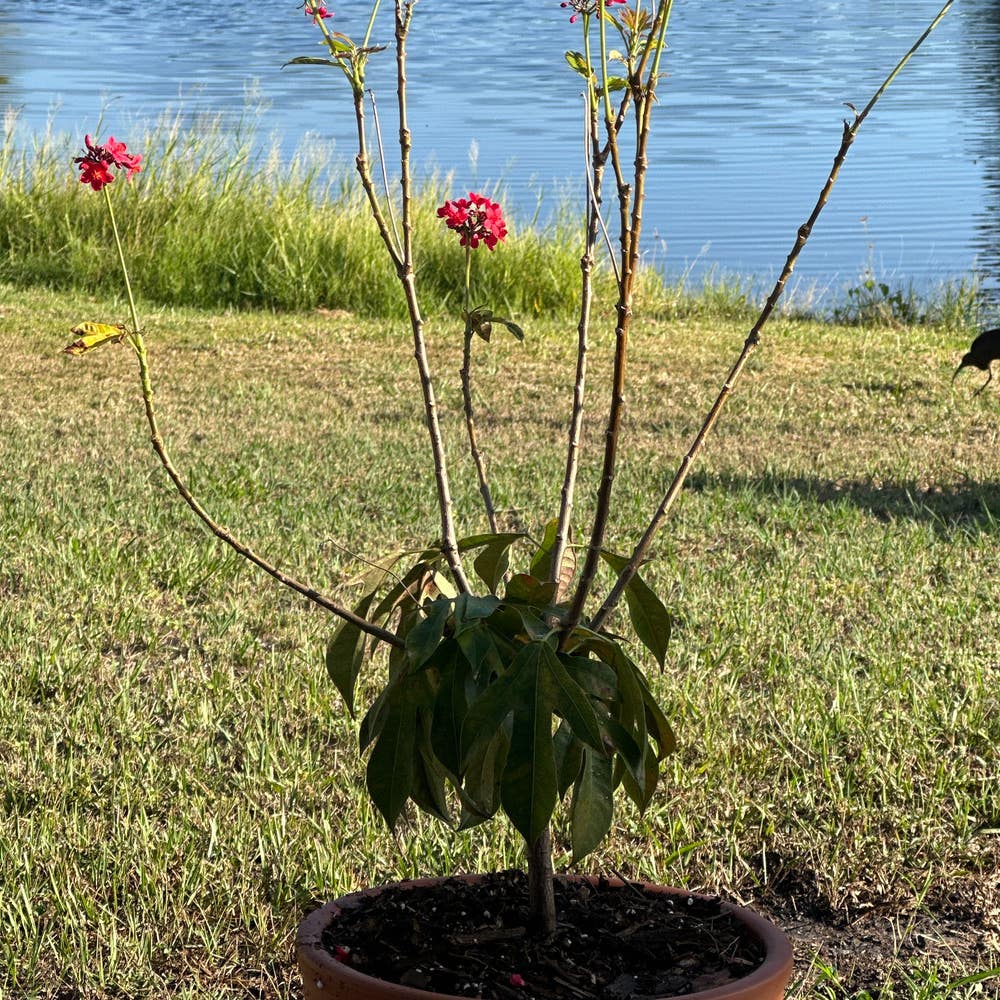
The best time to propagate coral plants is during spring and early summer when they are actively growing.
Keep an eye on temperature and humidity levels, adjusting as needed to create the perfect conditions for your plants to thrive.
With these tips in mind, you’re well on your way to successful coral plant propagation. Next, let’s explore common challenges you might face during this process.
⚠️ Safety First
This content is for general information and may contain errors, omissions, or outdated details. It is not medical, veterinary advice, or an endorsement of therapeutic claims.
Always consult a qualified healthcare professional before using any plant as food, medicine, or supplement.
Never eat any plant (or feed one to pets) without confirming its identity with at least two trusted sources.
If you suspect poisoning, call Poison Control (800) 222-1222, the Pet Poison Helpline (800) 213-6680, or your local emergency service immediately.
Spotted an error? Please report it here.
Propagate your coral plant like a pro 🌿 with Greg's tailored reminders and expert tips to ensure your cuttings thrive in their new homes!