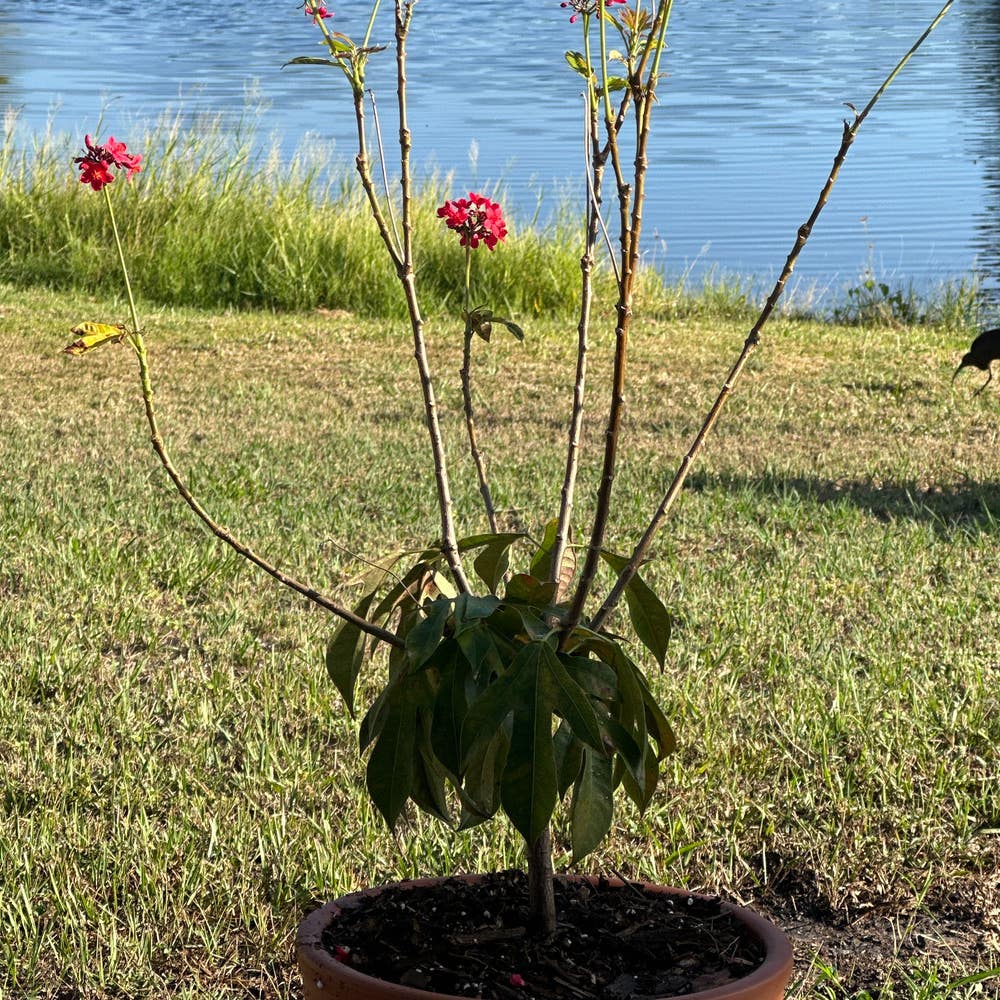
🐠 Step-by-Step Guide to Repotting Coral Plant
Jatropha multifida
By the Greg Editorial Team
Nov 08, 2024•6 min read
This article was created with the help of AI so we can cover more plants for you. May contain errors. See one? Report it here.
Revitalize your coral plant 🌱 by spotting repotting signs early and following these simple steps for success!
- 🌱 Repot when roots escape drainage holes or show stunted growth and yellowing leaves.
- 🪴 Choose a pot 1-2 inches larger for optimal coral plant growth and health.
- 💧 Water before repotting to reduce root stress and ensure a smooth transition.
Signs That Your Coral Plant Needs Repotting
🌱 Root System Indicators
One of the first signs your coral plant needs repotting is when roots start growing out of the drainage holes. This indicates that the plant is root-bound and needs more space to thrive.
Another indicator is when you notice roots circling the pot. This suggests that the plant has limited room for growth, which can hinder its overall health.
🌿 Plant Health Indicators
Stunted growth is a clear signal that your coral plant may require repotting. If you observe a lack of new growth or flowering, it’s time to take action.
Yellowing leaves can also be a red flag. This may indicate overwatering or a nutrient deficiency, both of which can be addressed by repotting.
Additionally, if the soil dries out too quickly, it’s a strong indication that the plant has outgrown its pot. This rapid drying can stress the plant, making repotting essential for its well-being.
Recognizing these signs early can help you maintain a healthy and vibrant coral plant. By addressing these indicators promptly, you ensure your plant continues to flourish.
Step-by-Step Repotting Process for Coral Plant
🛠️ Preparation
Repotting your coral plant starts with gathering the right materials. You'll need a new pot, quality potting soil, gloves, and some basic tools.
Choosing the right pot size is crucial. Aim for a pot that is 1-2 inches larger in diameter than the current one to give your plant room to grow.
🚪 Removal from Current Pot
Before you begin, water the plant a day prior to make removal easier. This helps loosen the soil and reduces stress on the roots.
To remove the plant, gently tilt the pot and tap the sides. This action will help loosen the soil, allowing you to lift the plant out without damaging it.
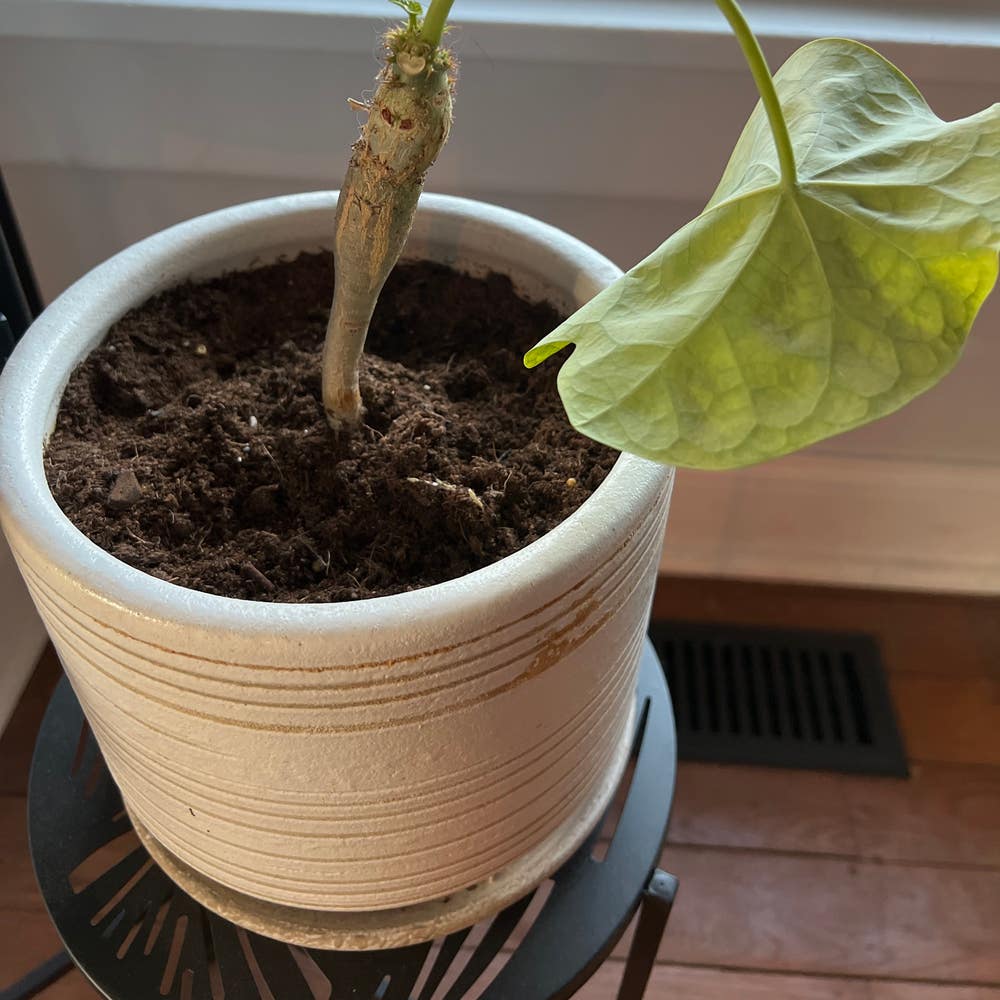
Once removed, inspect the root system carefully. Look for healthy, firm roots and check for any signs of rot, which can indicate problems.
🌱 Potting the Coral Plant
Start by adding a layer of potting soil to the bottom of the new pot. This creates a solid base for your coral plant.
Next, position the plant in the center of the pot. Spread the roots out gently to encourage healthy growth.
Fill the pot with additional potting soil around the roots, making sure to firm it gently. This helps eliminate air pockets that can hinder root development.
Finally, water the plant lightly after potting. Aim to moisten the soil without soaking it, as overwatering can stress the plant.
With these steps, your coral plant will be well on its way to thriving in its new home. Next, we’ll explore how to handle the roots during the repotting process to ensure optimal health.
How to Handle Coral Plant Roots During Repotting
🧐 Root Inspection
Inspecting the roots of your coral plant is crucial for a successful repotting. Healthy roots should be firm and white, indicating vitality, while unhealthy roots will appear brown and mushy, signaling potential issues.
✂️ Pruning Techniques
When you encounter damaged roots, it's time to take action. Use sterilized scissors to trim away any unhealthy sections, which helps prevent infection and promotes overall plant health.
Avoid excessive pruning; only remove what is necessary. This approach ensures your coral plant retains enough healthy roots to thrive in its new environment.
By carefully inspecting and pruning the roots, you set the stage for a successful repotting experience. This attention to detail not only enhances the plant's health but also boosts your confidence as a plant caregiver.
Next, let's explore the various pot material options that can further benefit your coral plant's growth.
Pot Material Options for Coral Plant
Choosing the right pot material for your coral plant can significantly impact its health and growth. Each material has its unique characteristics, so let's break down the pros and cons of the most common options.
🎨 Ceramic Pots
Ceramic pots are often favored for their aesthetic appeal. They come in various colors and designs, adding a decorative touch to your space.
However, they can be quite heavy, making them difficult to move. Additionally, ceramic pots are prone to cracking if exposed to extreme temperatures.
🪴 Plastic Pots
Plastic pots are a popular choice due to their lightweight nature. They are easy to handle and come in various sizes and colors.
On the downside, plastic pots are less breathable than other materials. This can lead to moisture retention, which may cause root rot if not monitored carefully.
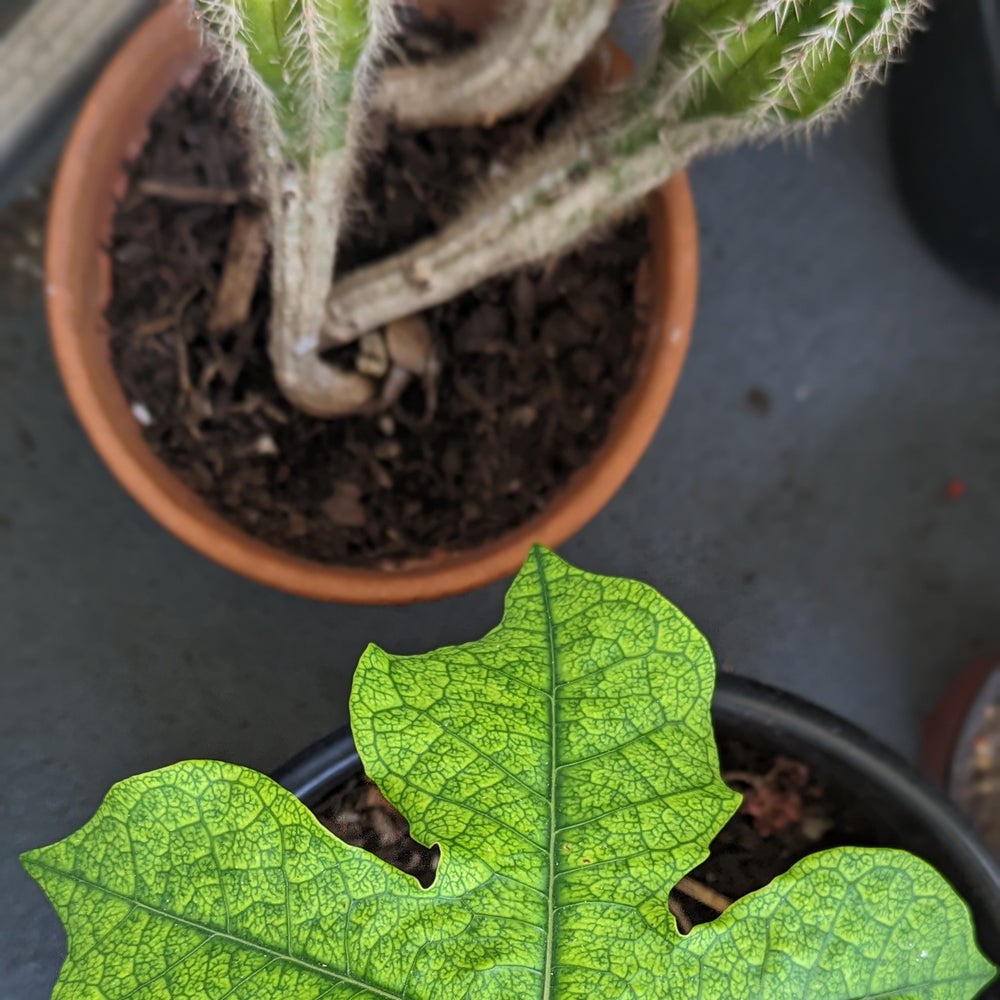
🍂 Terracotta Pots
Terracotta pots are known for their excellent drainage capabilities. They allow air exchange, promoting healthy root growth.
The trade-off is that they require more frequent watering, as they tend to dry out quickly. This can be a challenge if you forget to check the moisture levels regularly.
In summary, each pot material has its advantages and disadvantages. Consider your coral plant's needs and your own maintenance preferences when making a choice.
Next, let’s explore how to care for your coral plant immediately after repotting to ensure a smooth transition.
Post-Repotting Care for Coral Plant
🌱 Immediate Care
After repotting your coral plant, it's crucial to provide immediate care to help it adjust. Start by lightly watering the plant; avoid soaking the soil to prevent root rot.
Next, place your coral plant in a spot with indirect sunlight for a few days. This gentle light exposure helps reduce stress as the plant acclimates to its new environment.
🚨 Signs of Stress in Coral Plant Post-Repotting
Keep an eye out for signs of stress after repotting. Wilting or drooping leaves can indicate potential overwatering or shock, signaling that your plant needs attention.
Additionally, leaf drop may occur due to the stress of repotting. Monitor your plant closely during this adjustment period to catch any issues early.
🌞 Tips for Acclimating Coral Plant to a New Pot
To help your coral plant acclimate, gradually reintroduce it to sunlight. Start by increasing its exposure over the course of a week, allowing it to adjust without overwhelming it.
Also, be vigilant about monitoring soil moisture. Adjust your watering schedule based on the new pot size to ensure your plant receives the right amount of hydration.
With proper care and attention, your coral plant will thrive in its new home. Next, let's explore the various pot material options that can enhance your plant's growth and health.
⚠️ Safety First
This content is for general information and may contain errors, omissions, or outdated details. It is not medical, veterinary advice, or an endorsement of therapeutic claims.
Always consult a qualified healthcare professional before using any plant as food, medicine, or supplement.
Never eat any plant (or feed one to pets) without confirming its identity with at least two trusted sources.
If you suspect poisoning, call Poison Control (800) 222-1222, the Pet Poison Helpline (800) 213-6680, or your local emergency service immediately.
Spotted an error? Please report it here.
Repot your coral plant with confidence 🌱 by using Greg's tailored watering alerts and expert care tips to ensure it flourishes in its new pot!