🌼 Propagating Auricula: Step-by-Step Guide
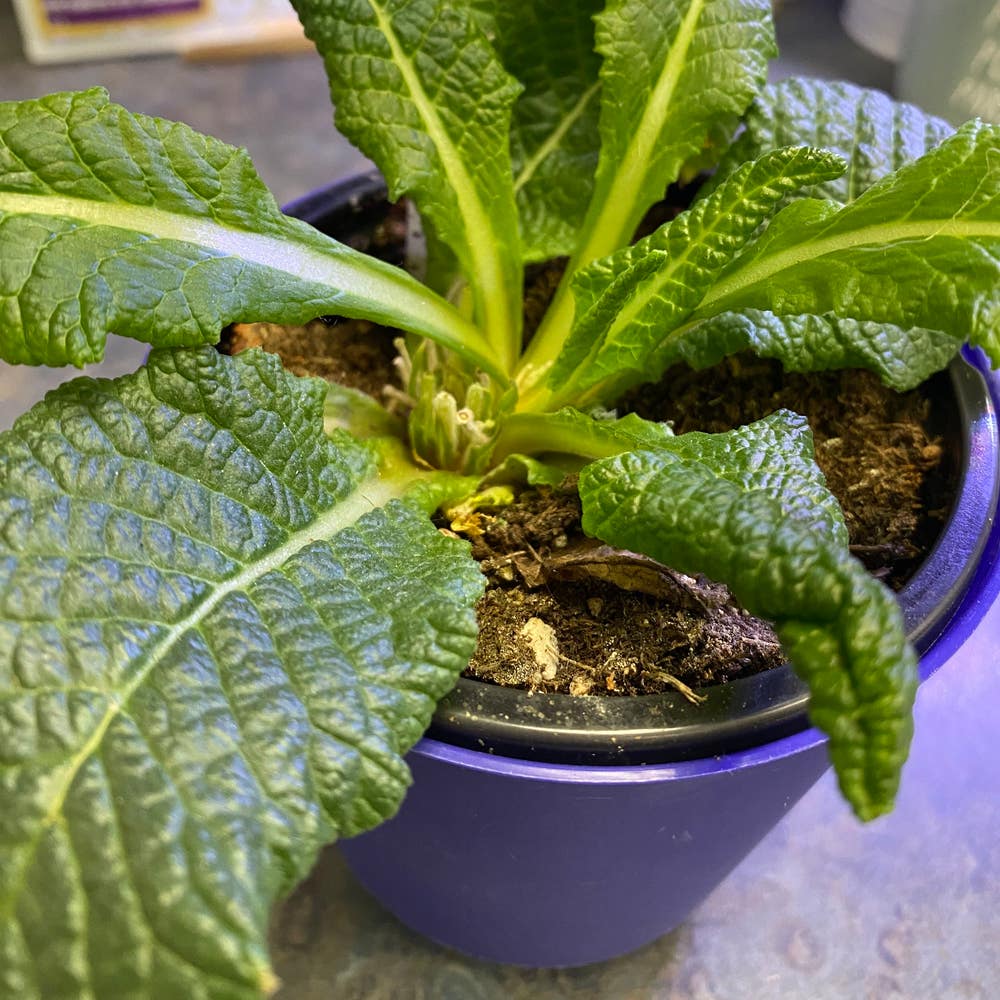
Primula auricula
By the Greg Editorial Team
Oct 16, 2024•6 min read
This article was created with the help of AI so we can cover more plants for you. May contain errors. See one? Report it here.
- 🌱 High-quality seeds ensure better germination and healthier auricula plants.
- 💧 Maintain humidity and gentle watering for successful seed and cutting propagation.
- 🌞 Provide indirect light and ideal temperatures for optimal growth and root development.
Propagating from Seeds
Step-by-step Instructions 🌱
Seed Selection
Start by choosing high-quality seeds from reputable sources. This ensures better germination rates and healthier plants.
Sowing Seeds
Prepare seed trays filled with well-draining soil. Sow the seeds at a depth of 1/8 inch to give them the best chance to thrive.
Watering
Lightly mist the soil to avoid displacing the seeds. This gentle approach helps maintain the right moisture level without disturbing your setup.
Covering
Cover the trays with a plastic dome or plastic wrap. This helps maintain humidity, which is crucial for seed germination.
Ideal Conditions for Germination 🌤️
Temperature
Aim for a temperature range of 15°C to 20°C (59°F to 68°F). This is the sweet spot for most auricula seeds.
Light
Provide indirect sunlight or use fluorescent grow lights. Too much direct sunlight can scorch the delicate seedlings.
Humidity
Keep humidity levels high until germination occurs. This environment mimics the natural conditions seeds need to sprout.
Timing for Sowing Seeds ⏰
The best time to sow seeds is late winter to early spring. This timing aligns with the natural growth cycle, giving your plants a head start.
With the right conditions and care, you'll be well on your way to growing beautiful auriculas from seeds. Next, we’ll explore how to propagate these plants from cuttings, offering another exciting method to expand your collection.
Propagating from Cuttings
🌱 Selecting the Right Cuttings
To start propagating auricula from cuttings, choose healthy, non-flowering stems. Look for stems with at least 2-3 leaves, as these will provide the best chance for successful growth. Aim for cuttings that are 4-6 inches long for optimal results.
✂️ Preparing Cuttings for Propagation
Once you've selected your cuttings, it's time to prepare them. Remove the lower leaves to expose the nodes, which are crucial for root development. Allow the cuttings to callous for about 24 hours; this helps prevent rot when they are planted.
🌿 Rooting Hormone Application
Enhance your cuttings' chances of rooting by applying rooting hormone. Dip the cut end of each cutting into the hormone, ensuring it’s well-coated. This step can significantly boost root development, setting your cuttings up for success.
🪴 Potting and Care for Cuttings
🌱 Potting
Now, it’s time to pot your cuttings. Use a well-draining potting mix to prevent waterlogging. Plant the cuttings at a depth of 1-2 inches, ensuring they are secure in the soil.
💧 Watering
After potting, water the cuttings lightly to settle the soil around them. Be cautious not to overwater, as this can lead to rot.
🌤️ Humidity and Light
To maintain humidity, cover the cuttings with a plastic bag or dome. This creates a mini greenhouse effect, which is ideal for rooting. Place them in indirect light to avoid scorching the leaves while they establish roots.
With these steps, you’re well on your way to successfully propagating auricula from cuttings. Next, let’s explore how to divide existing plants for propagation.
Dividing Plants
When to Divide 🌱
The best time to divide your Auricula plants is during early spring or fall. This timing aligns with their active growth phase, ensuring a smoother transition for the divisions.
Tools Needed for Division 🛠️
Before you start, gather a few essential tools:
- A sharp garden knife or spade for clean cuts.
- Clean pots to house your newly divided plants.
Step-by-step Division Process 📋
Remove the Plant
Gently lift the plant from its pot or garden bed, being careful not to damage the roots.Separate the Roots
Carefully divide the root ball into sections. Each section should have both roots and leaves to thrive.Replanting
Pot each division in well-draining soil. This will help prevent waterlogging and promote healthy growth.
Post-division Care 💧
After replanting, water the divisions thoroughly to settle the soil. Providing partial shade until they establish will help them adjust to their new environment.
Dividing plants can seem daunting, but with the right timing and care, you'll be rewarded with thriving Auriculas ready to flourish. Next, let’s explore leaf propagation techniques to expand your collection even further!
Leaf Propagation Techniques
Selecting Healthy Leaves 🌿
To start your leaf propagation journey, choose mature, healthy leaves from the outer rosette of the plant. These leaves are more likely to root successfully and produce new plants.
Preparing Leaves for Propagation ✂️
Once you've selected your leaves, cut them into sections, ensuring each piece has a vein. This is crucial, as the veins are where the roots will develop.
Ideal Conditions for Leaf Propagation 🌱
For optimal growth, use a well-draining soil mix that allows excess moisture to escape. High humidity and indirect light are essential to create a nurturing environment for your leaf cuttings.
Monitoring Progress and Transplanting 👀
After 4-6 weeks, check for root development. Once you see roots forming, it's time to transplant your seedlings into individual pots, giving them space to thrive.
By following these steps, you can successfully propagate auricula leaves and expand your collection. Next, let’s explore common challenges you might face during propagation and how to overcome them.
Common Challenges in Propagation
🕵️ Identifying and Solving Issues
Poor Germination Rates
One of the most frustrating challenges in propagation is poor germination rates. This often stems from incorrect temperature or moisture levels, which can be easily adjusted.
To improve your chances, regularly check the viability of your seeds. If they’re not sprouting, it might be time to reassess your conditions.
Cuttings Not Rooting
Another common issue is cuttings that refuse to root. This can happen due to overwatering or insufficient humidity, both of which create an inhospitable environment for growth.
To combat this, ensure you’re providing the right care and environment. A little attention can go a long way in helping those cuttings thrive.
📈 Tips for Improving Success Rates
Use Sterile Tools
Always use sterile tools when propagating. This simple step can prevent diseases that might hinder your plants' growth.Monitor Moisture Levels
Keep a close eye on moisture levels. Overwatering can lead to root rot, so it’s crucial to find that sweet spot.Keep a Propagation Journal
Consider maintaining a propagation journal. Documenting your methods and outcomes will help you refine your approach and boost your success rates over time.
By addressing these common challenges and implementing these tips, you can enhance your propagation efforts significantly. Now, let’s explore the exciting world of leaf propagation techniques!
⚠️ Safety First
This content is for general information and may contain errors, omissions, or outdated details. It is not medical, veterinary advice, or an endorsement of therapeutic claims.
Always consult a qualified healthcare professional before using any plant as food, medicine, or supplement.
Never eat any plant (or feed one to pets) without confirming its identity with at least two trusted sources.
If you suspect poisoning, call Poison Control (800) 222-1222, the Pet Poison Helpline (800) 213-6680, or your local emergency service immediately.
Spotted an error? Please report it here.
Propagating auricula plants is a rewarding adventure 🌱 that Greg can support with tailored reminders and expert tips to help you thrive every step of the way!